#10077918 - 06/22/21 04:59 PM
 B16 Refresh
|
#Tuna No Crust

Post Master Sr

Registered: 02/28/03
Posts: 5005
Loc: OC CAli
|
Wanted to share my B16 refresh story. This is my Si B16 rebuild post. First time doing this. Just sharing with you guys because I am bored. Comment as you like.
Here we go....
Story of two brothers. One is young and crazy, the other is older and daily.
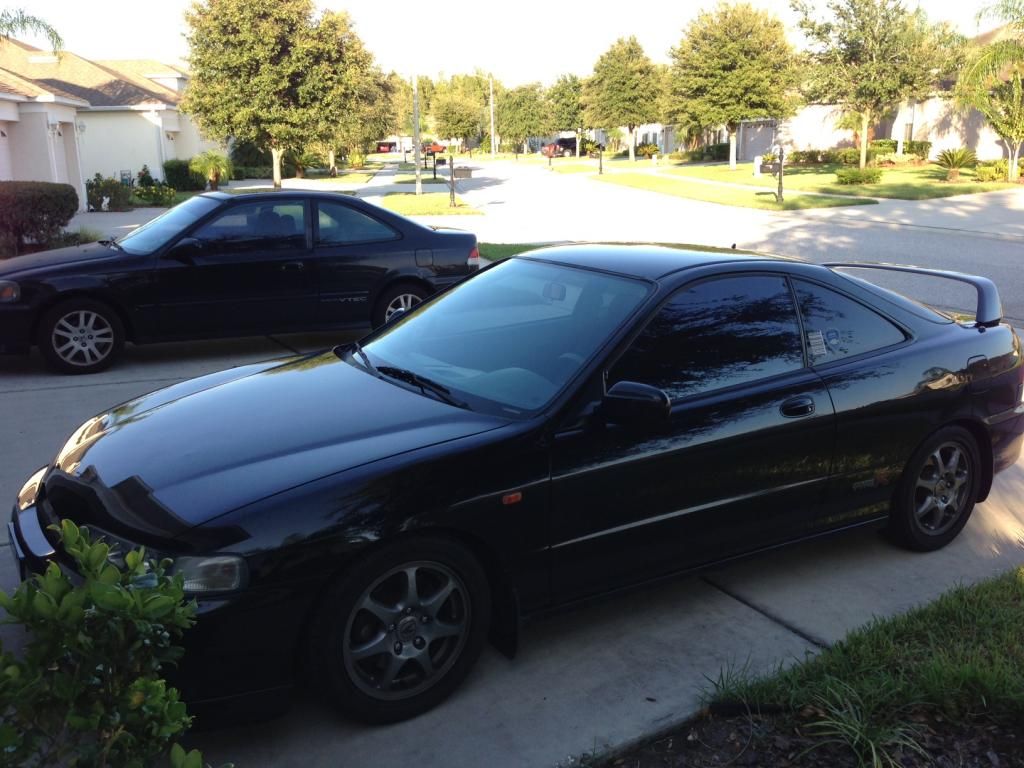
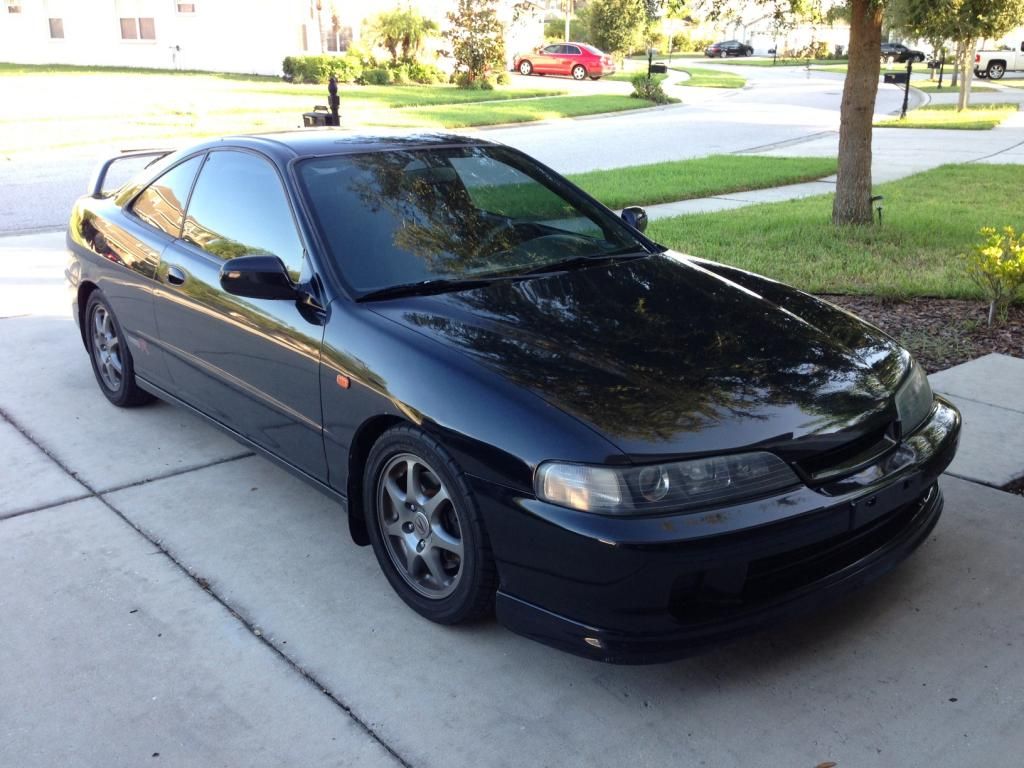
Young and crazy sleeps inside.
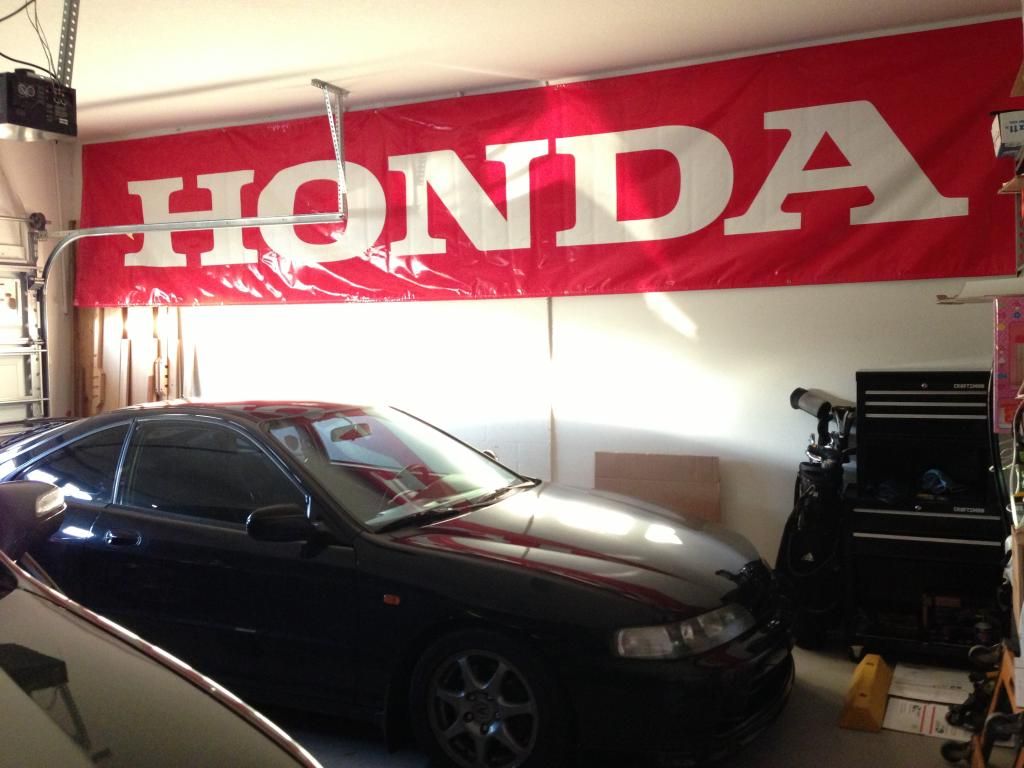
Older daily will start the operation
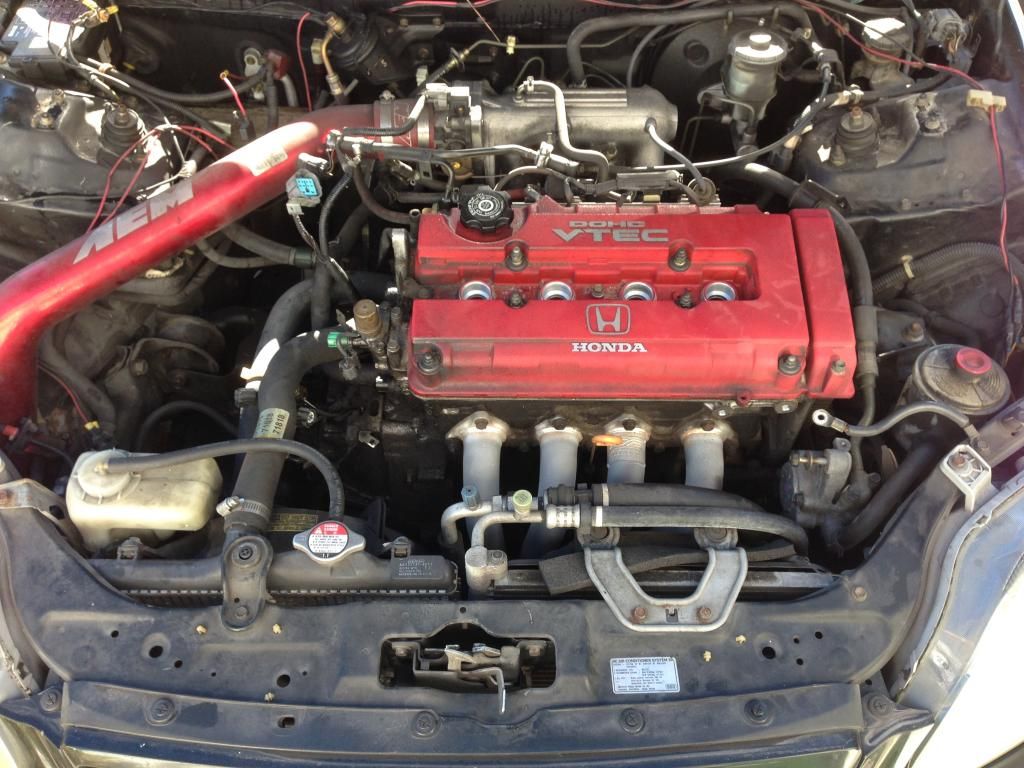
Started with some basic removals
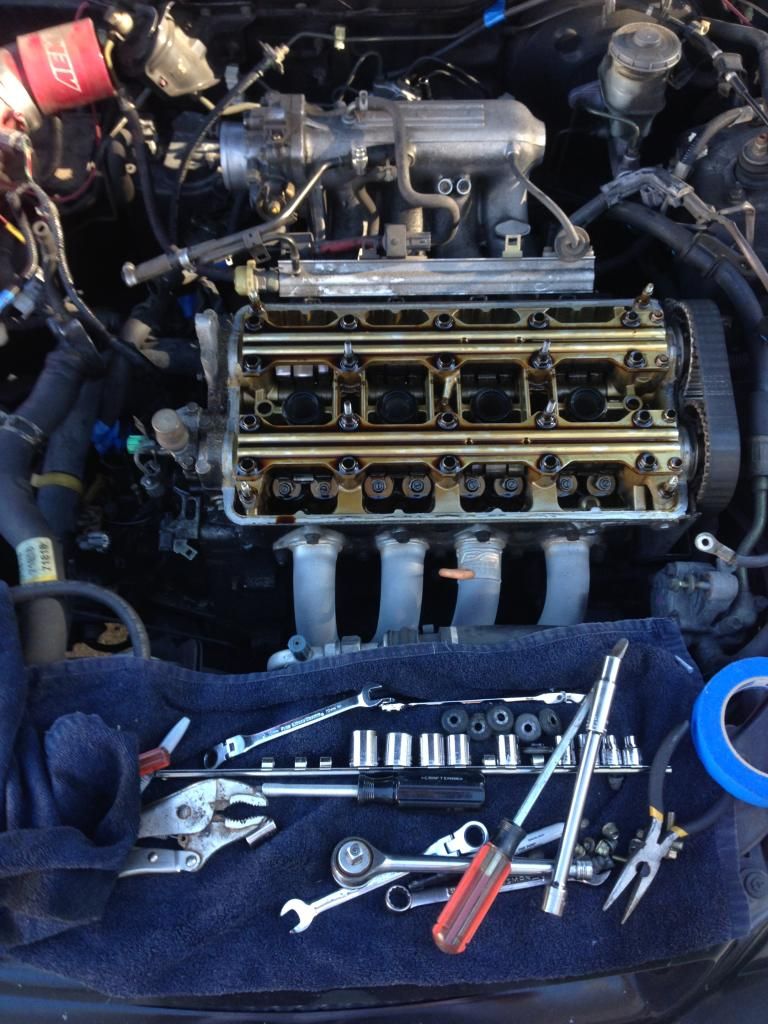
head is off
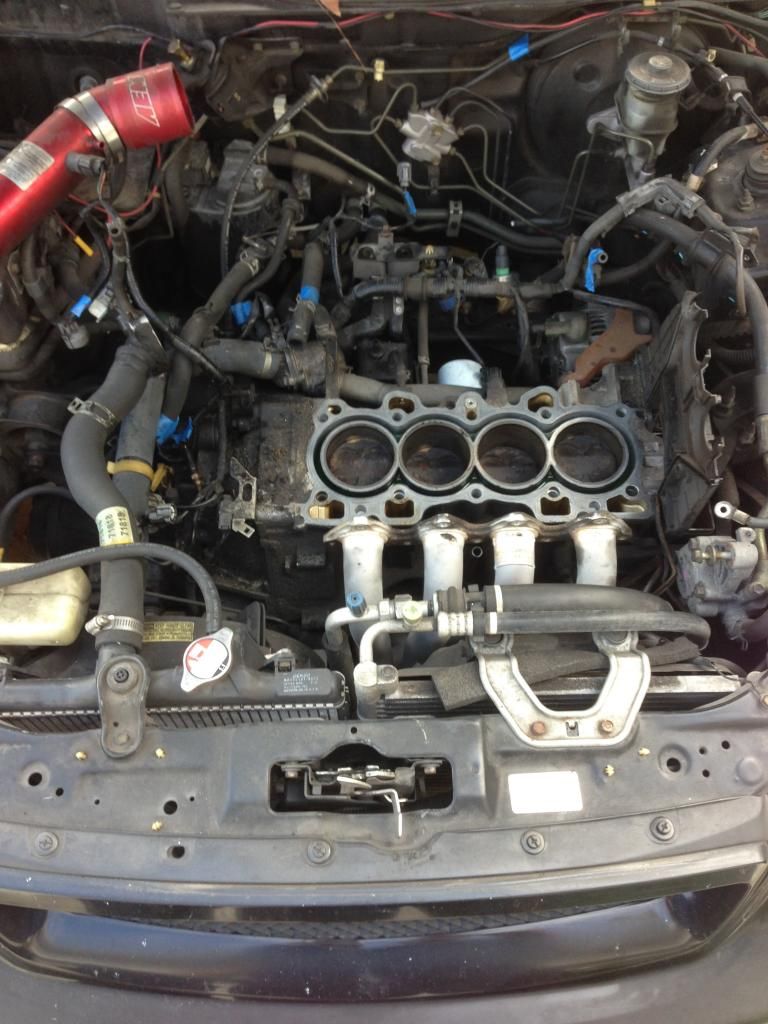
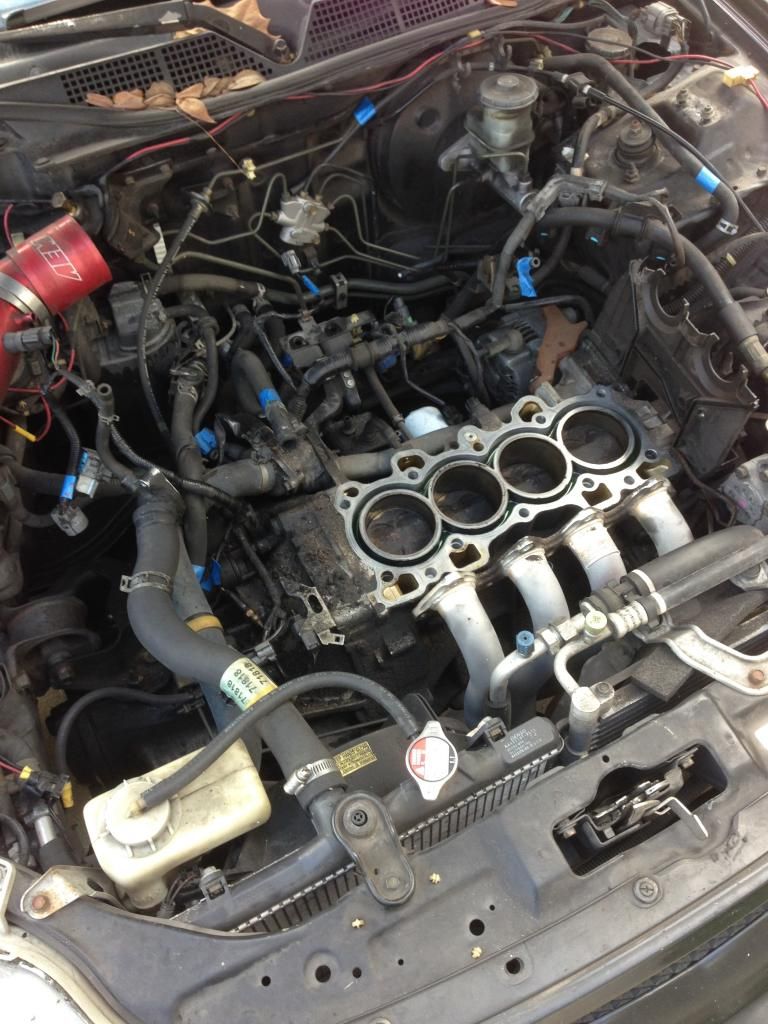
Condition of stock B16 with 250K miles - still with stock clutch....
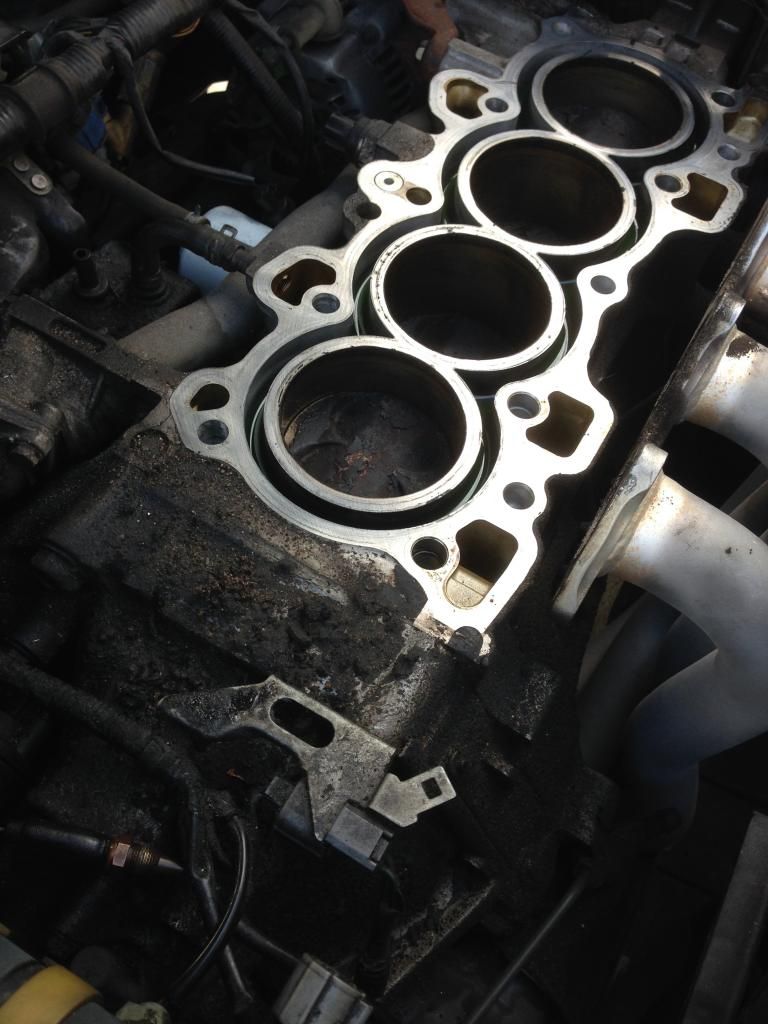
Crap built up ....
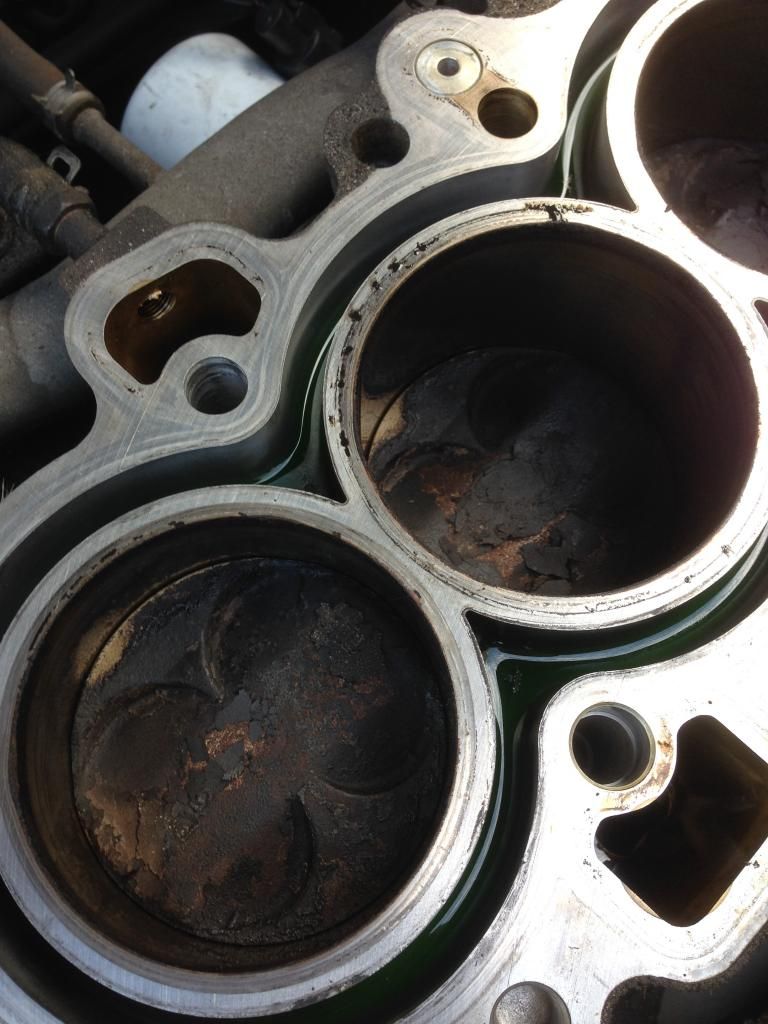
Decided to take the Head with the IM together. I will probably do the same for the install.
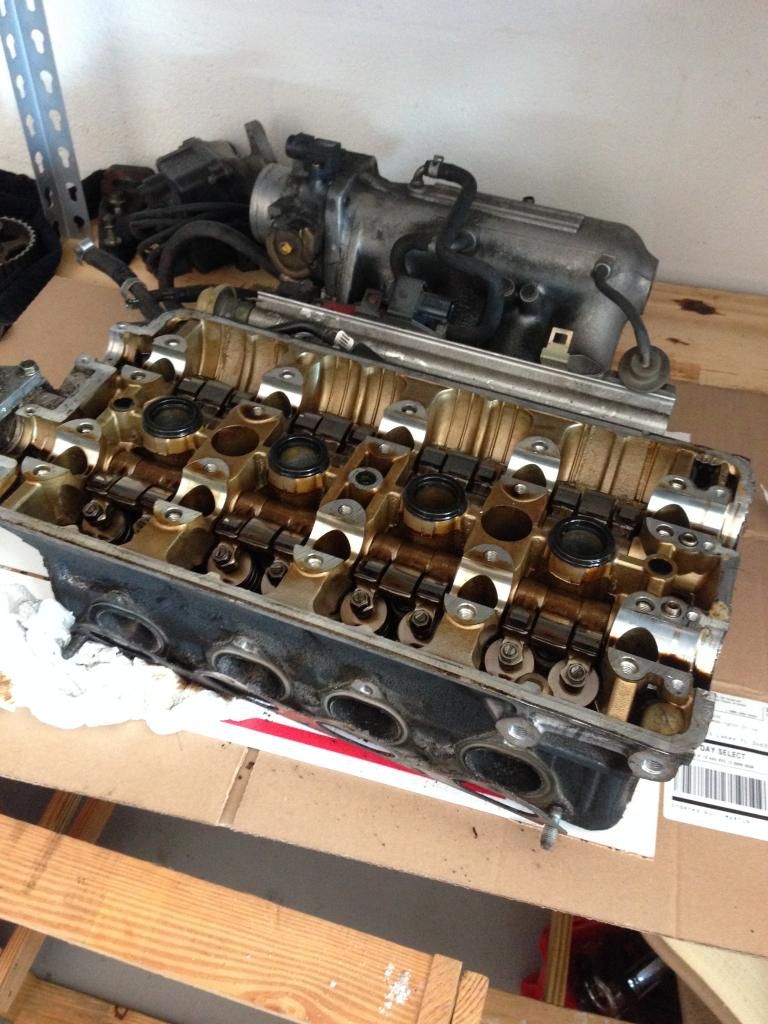
More junk building up in the last 15 years.
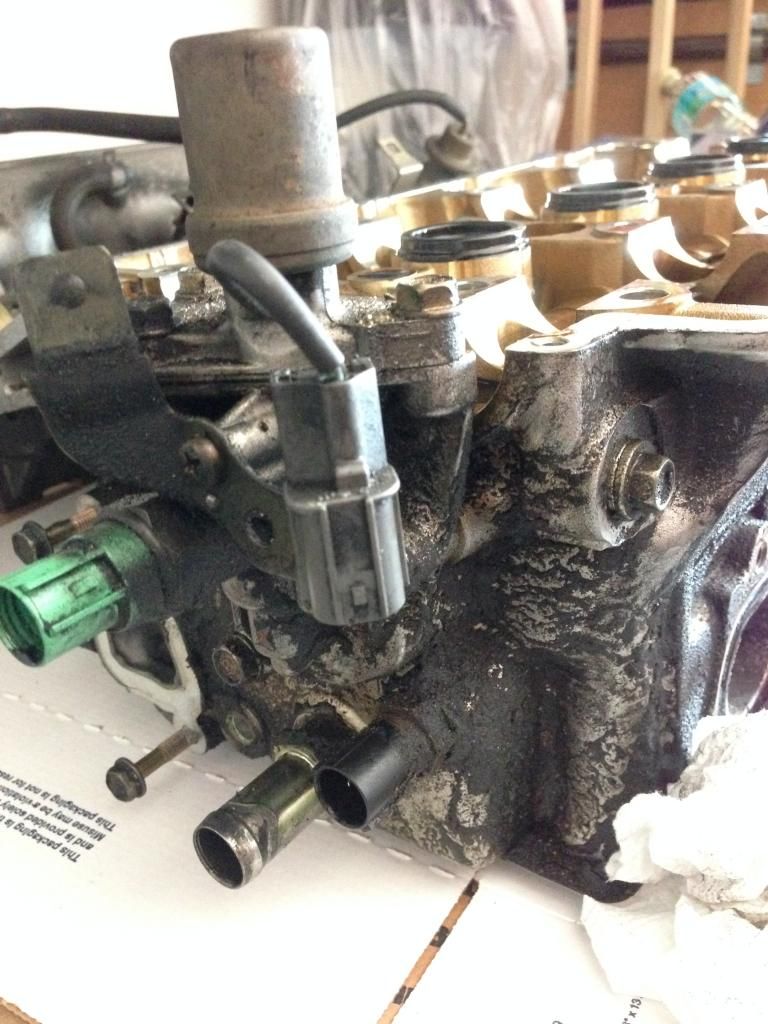
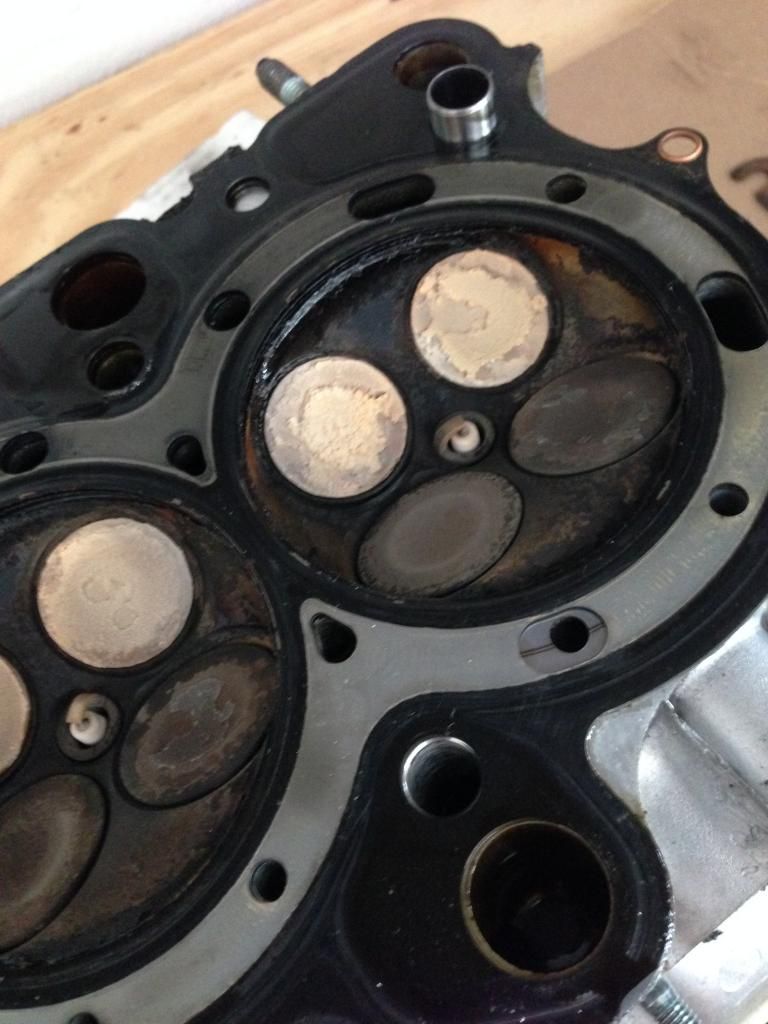
IM out and other things coming off.... notice the oil build up on the exhaust side.
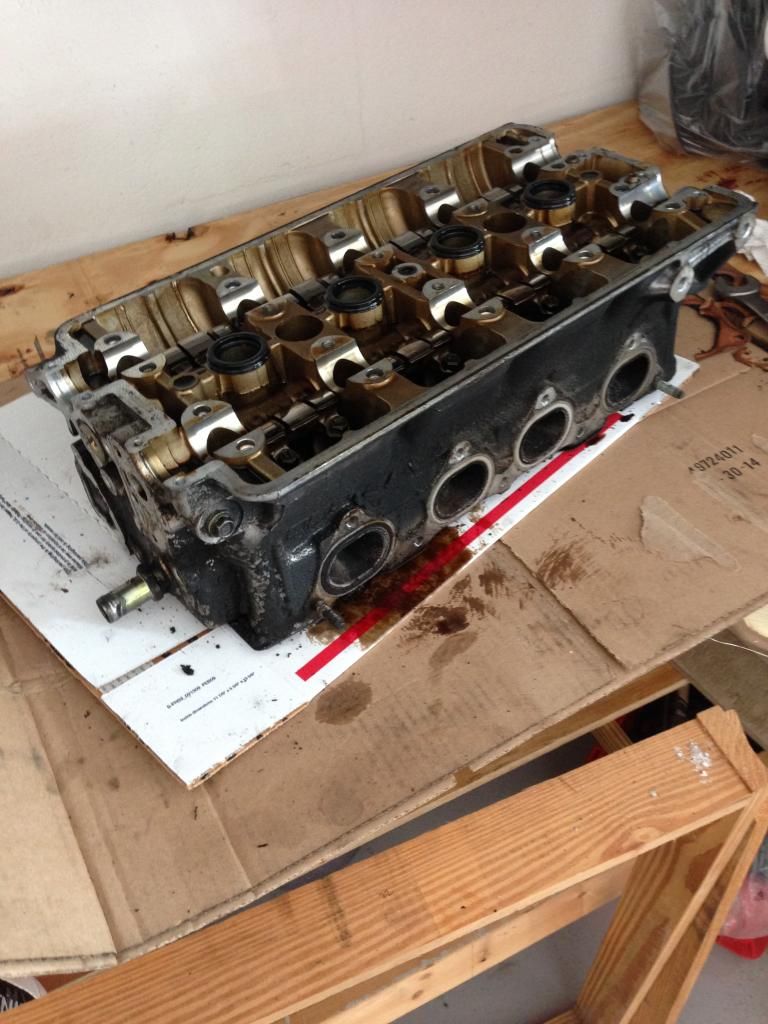
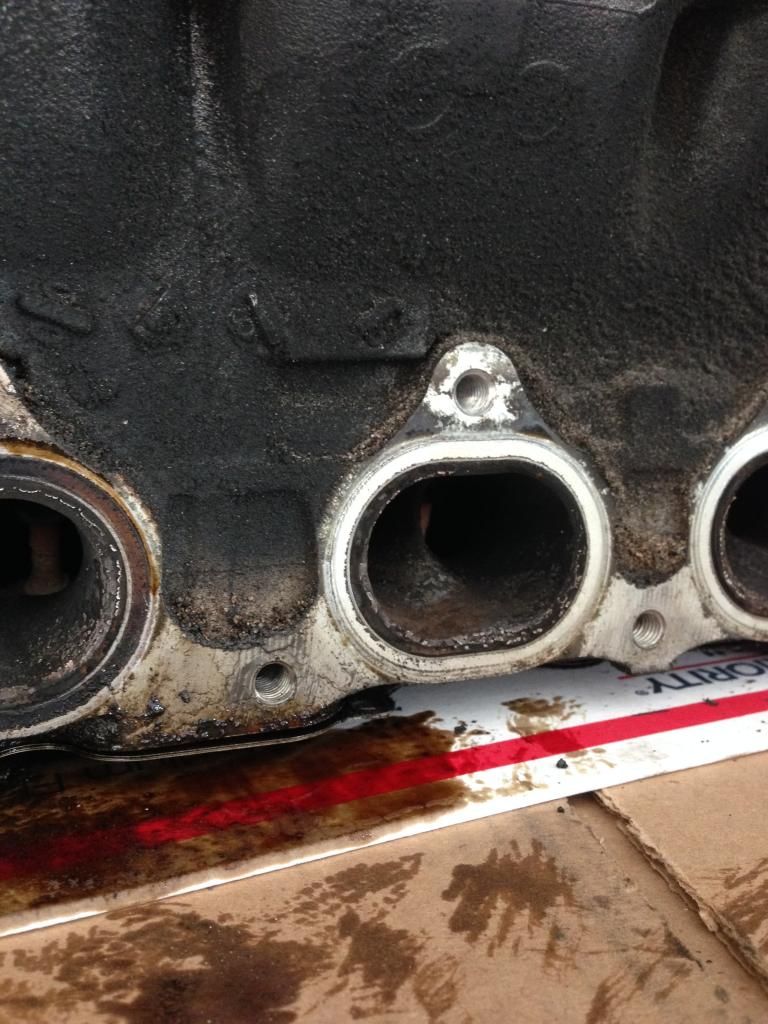
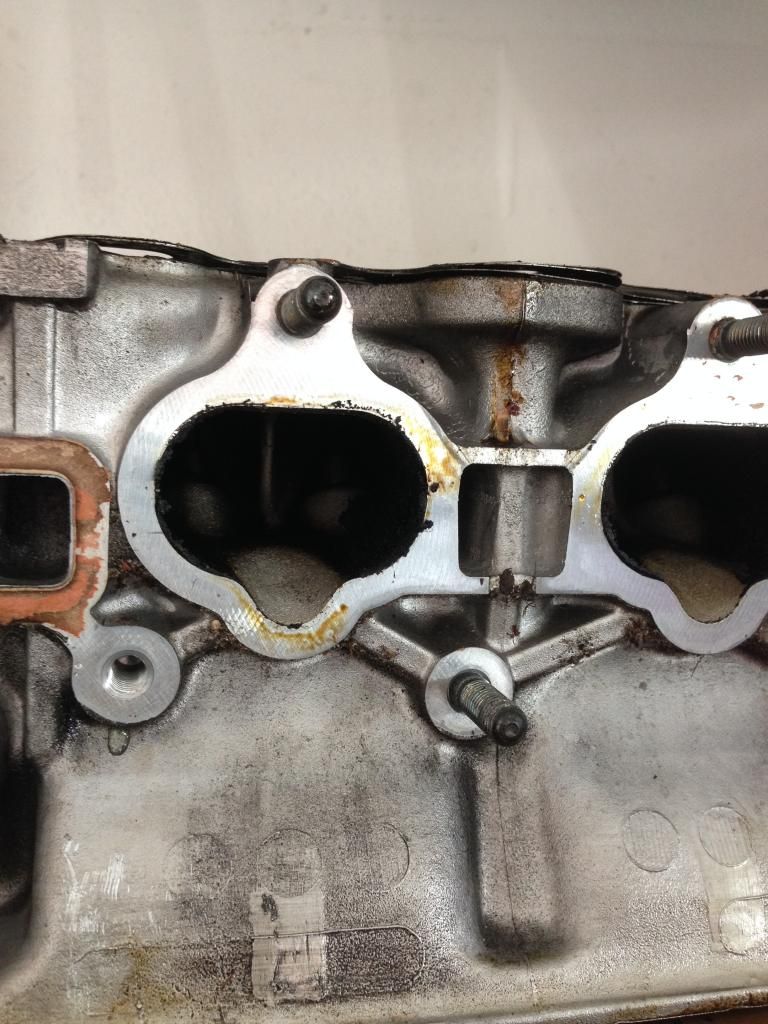
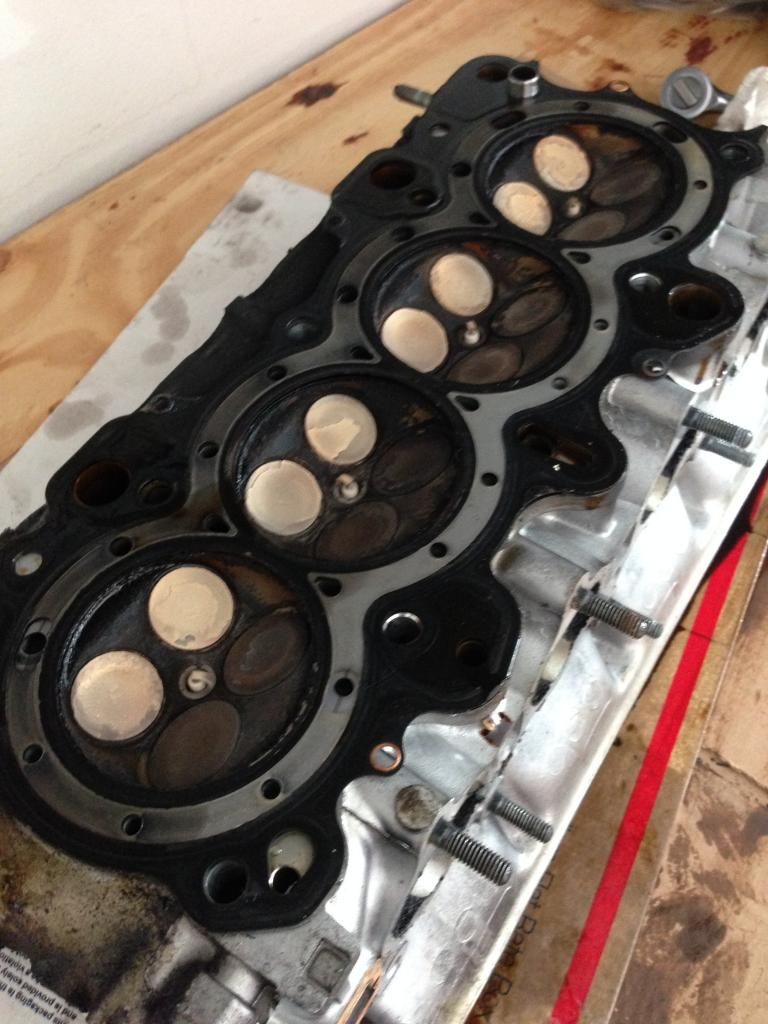
How do you remove the carbon build on the exhaust valves?????
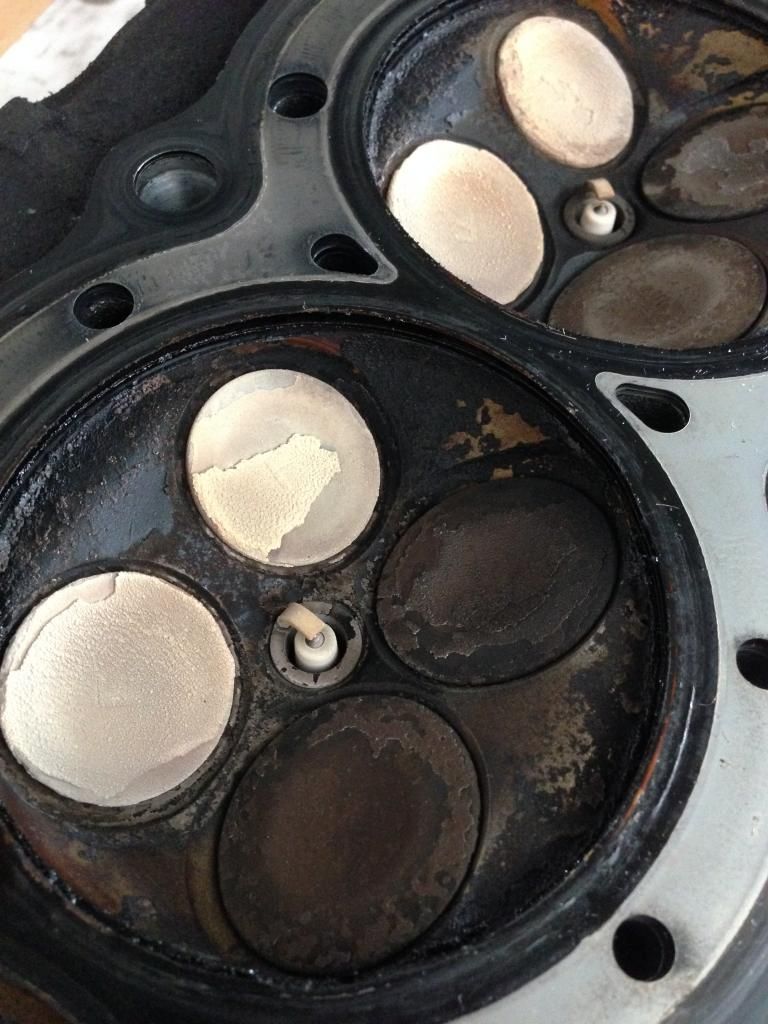
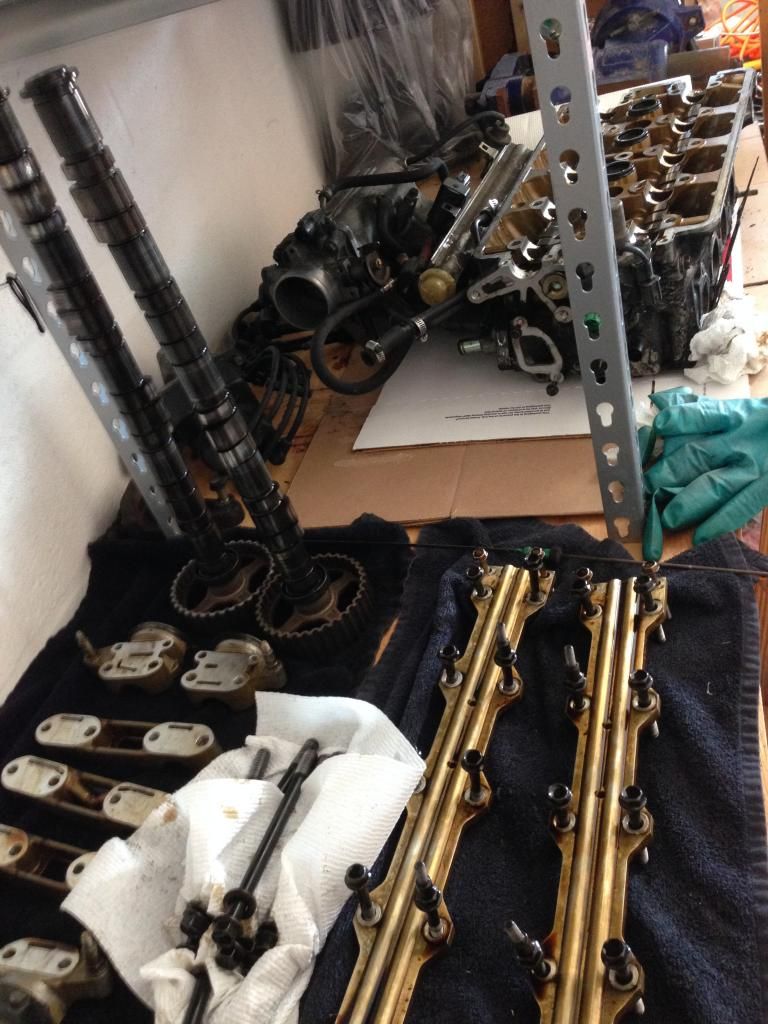
Trying to be as organized as possible.
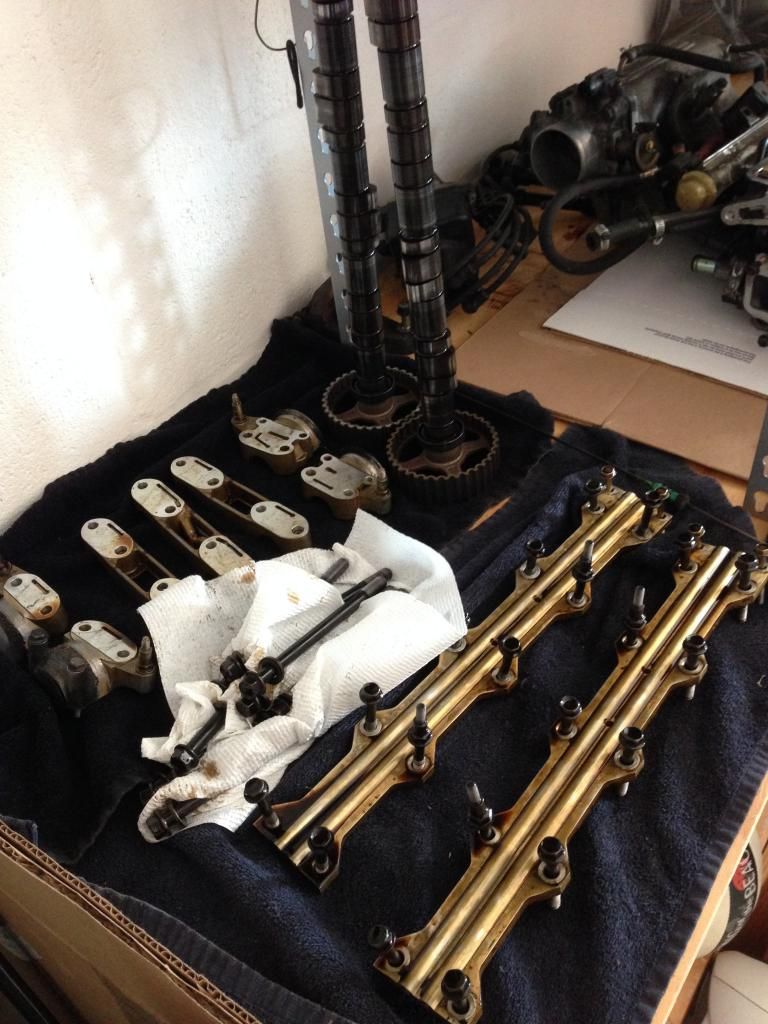
Organizing and taking pics with oily hands is not easy....
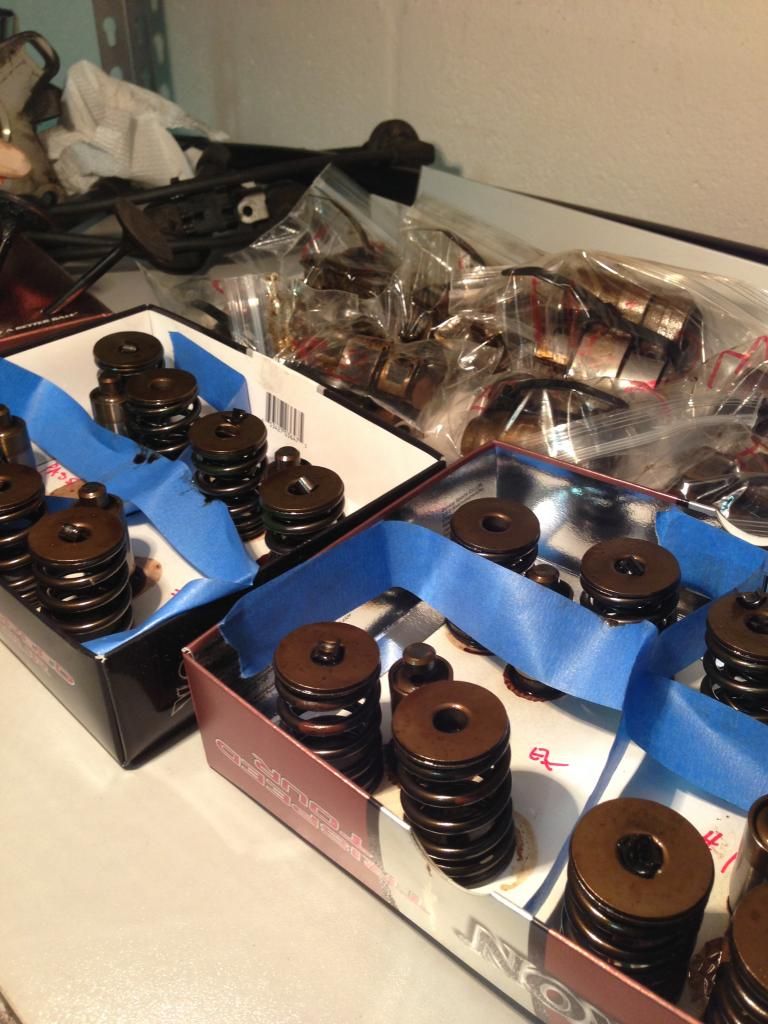
Using my golf ball boxes into good use....
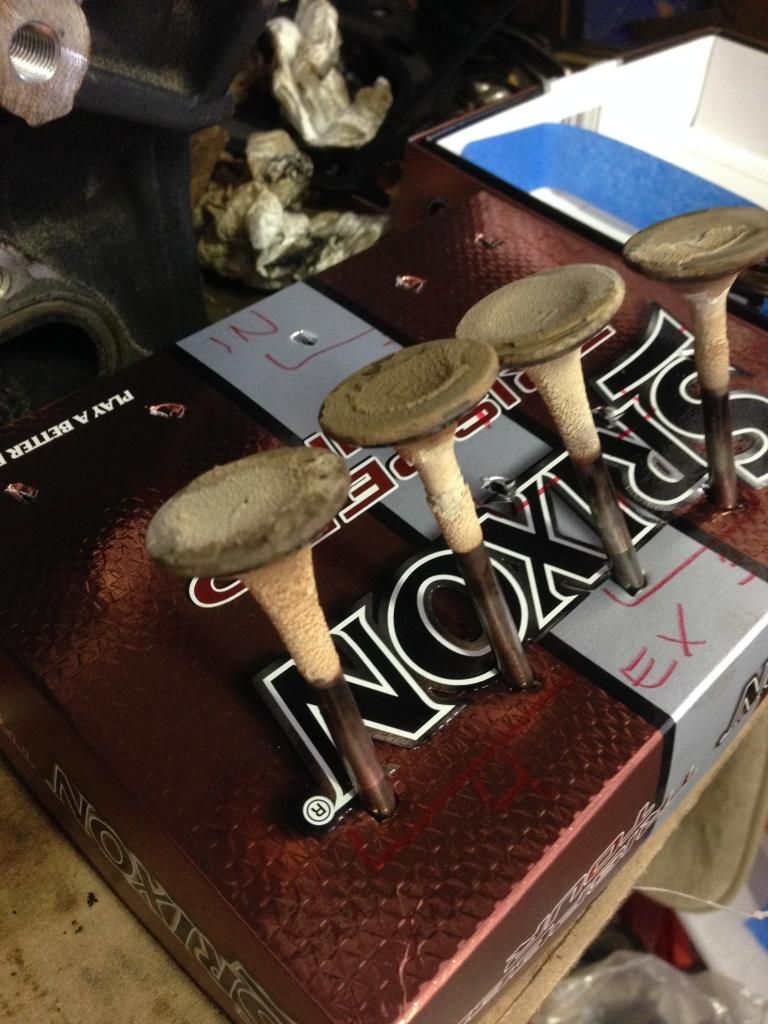
Can Anybody throw in some suggesting on how to remove this.....
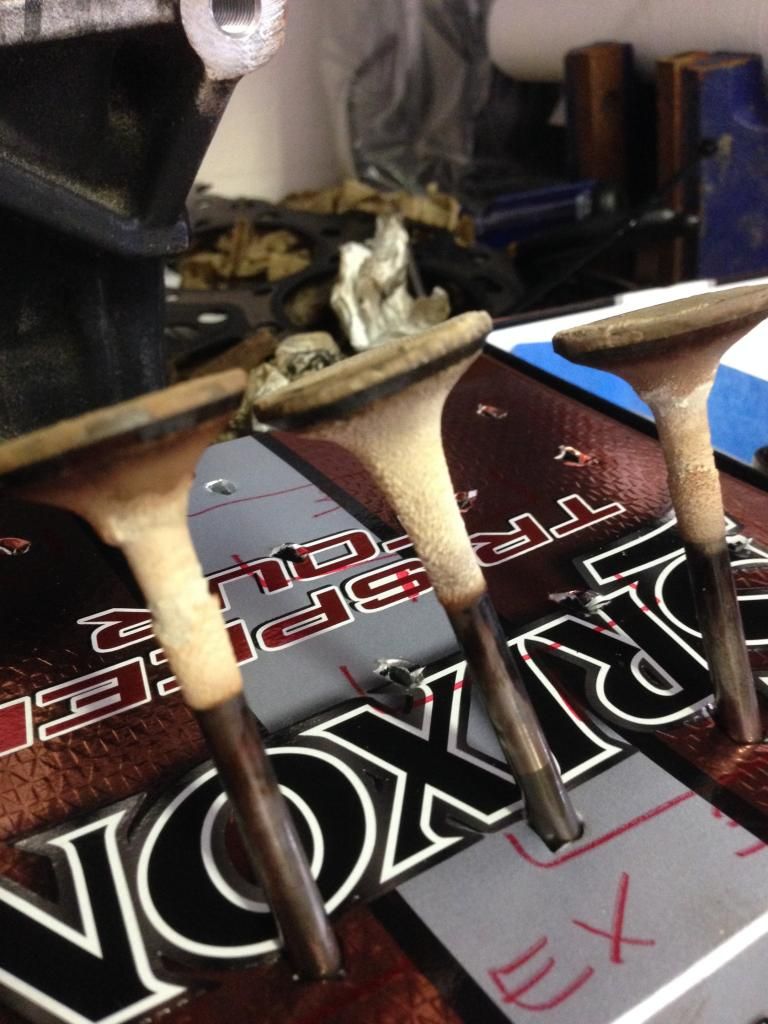
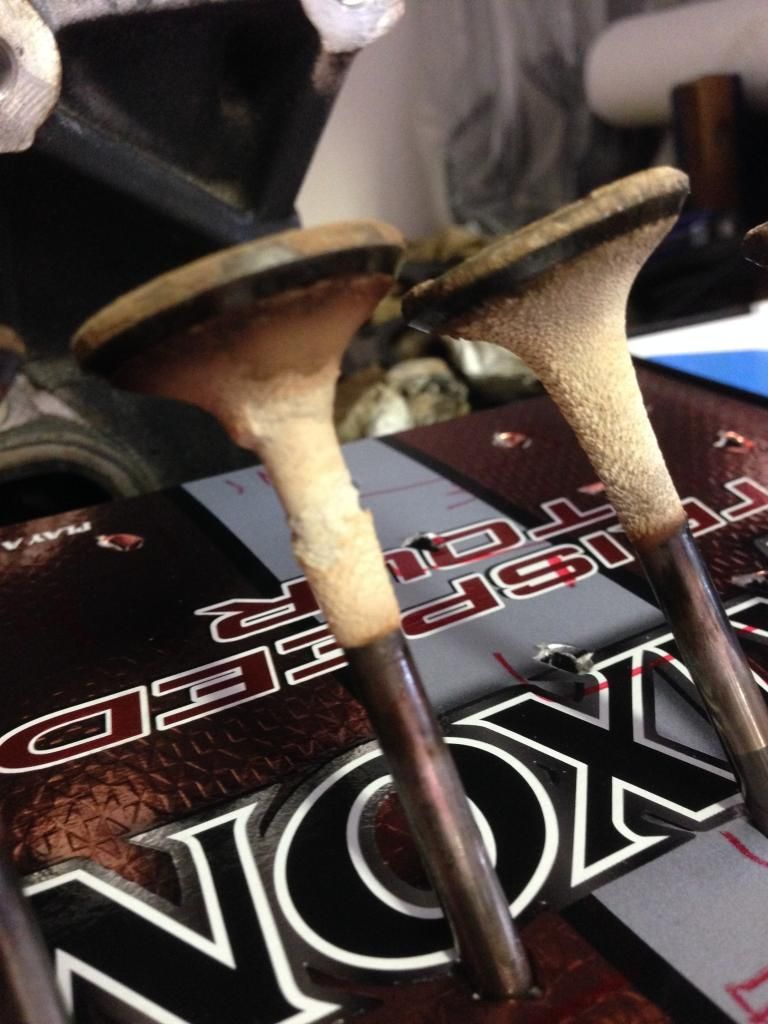
Used B16A2 with 90K miles..... I am debating on putting new bearing and/or rings. What would you do?
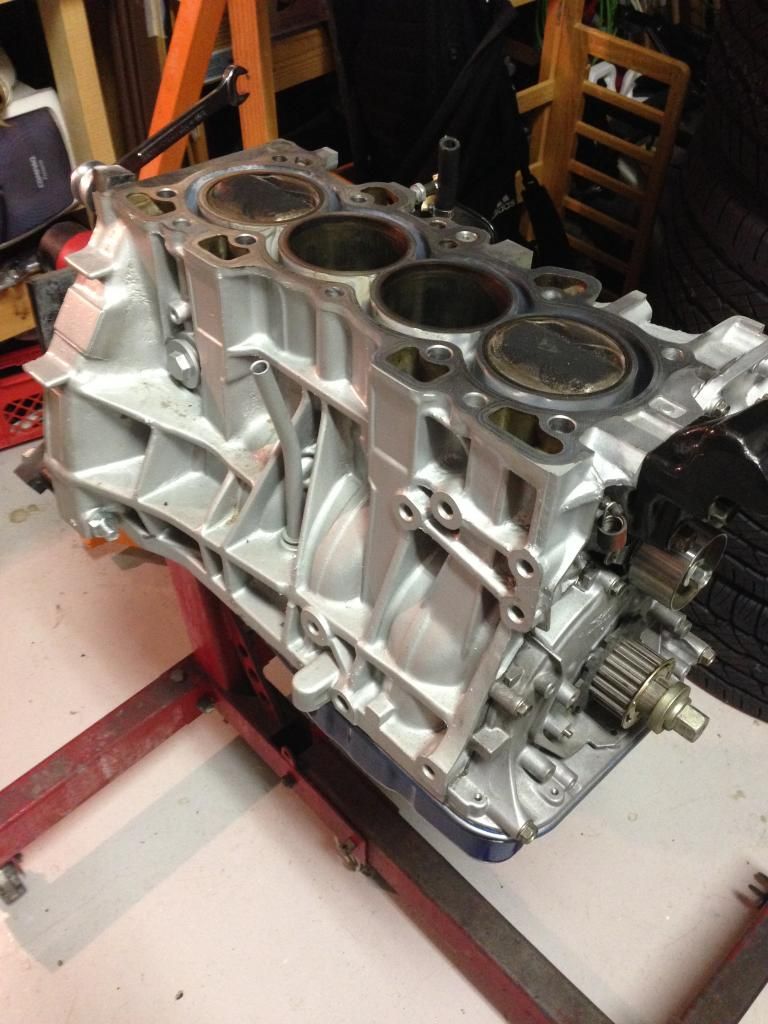
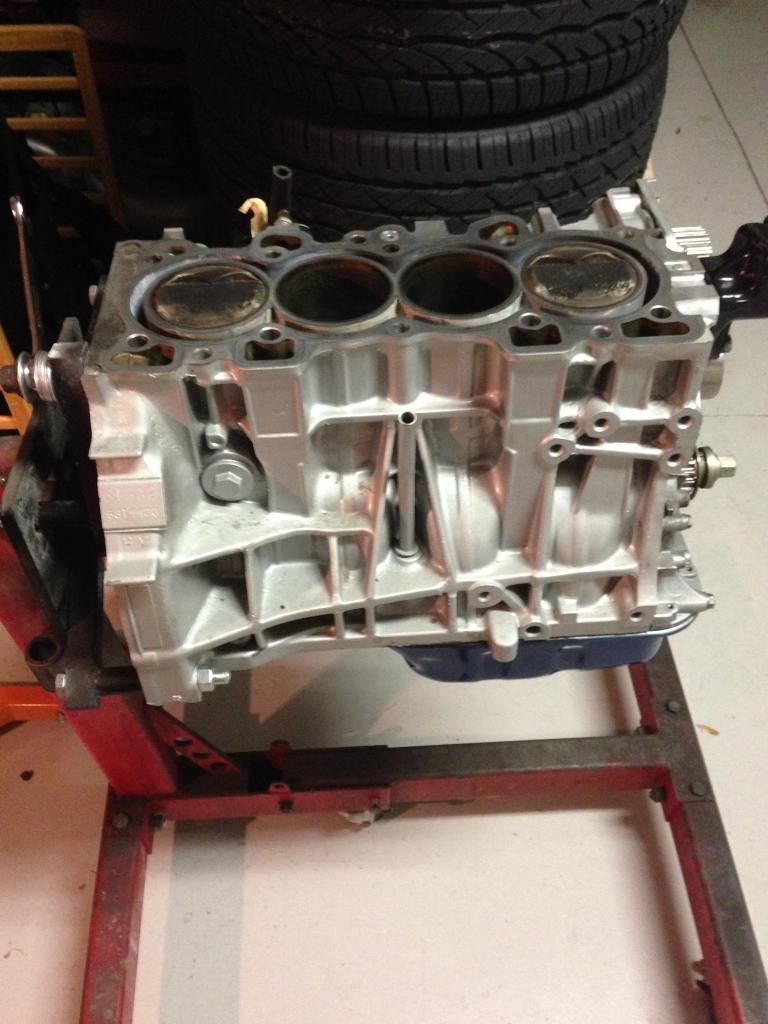
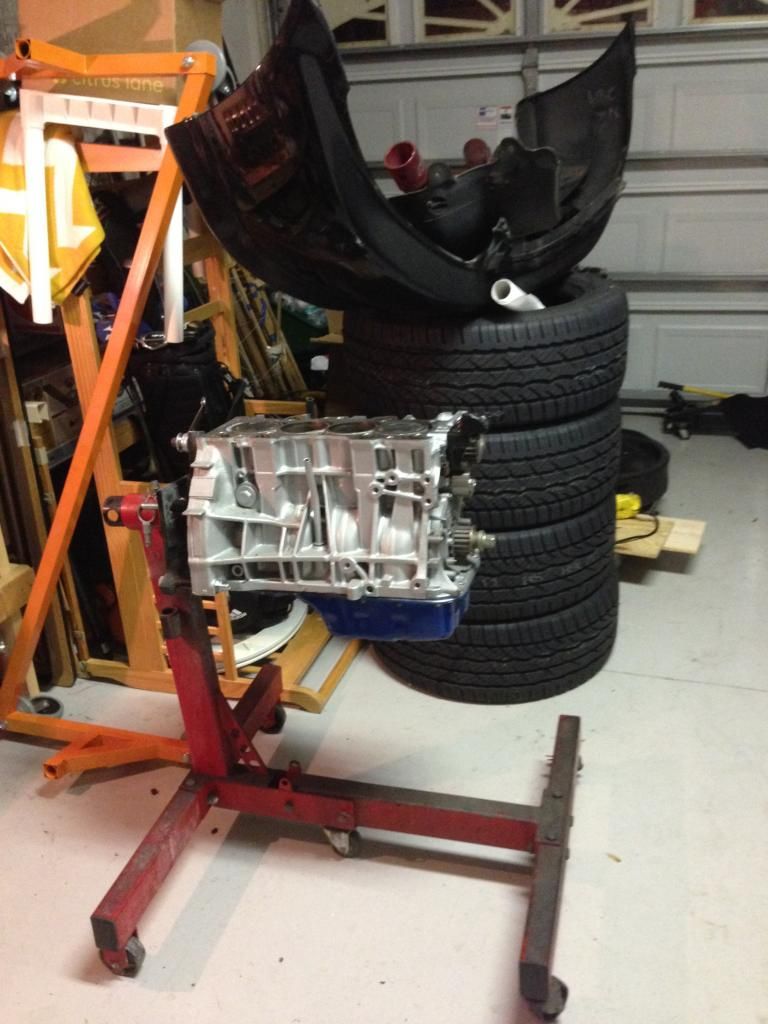
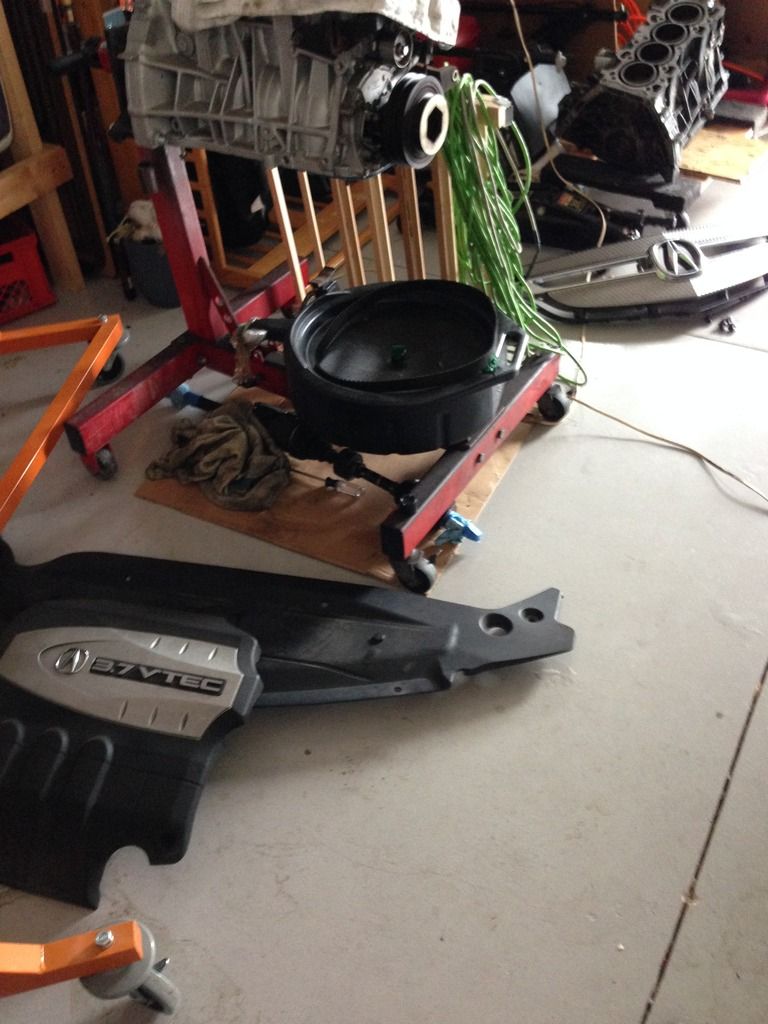
Current garage situation
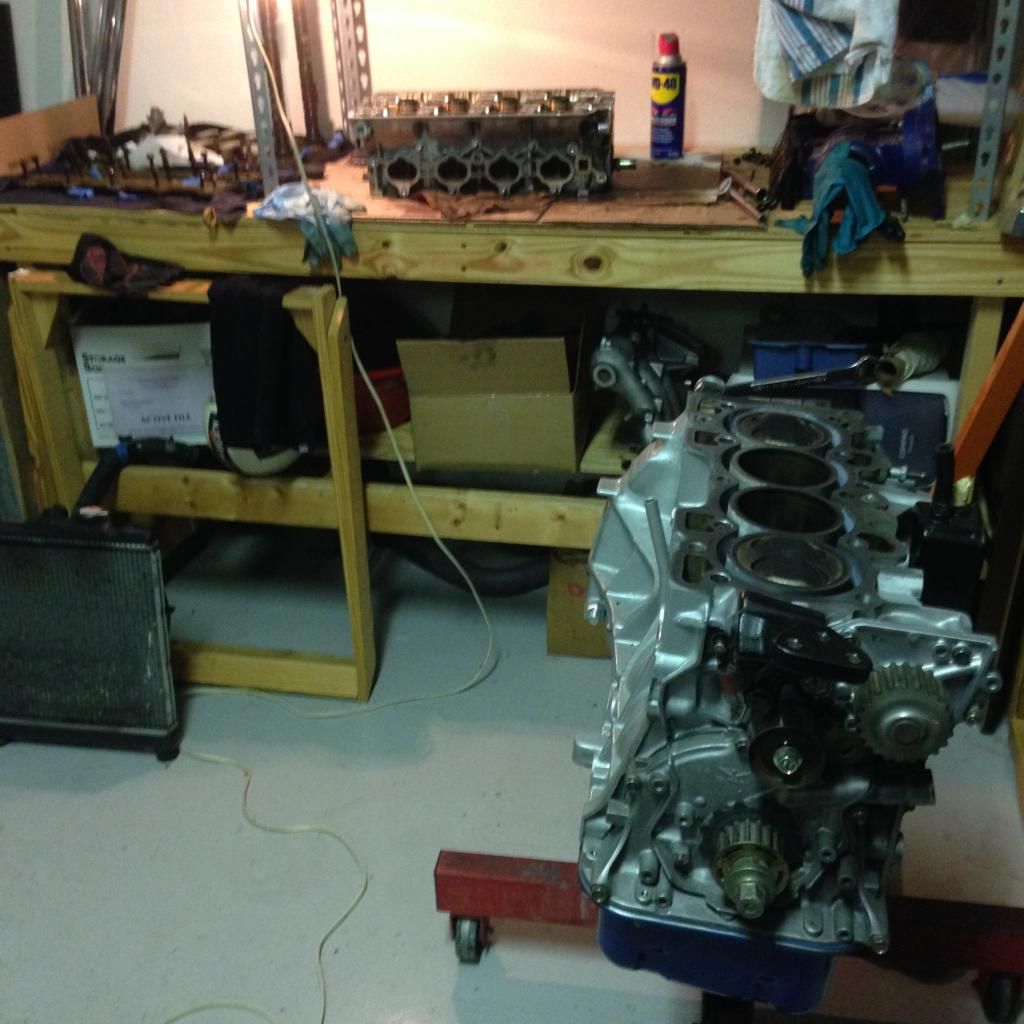
I brittel engine bright degreaser the hell out of the head and pressure washed it. The results were good, not great. I WD40 some of the non-aluminum areas. Such as the valve guides and bolts / nuts. The rest is aluminum so it should not rust.
I had to come back and clean out some spots by hand with some carb cleaner.
Some observations:
Over all my plan is to rebuild this car with the lowest possible budget to its reliable state and daily drive it.
1. After getting the head clean, I am leaning towards upgrading stuff. Maybe new valves instead of cleaning the ones with 250K miles. But I wont. I have to stick with my plan.
Approximate cost 16 x $20 = $320
2. Get new loss motion springs. The ones I have do not stick, they seem a bit "lazy", but again, I will not replace.
Approximate cost: $100 from Skunk2
3. Local shop was charging $65 to hot tank and beed blast the head. I chose the cheap option.
4. I am leaning towards polishing the casting marks and rough areas on the head. I see all the build up occurs in this areas. I will decide in the next few days.
Pics
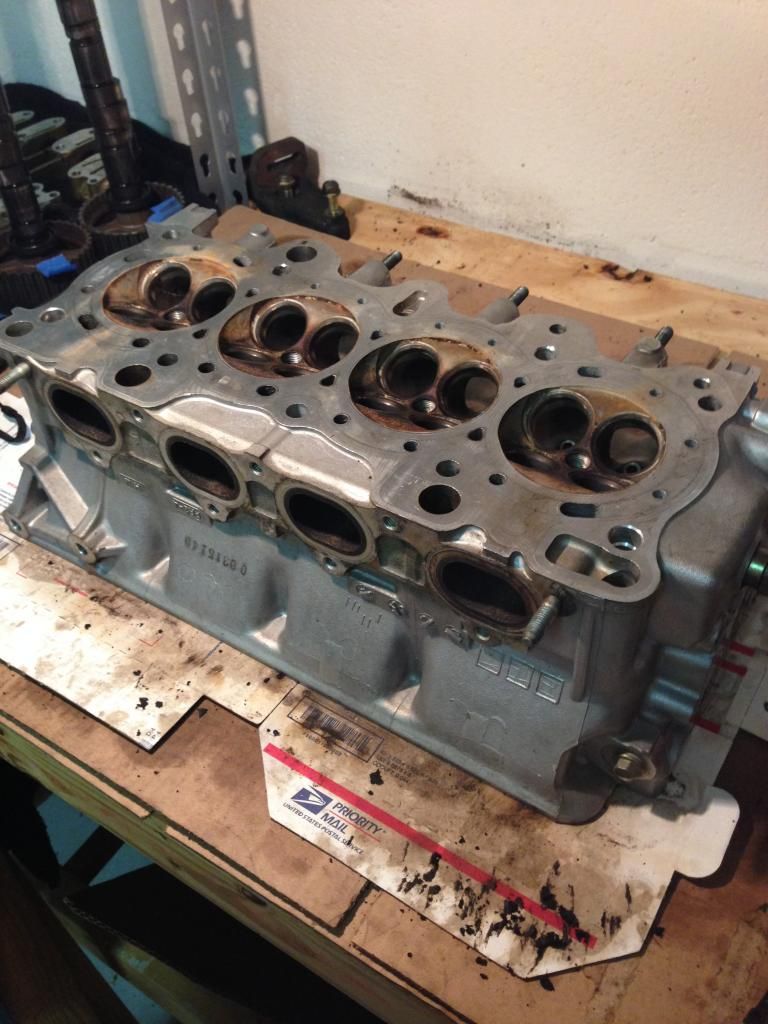
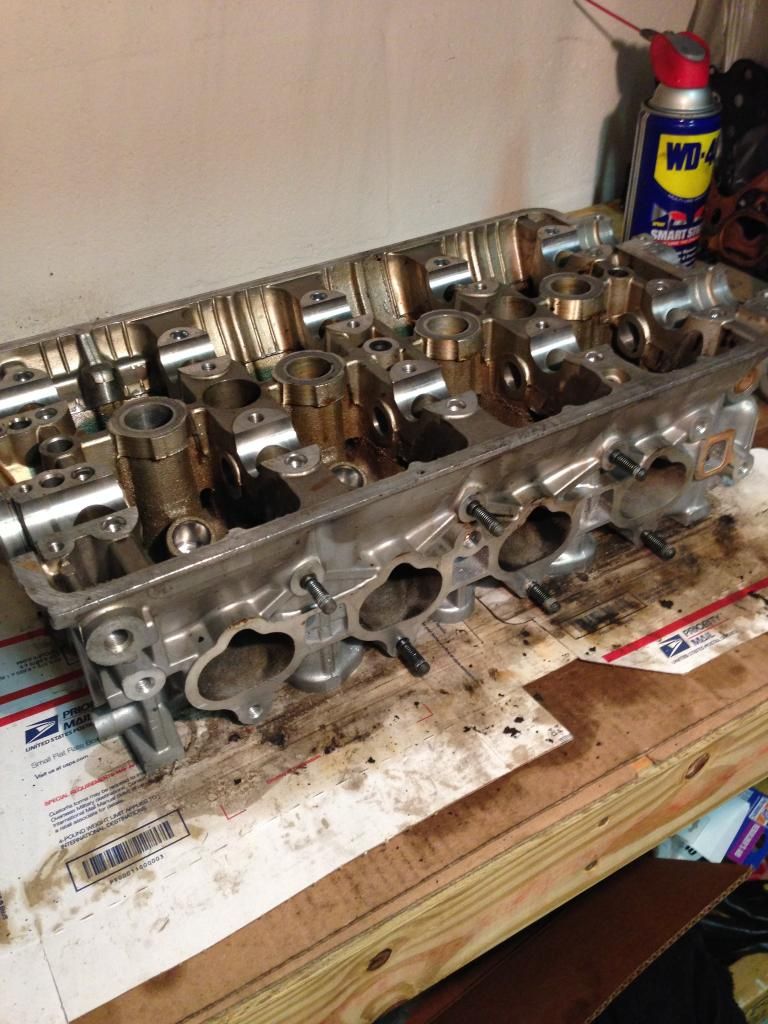
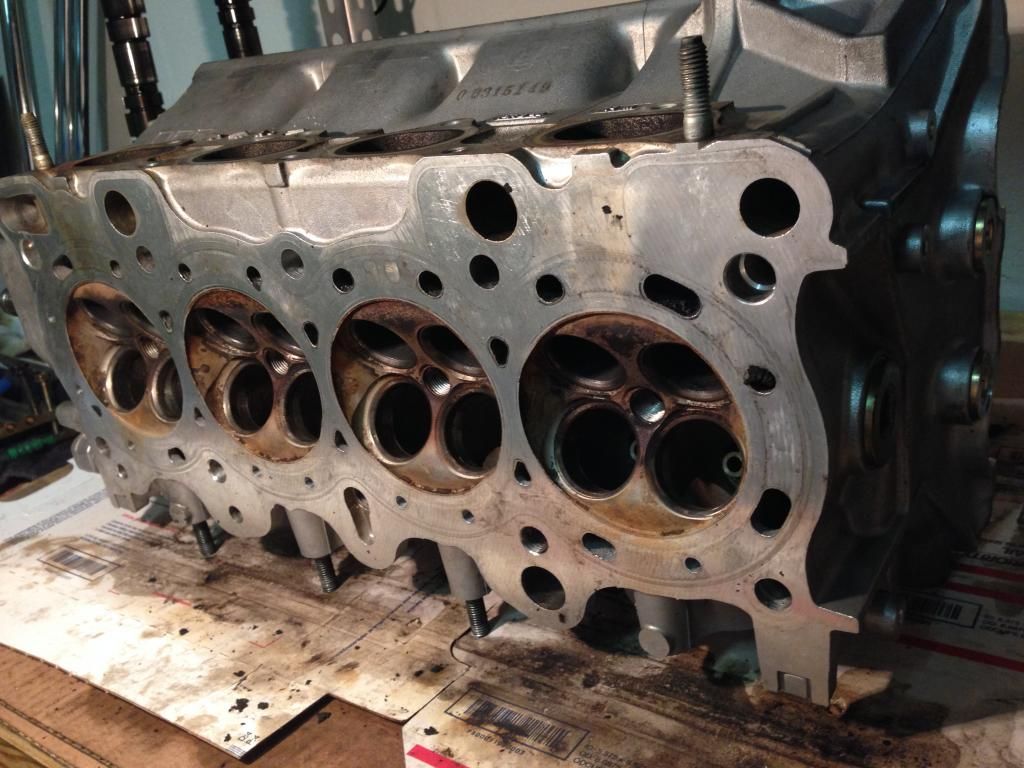
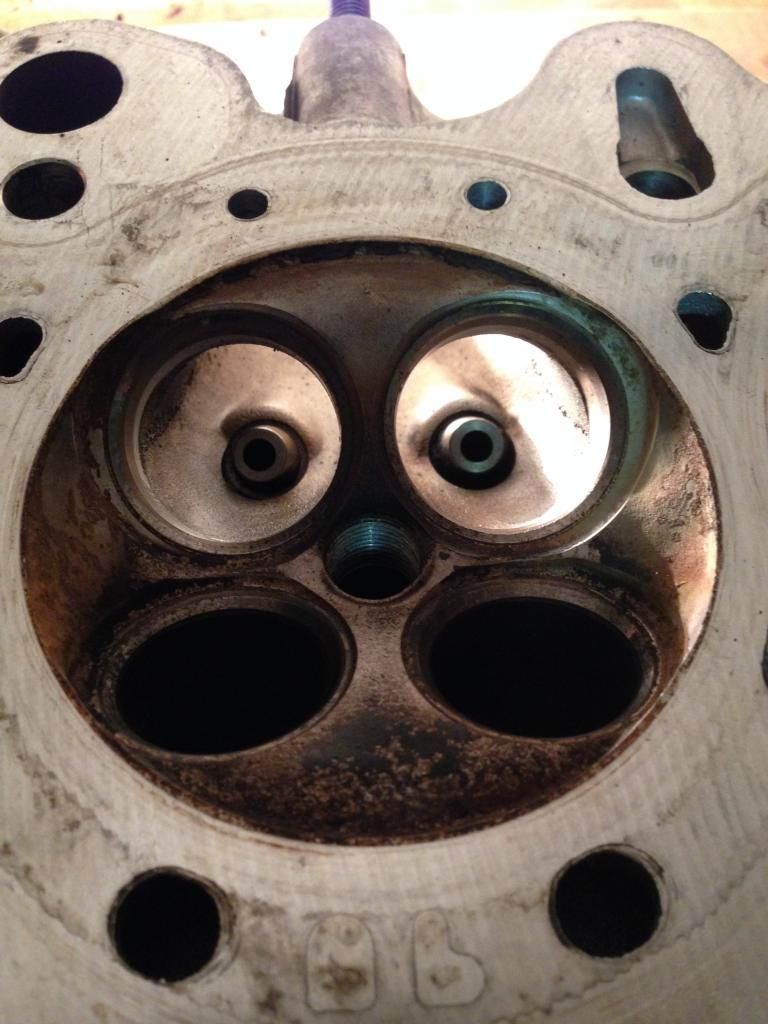
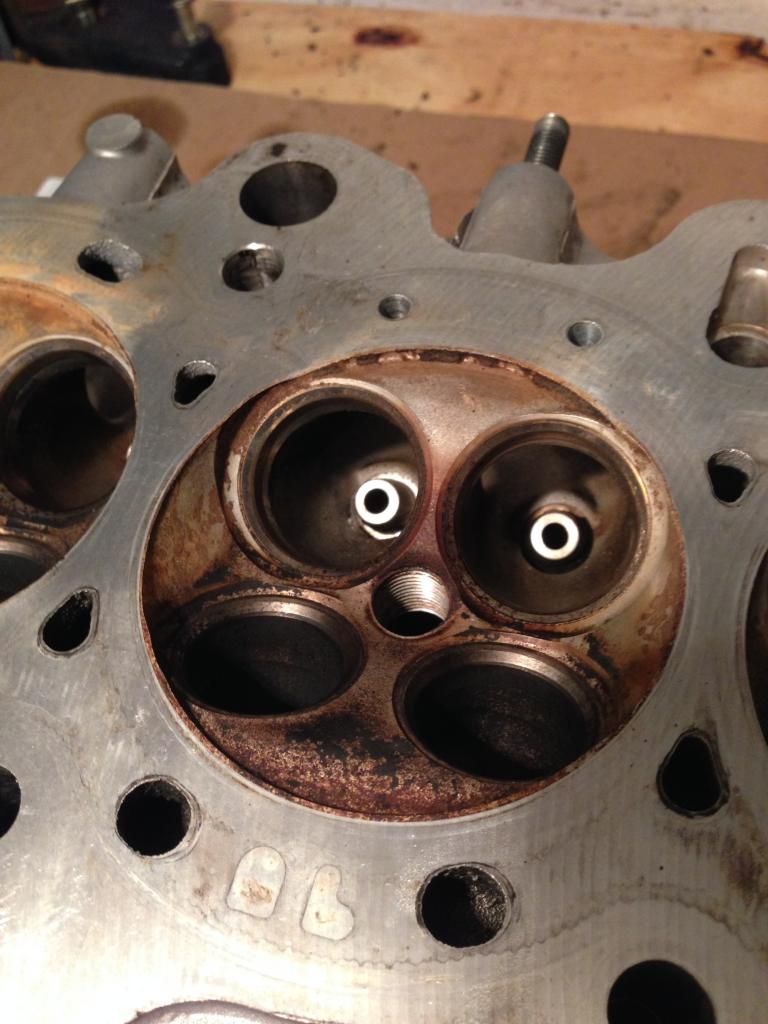
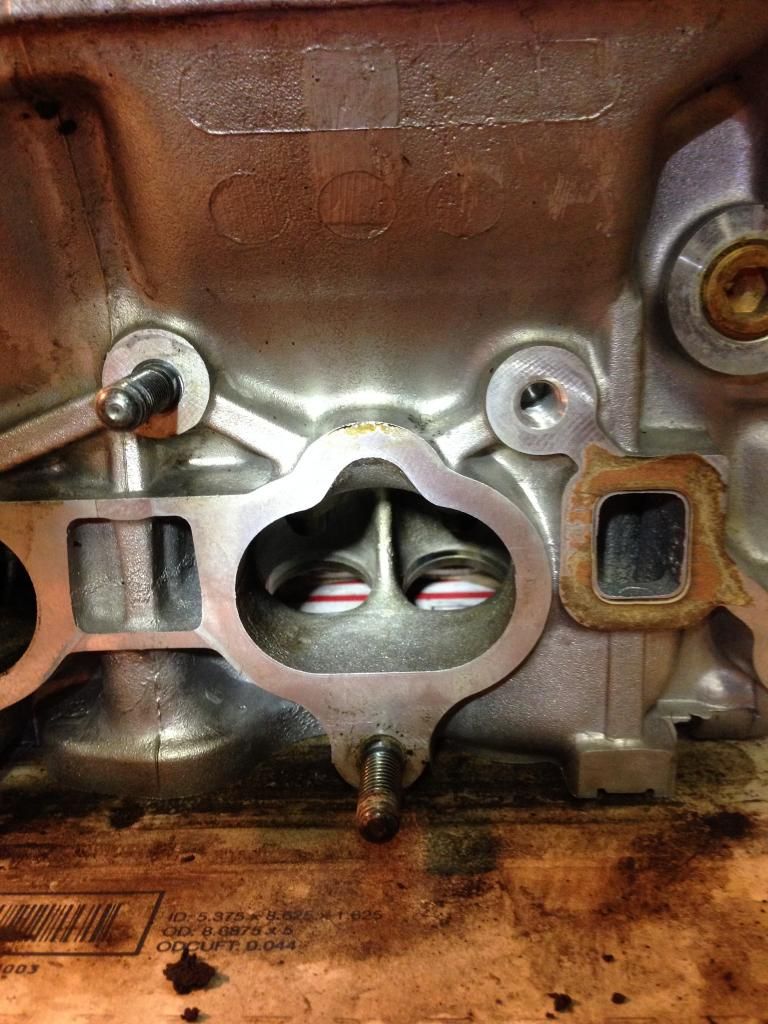
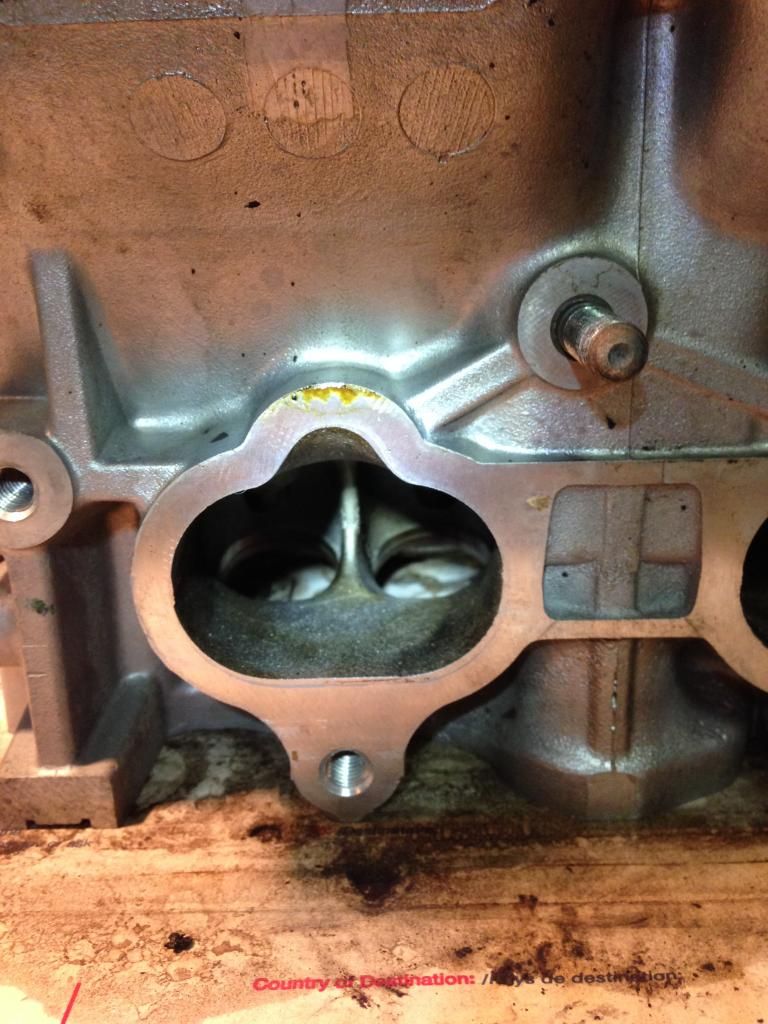
Notice the dark spots on the 4 and 8 oclcok spots. These areas I had to manually clean. The casting is rough in these areas. I am contemplating on polishing it up
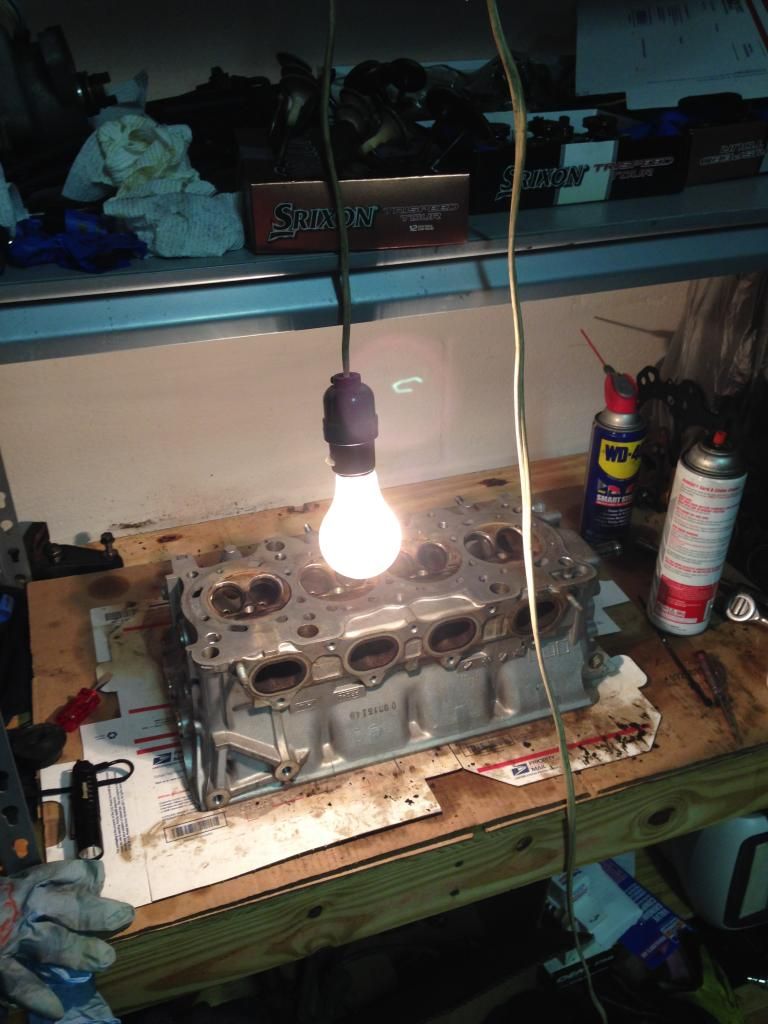
My high end - state of the art light source
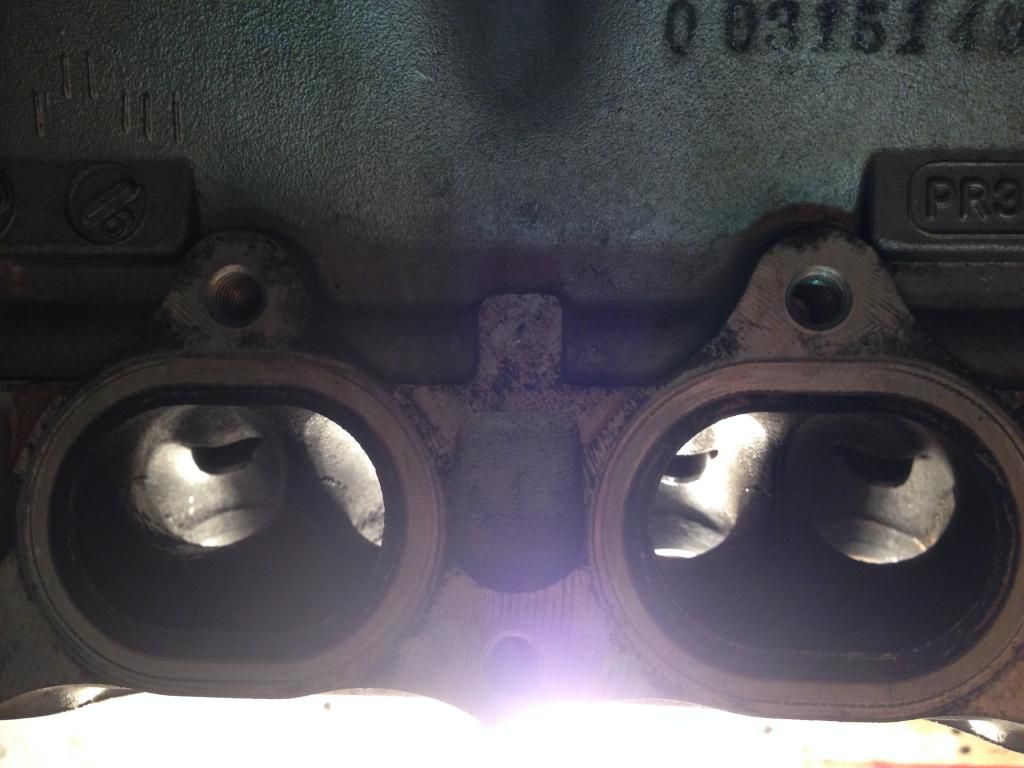
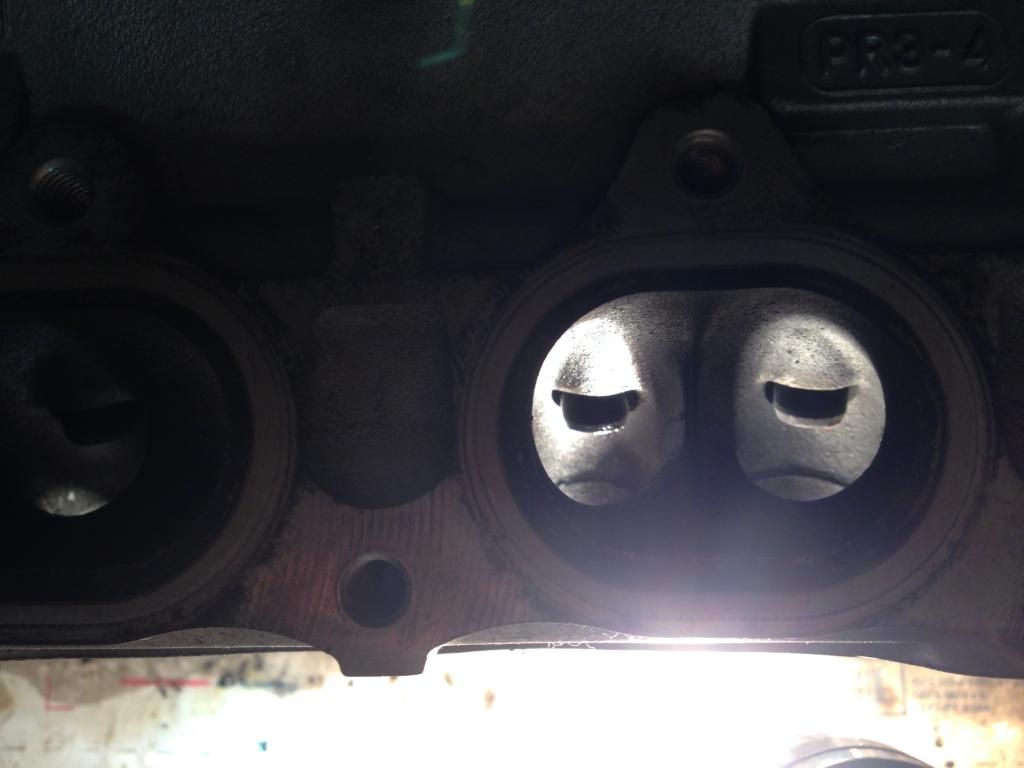
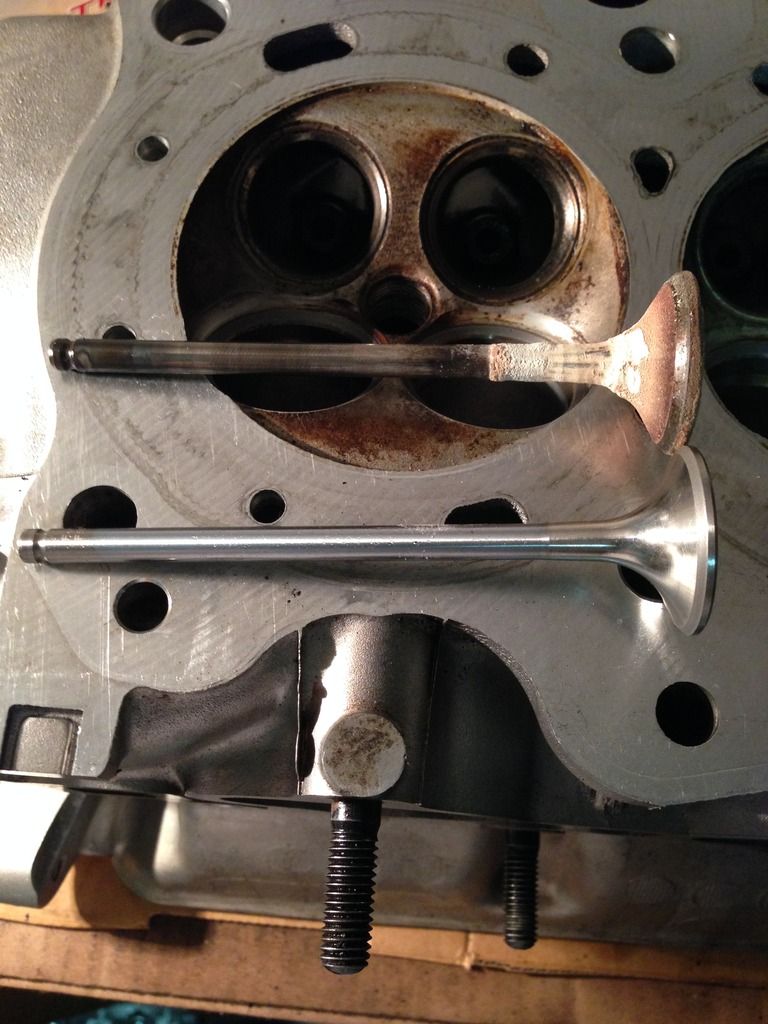
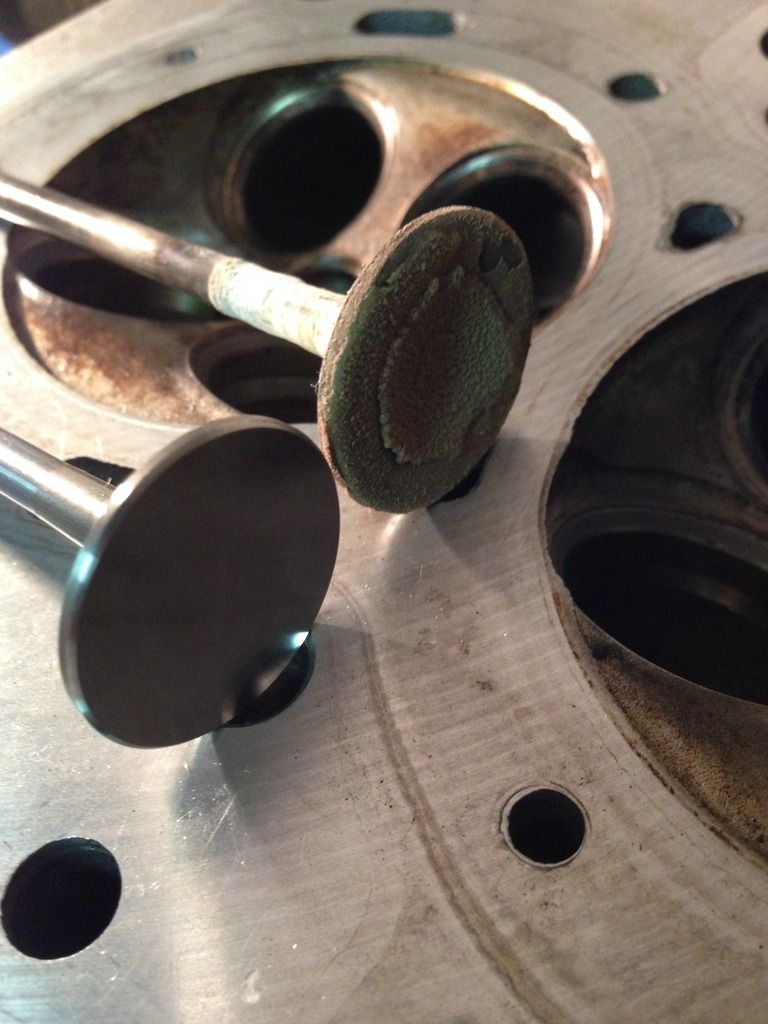
Well, I cleaned the valves with a dremel. The results not so good. The intake valves were decent, but took a lot of time and wire brushes. The exhaust side were no successful. I talked to some people and I think I will be replacing them.
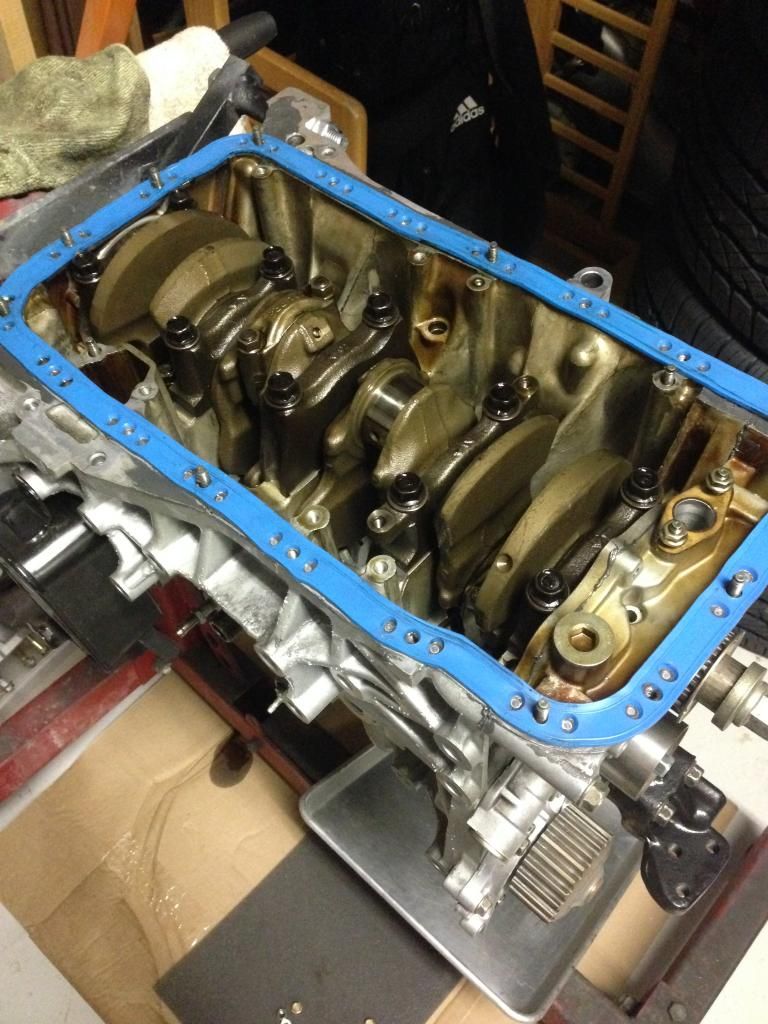
I Plastigauge all the bearing to make sure reusing them will be okay for another 100K miles.
Intake valves, Nice clean seat for the lapping.
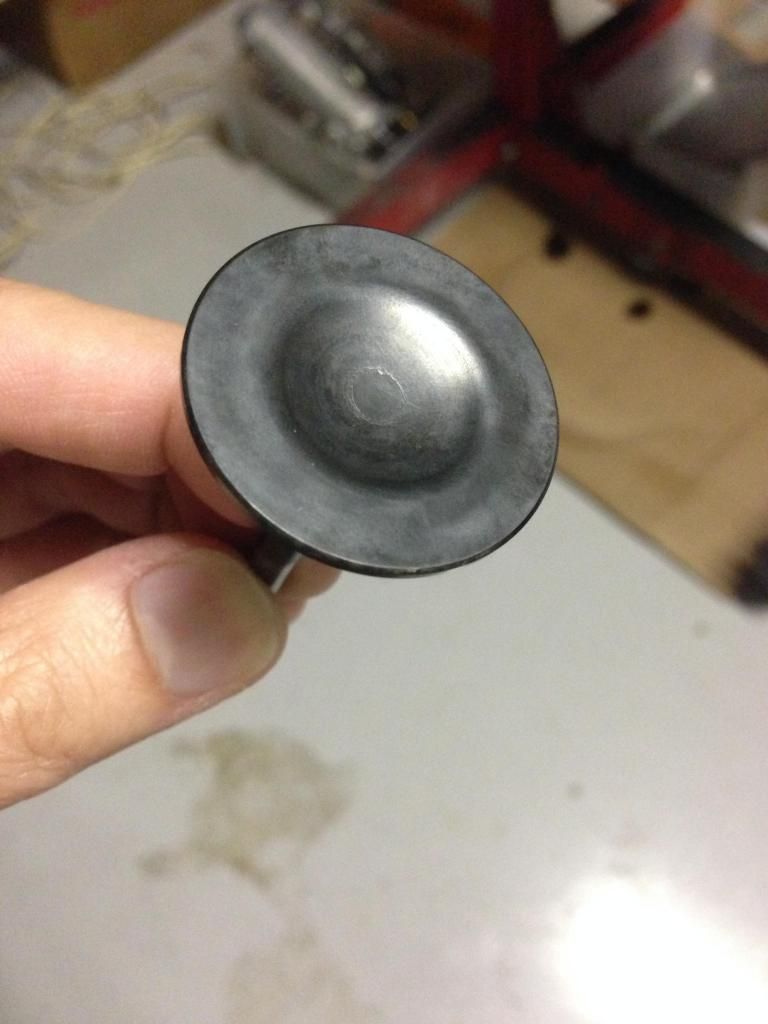
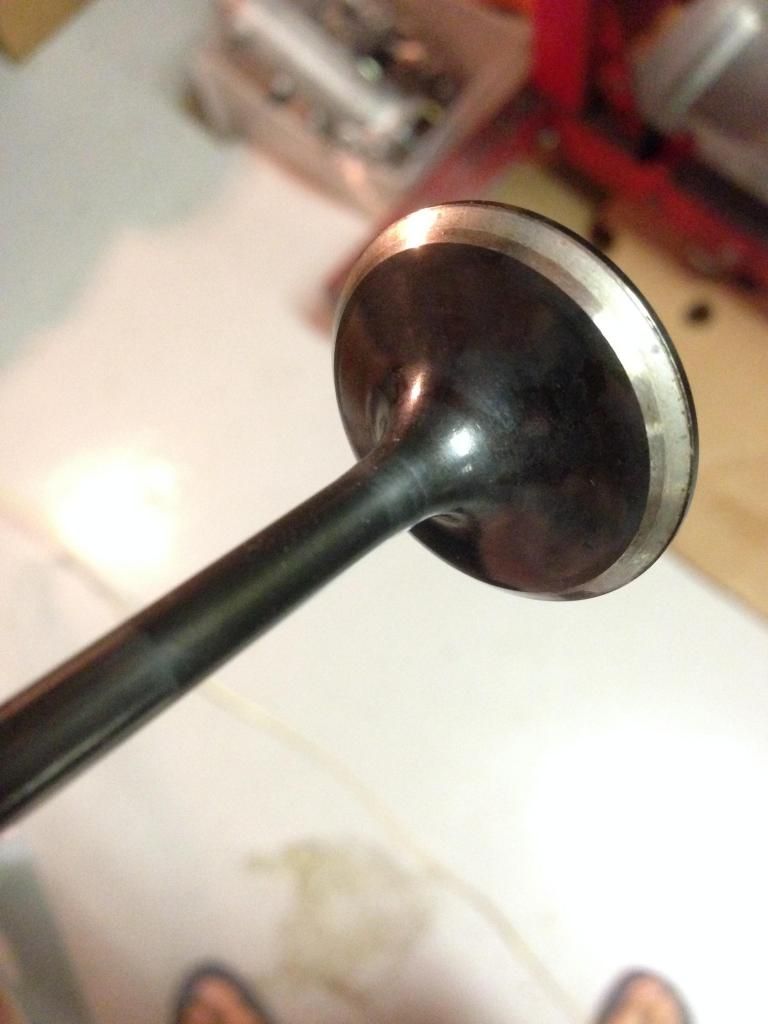
Overall good finish. I will be reusing them after 250K miles.
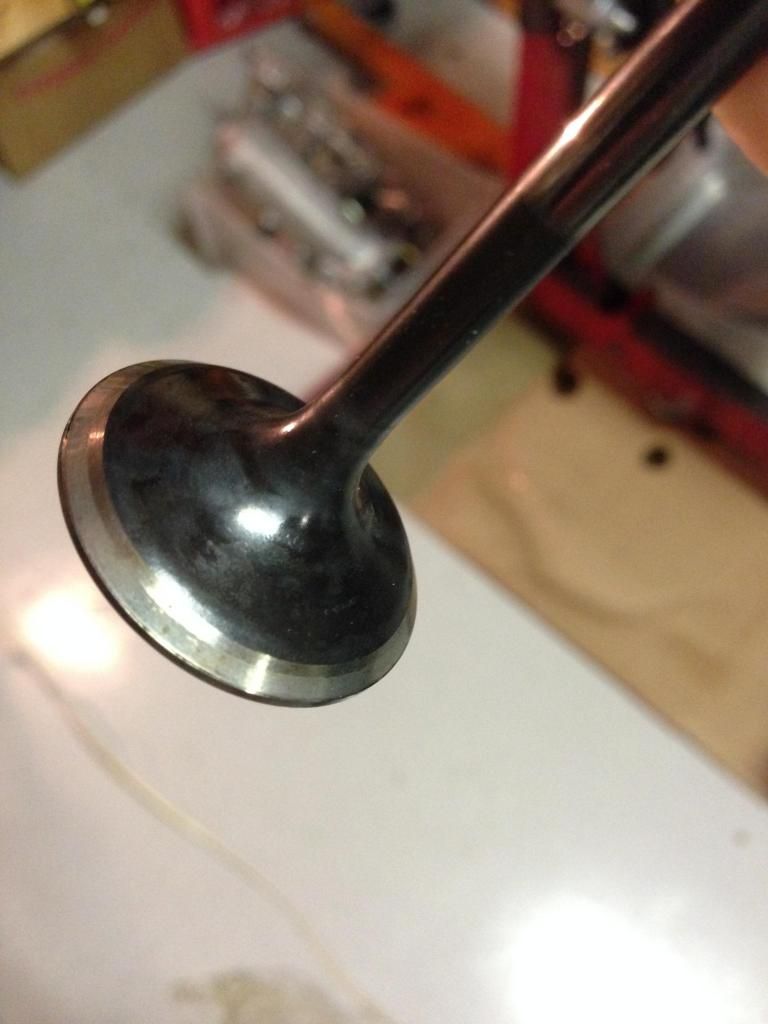
Exhaust valves. This is the best I could do. not good enough to reuse.
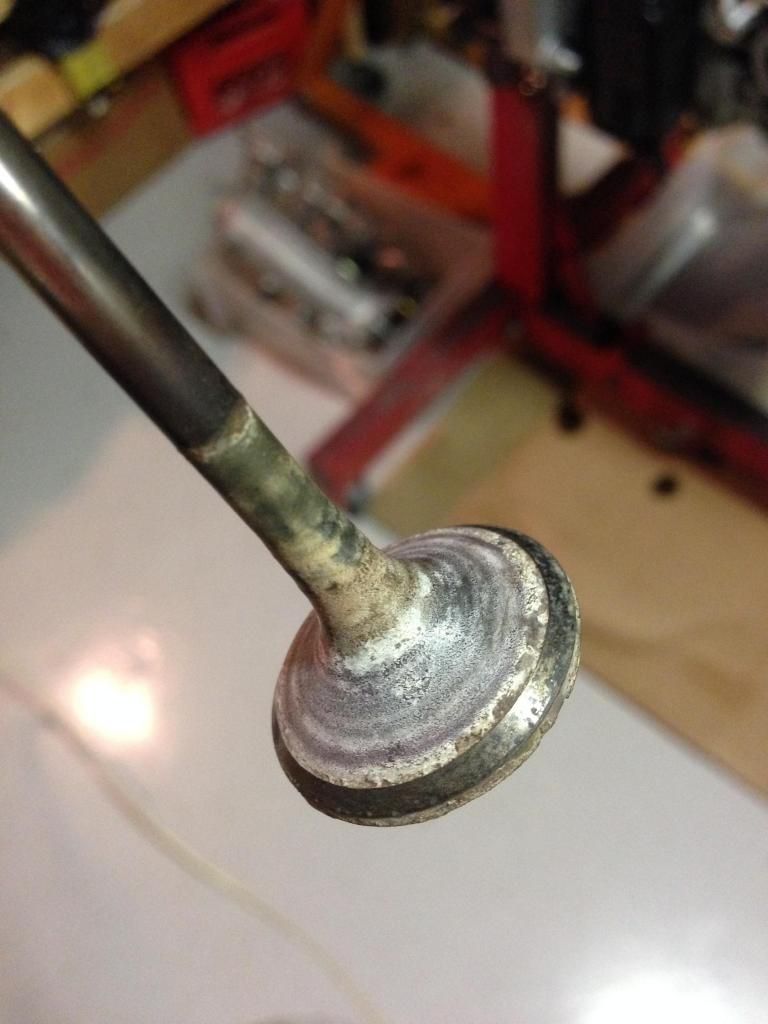
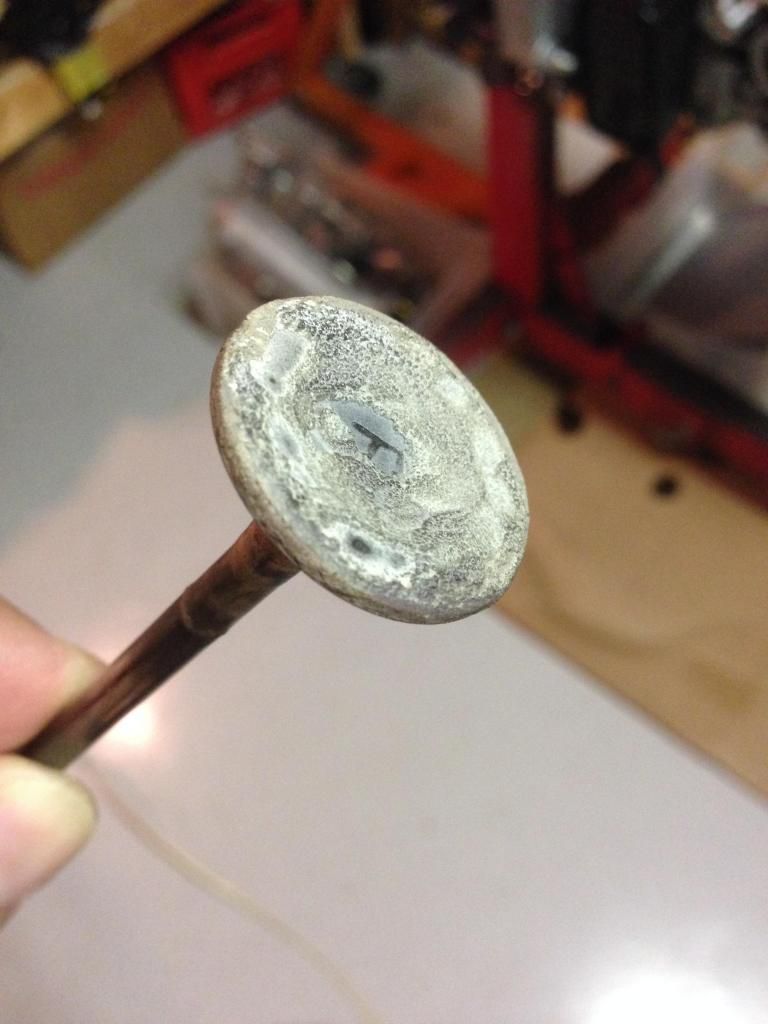
Valve end is the toughest. One machine shop told me they can use baking soda blasting. I will check them out in the next few days.
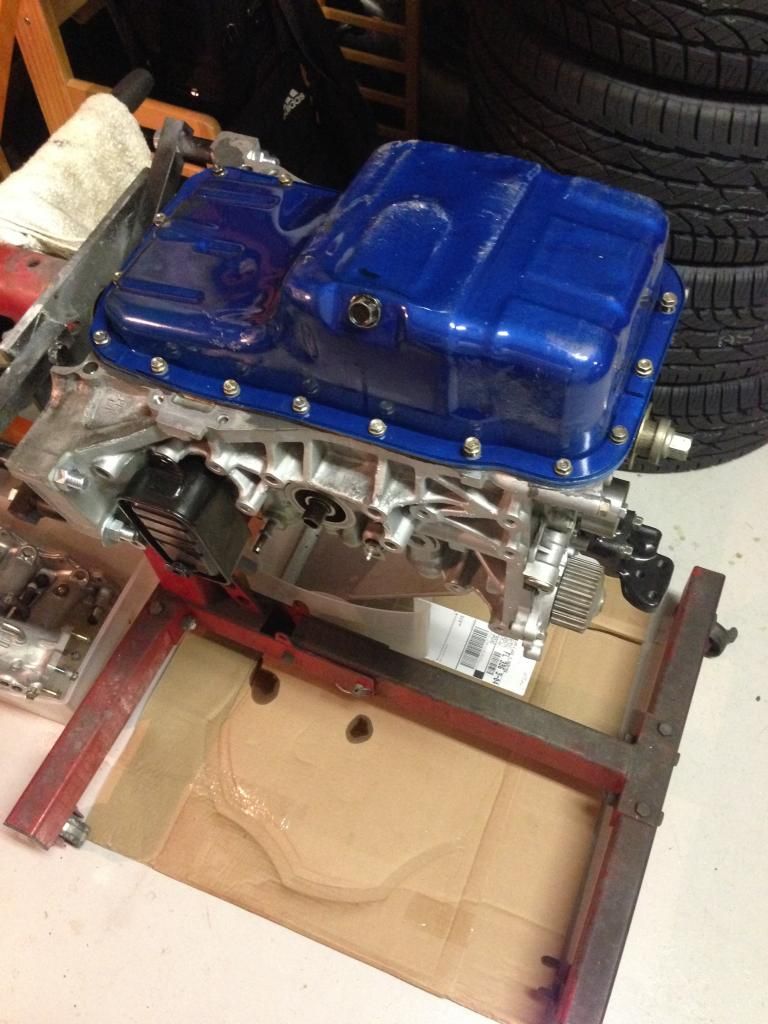
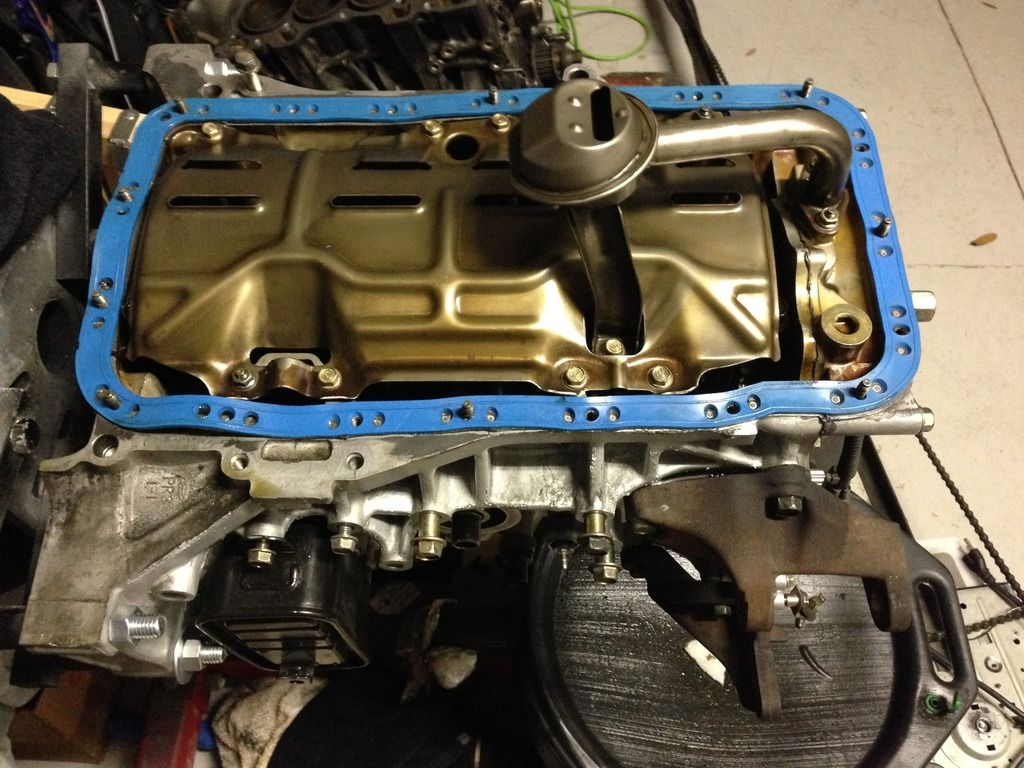
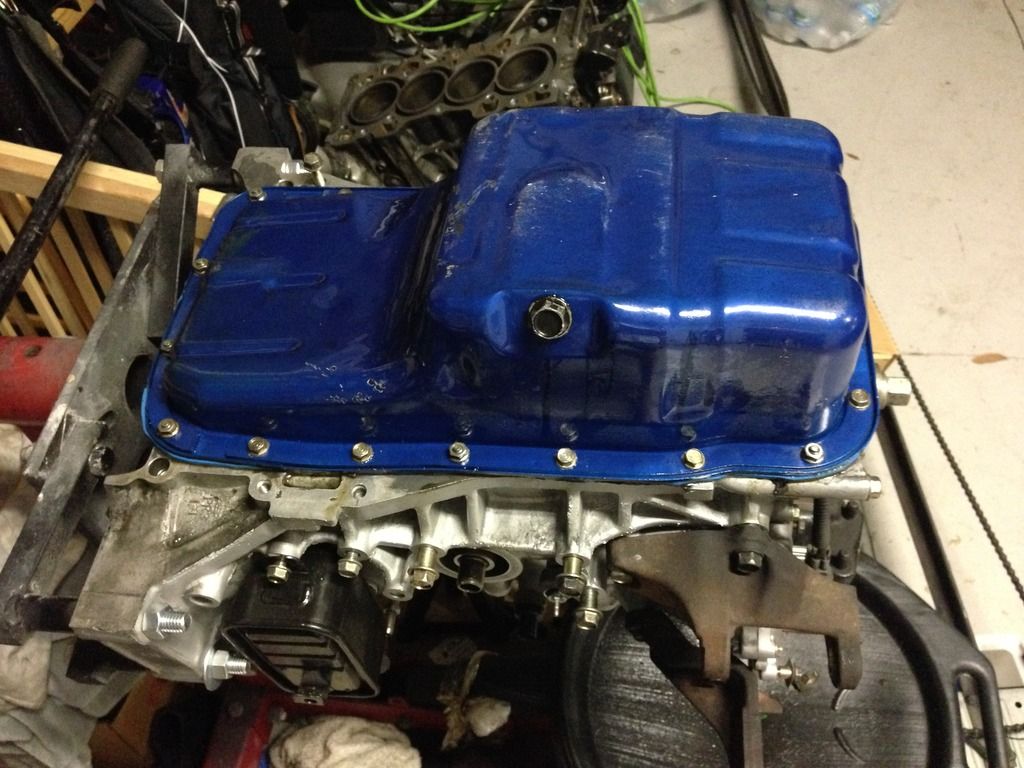
Blue Oil pan. I didnt like it at first, but starting to grow on me.
Basic disassembly
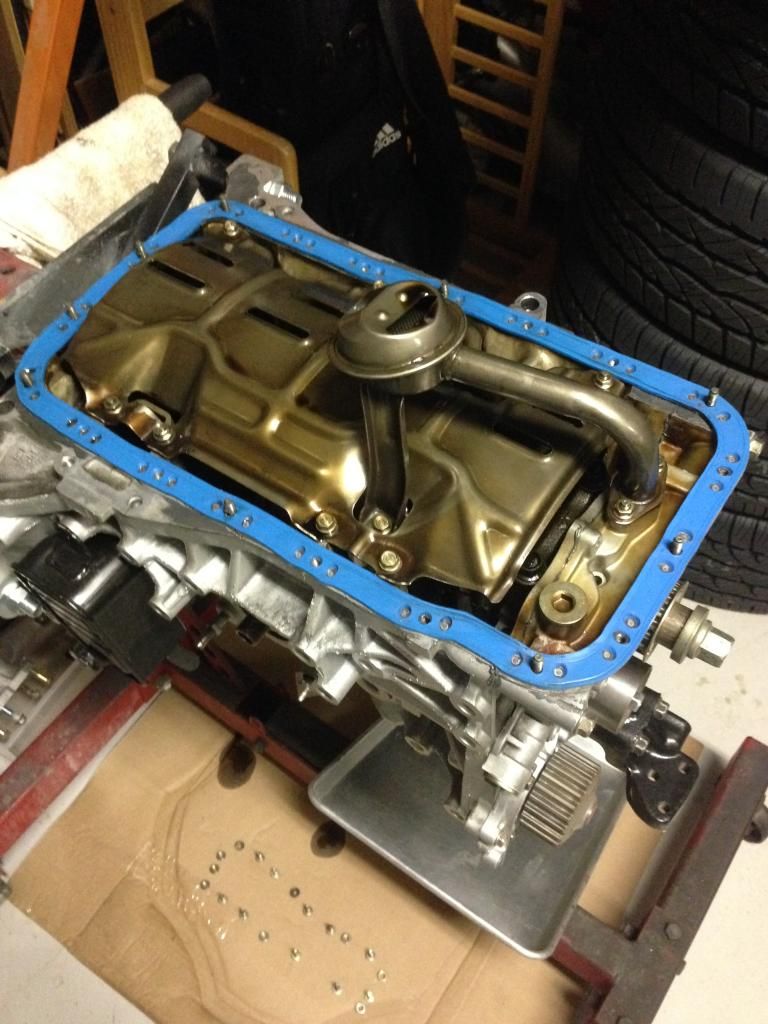
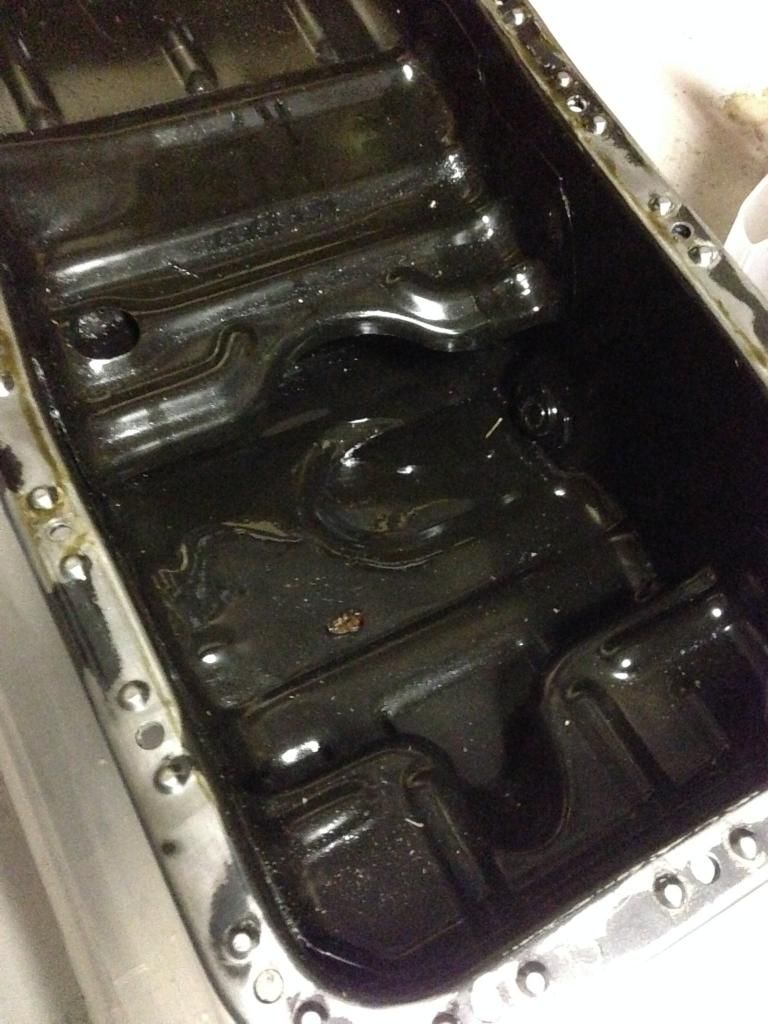
look whats inside the oil pan
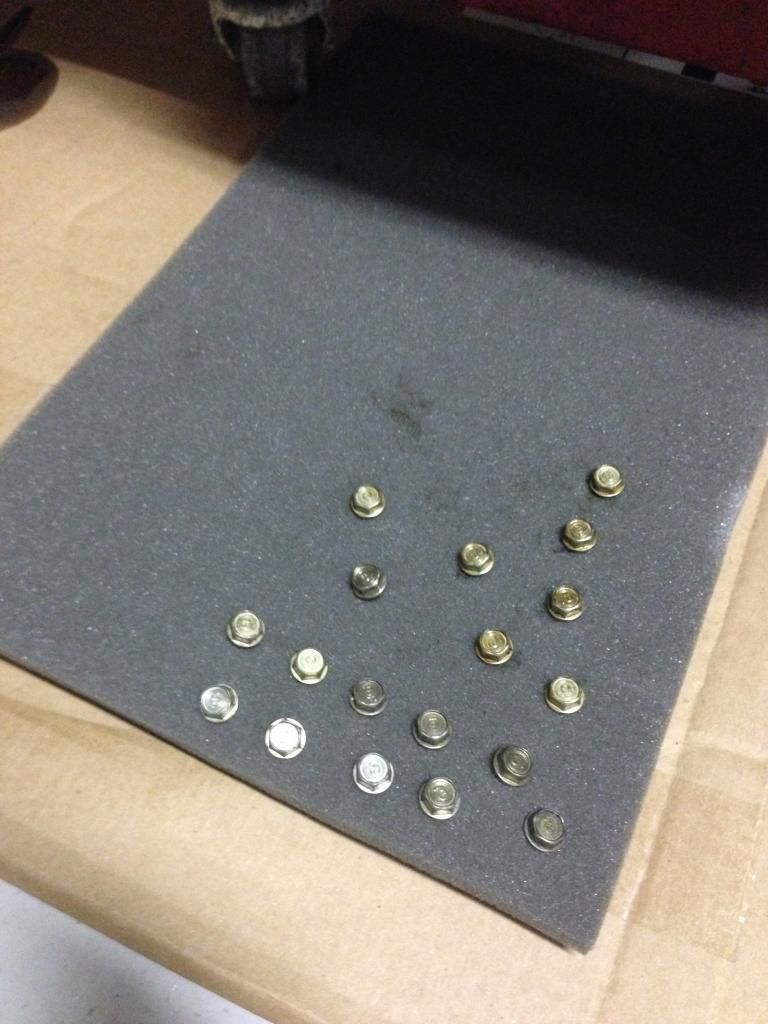
Trying to be organized as possible. These are the oil pan and oil pick up bolts. Probably didn't need to do this, but just for the heck of it.
Going to be plastigauging the bearings.
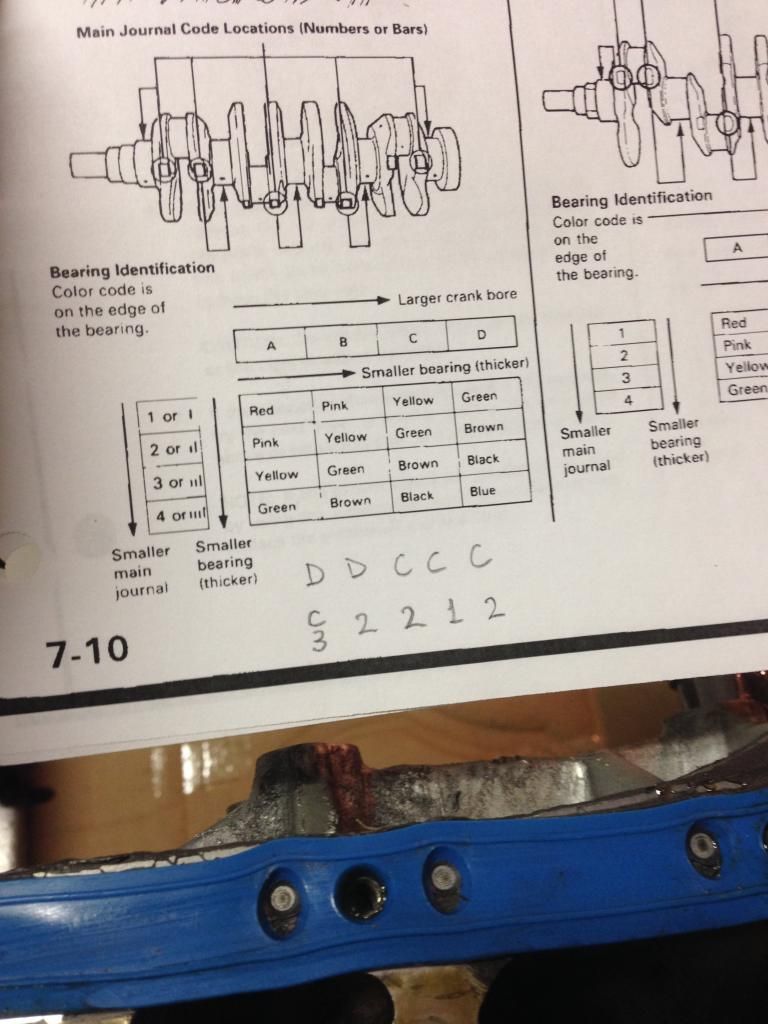
Main Bearing code location
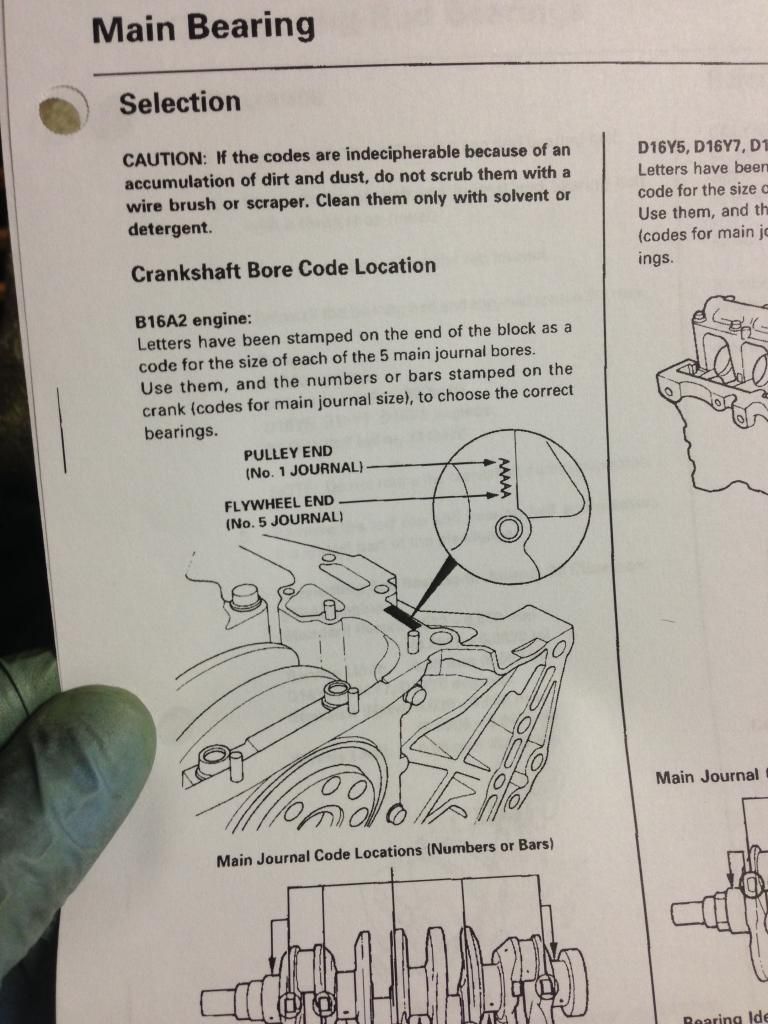
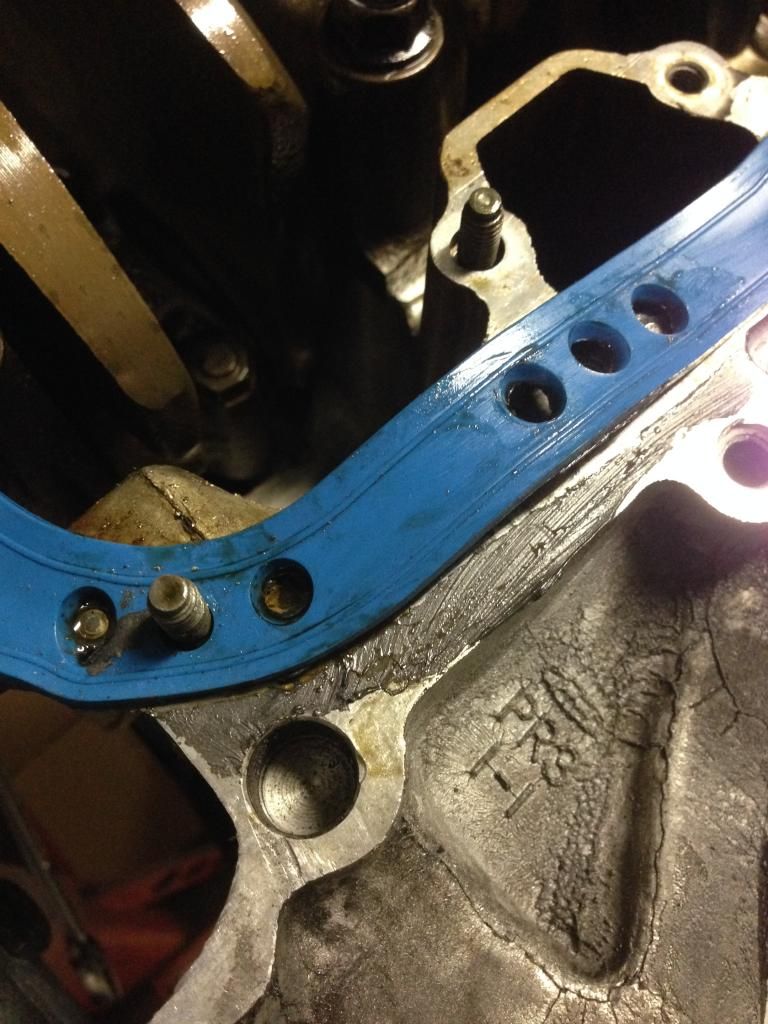
Some Hondabond covering the secret code
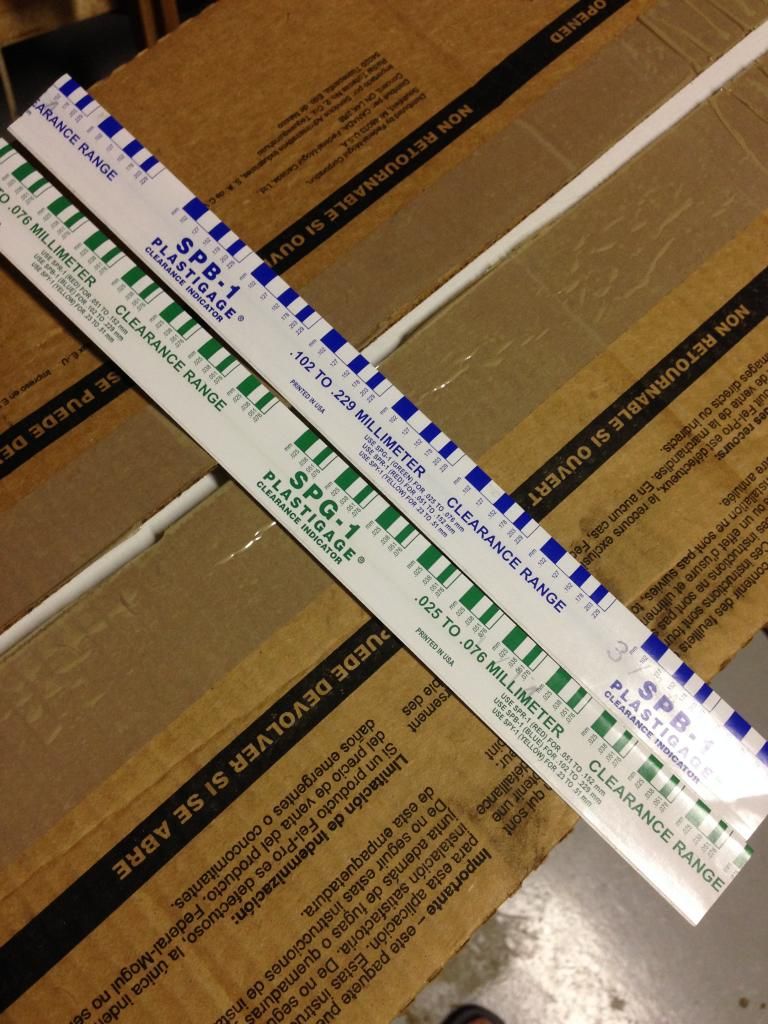
Just FYI, The green plastiguage is fine for our motors. When I went to the store, they told me they had 4 types/colors. I was caught off guard and got blue and green
After some scrapping. Main bearings are CCCDD
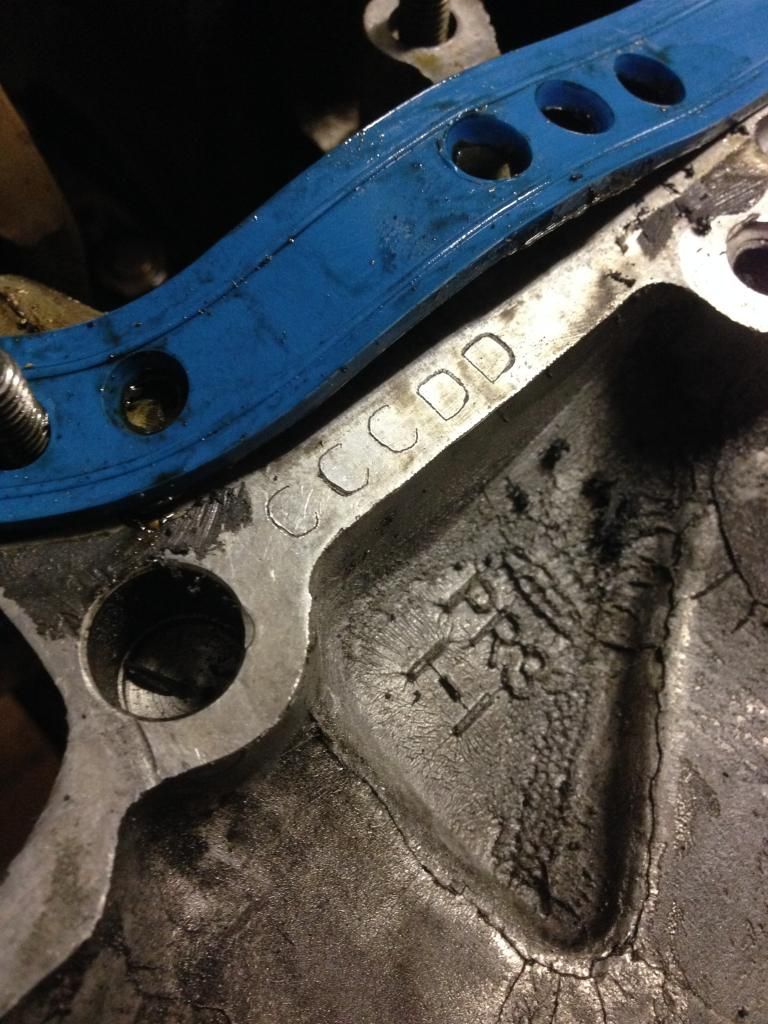
Now time to find the numbers
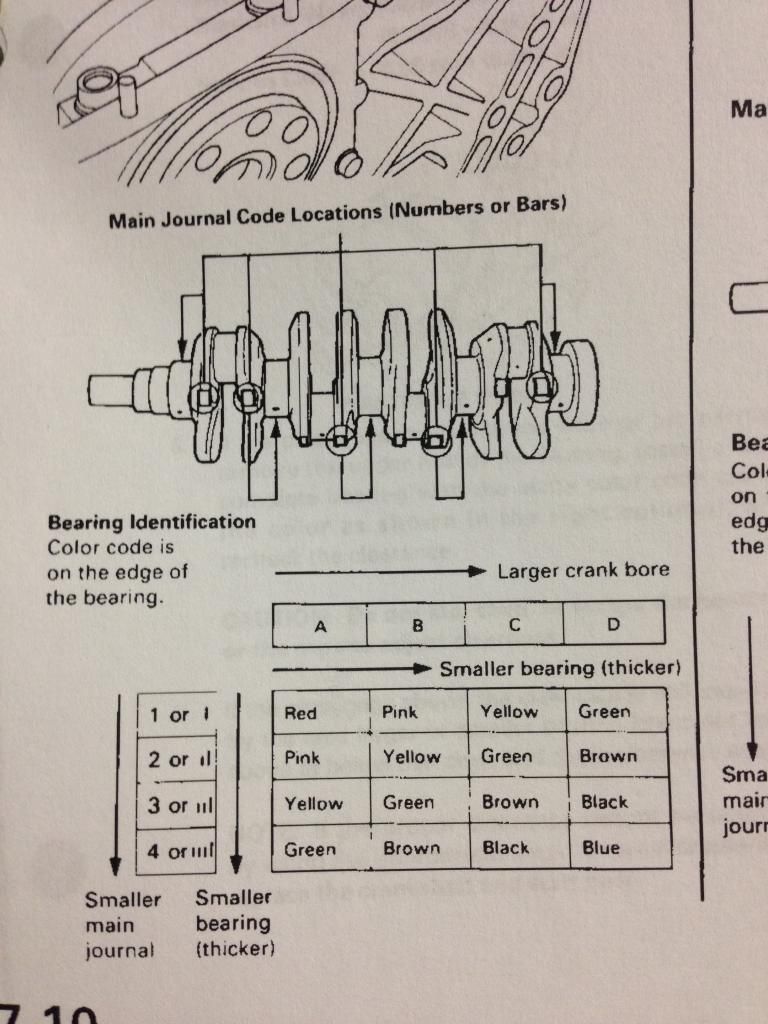
First one on the pulley side - 3
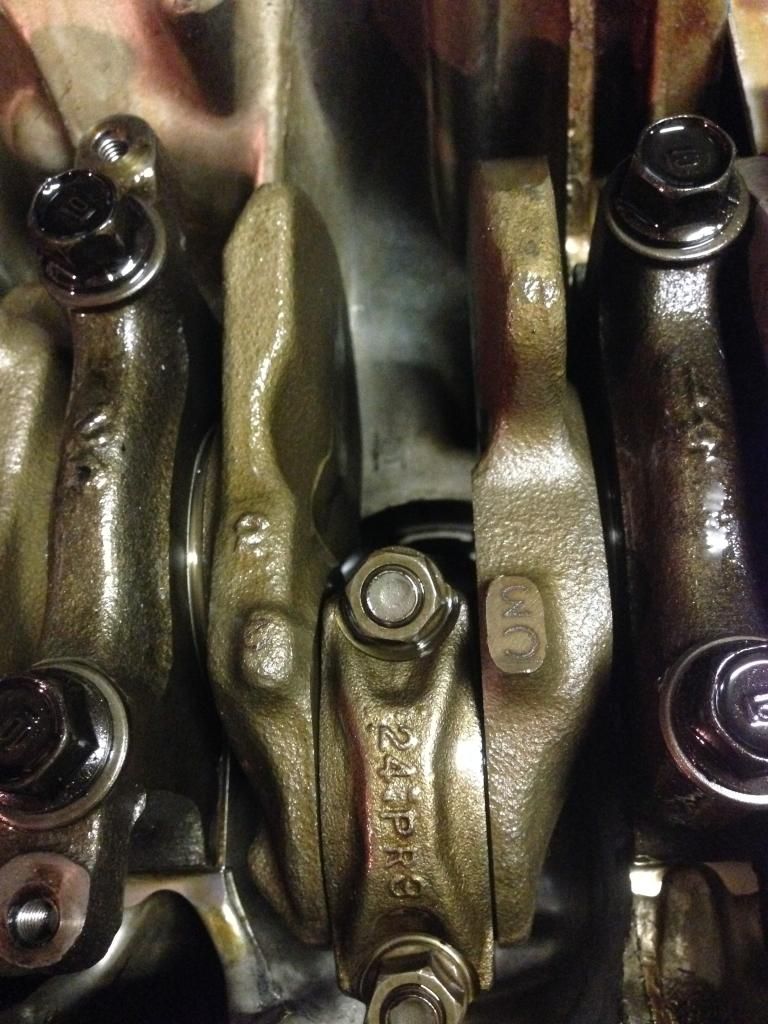
Second - 1
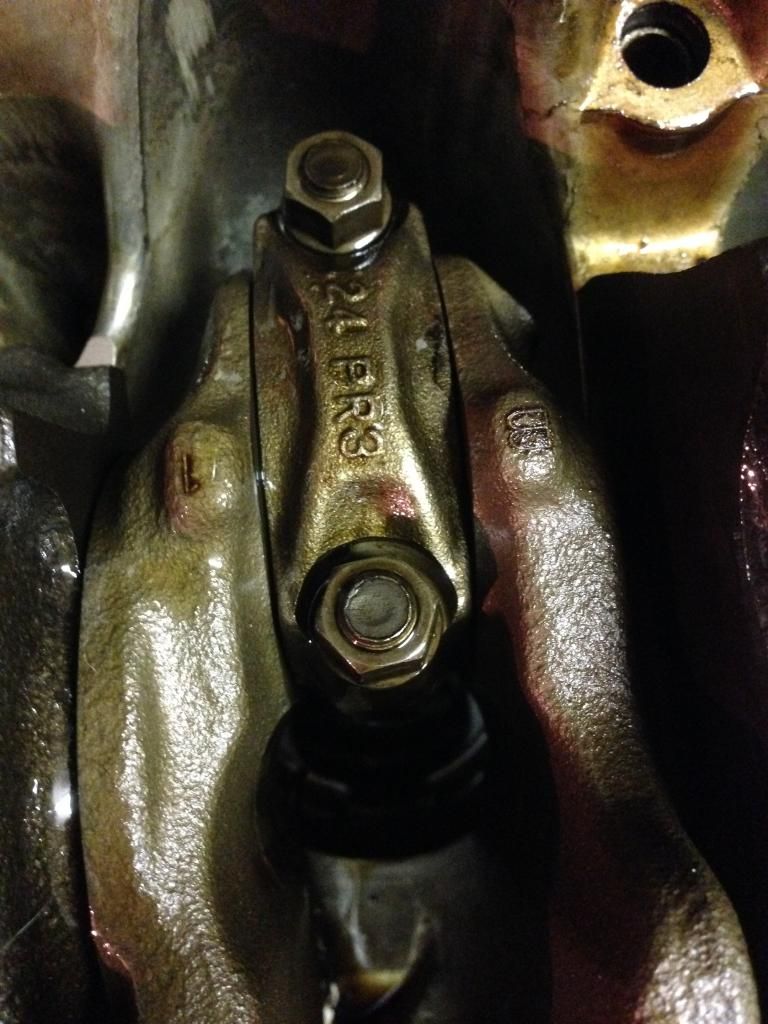
Third Hard to see - 2
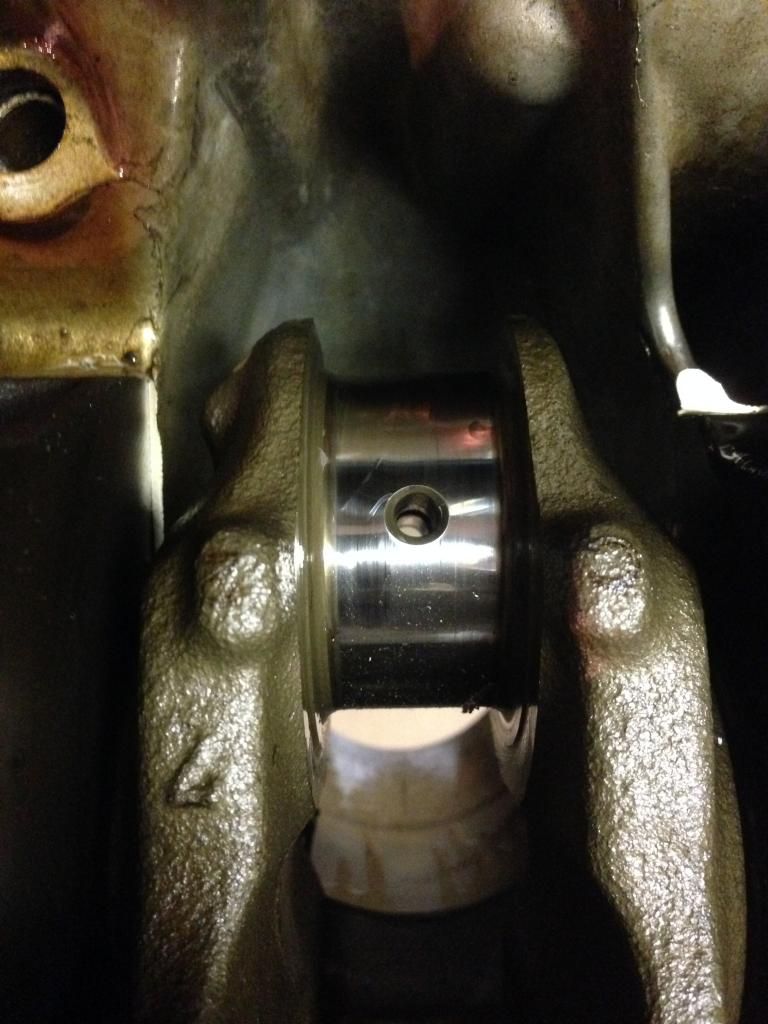
Forth - 2
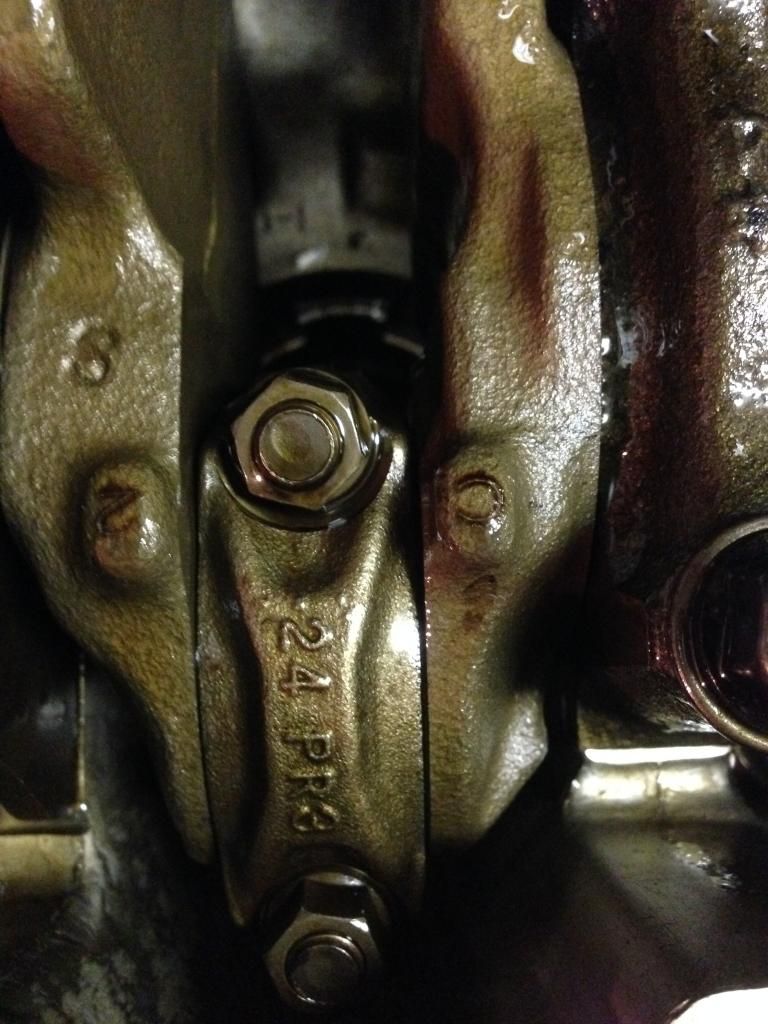
I think I forgot to take a pic of the 5th.
All main bearing codes written down.
Now the rod bearings. the numbers are on the rods itself or on the crank.
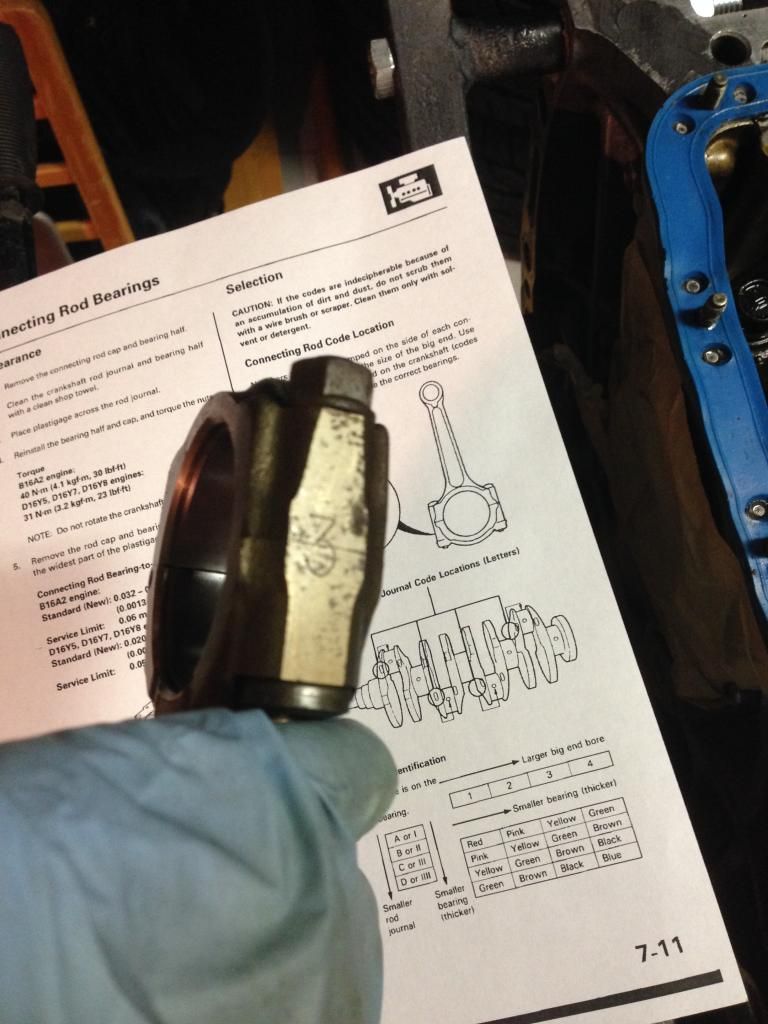
Just a pic to show the location of each number
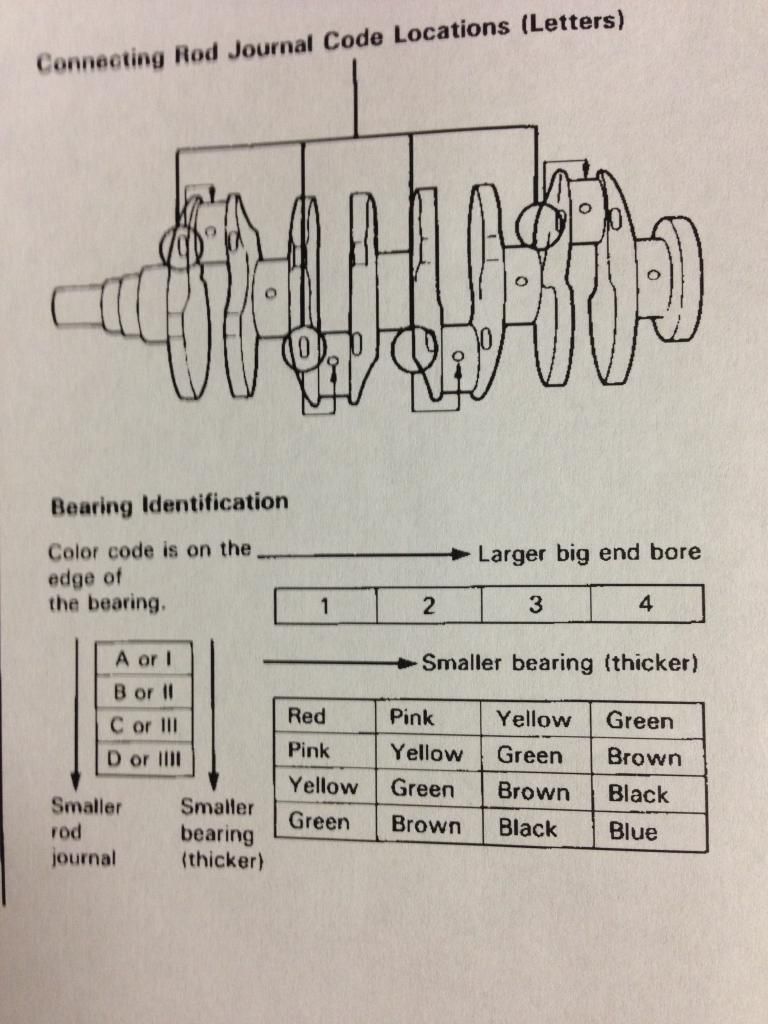
Crossing fingers the rod bearings are withint specs
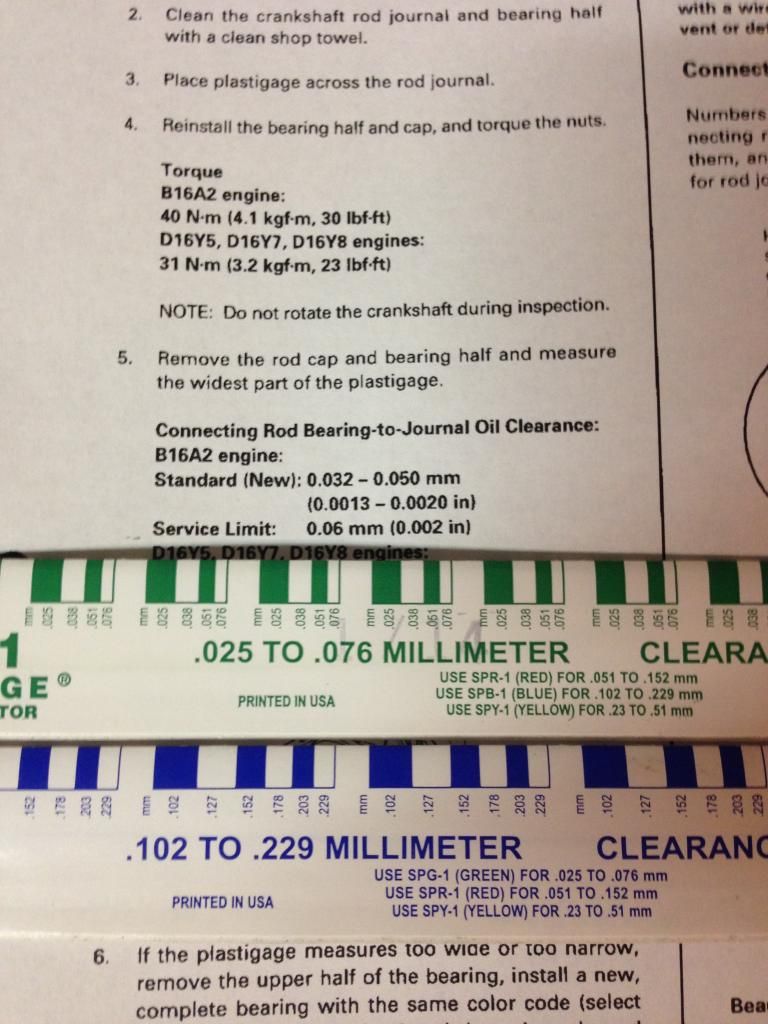
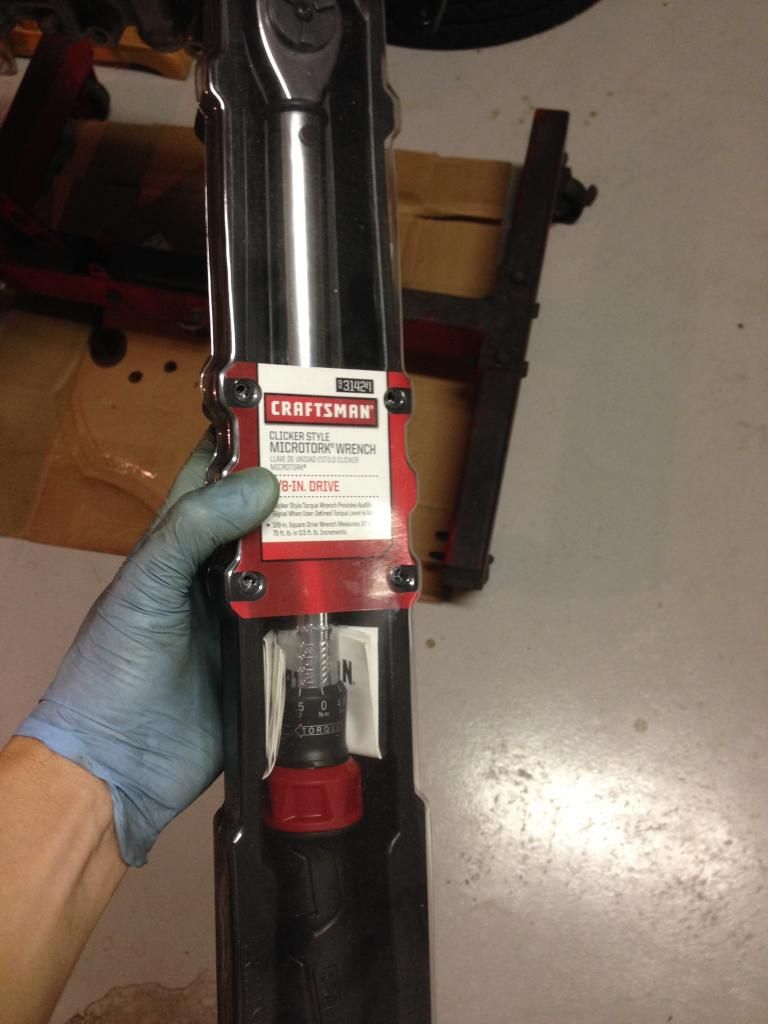
Bought this sucker on black friday 2 years ago. I forgot I had this....
Placed the first plastigauge on the rod bearing, hard to see, but see the green string on to of the crank....
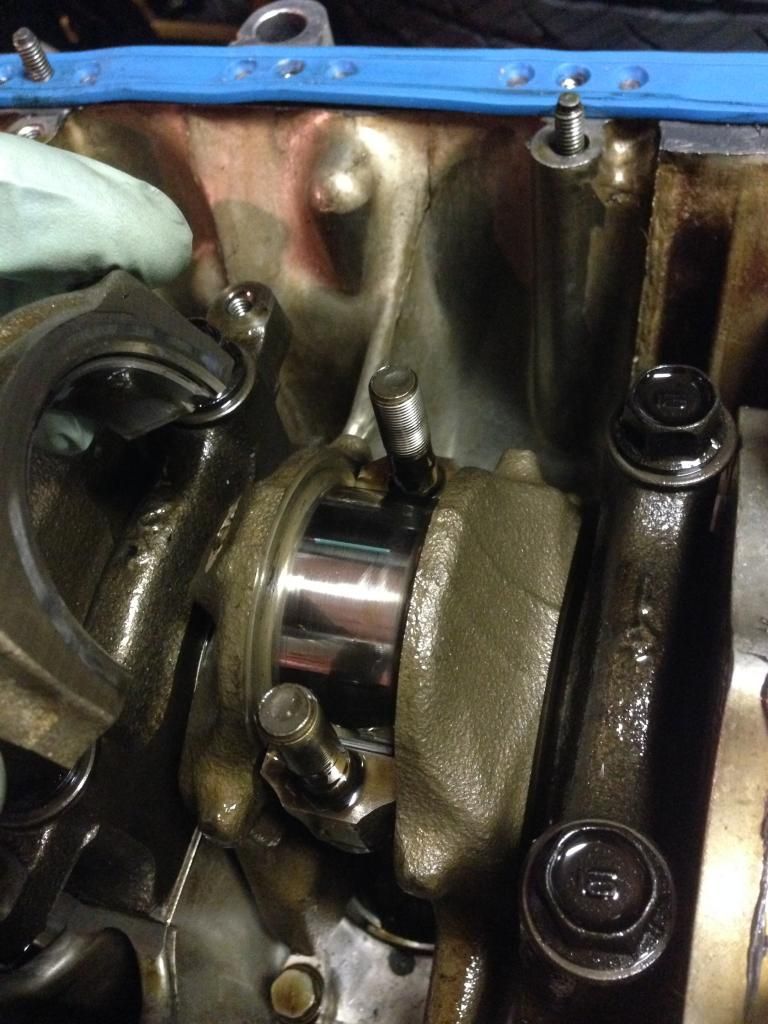
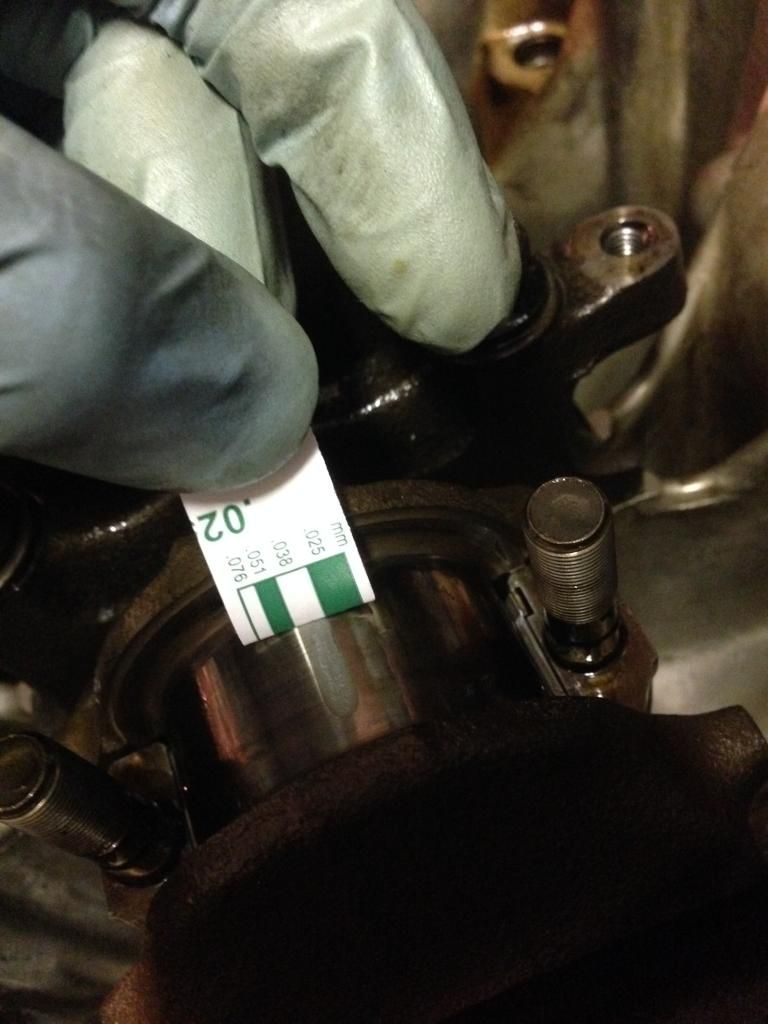
Torqued to 30ft/lbs and measuring.
0.038 pretty much on the money.
it is within the 0.032 - 0.050 of a new bearing spec.
The service limit is 0.06, so we are good here.
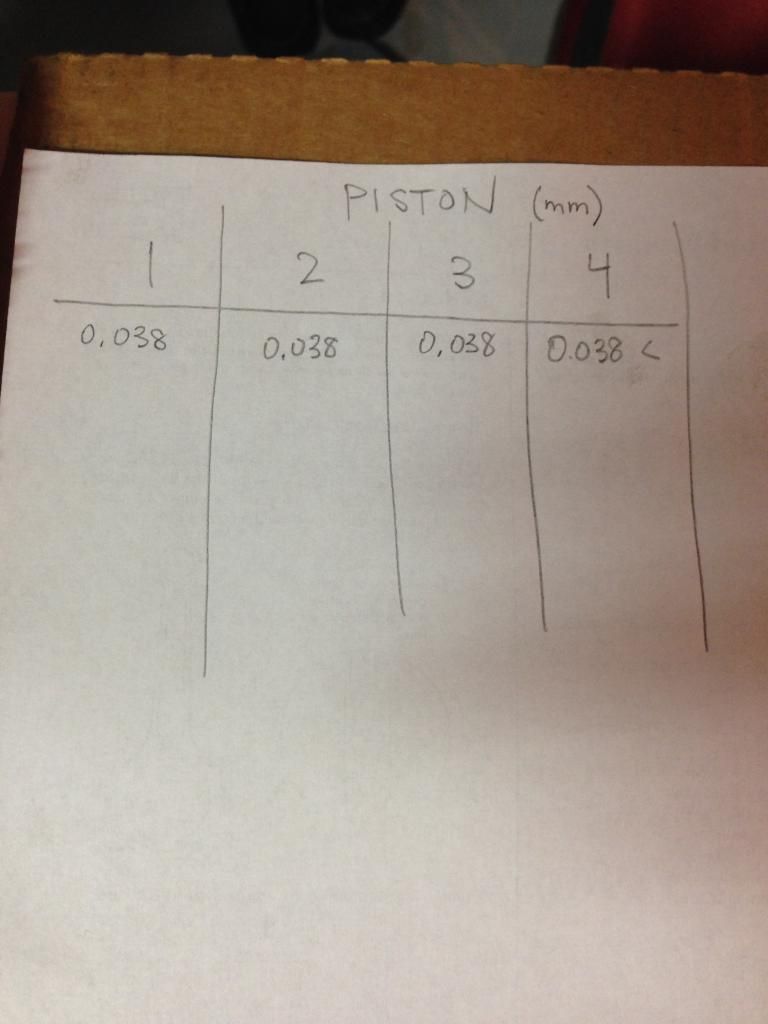
Results of all rod bearings
Now the Main bearings
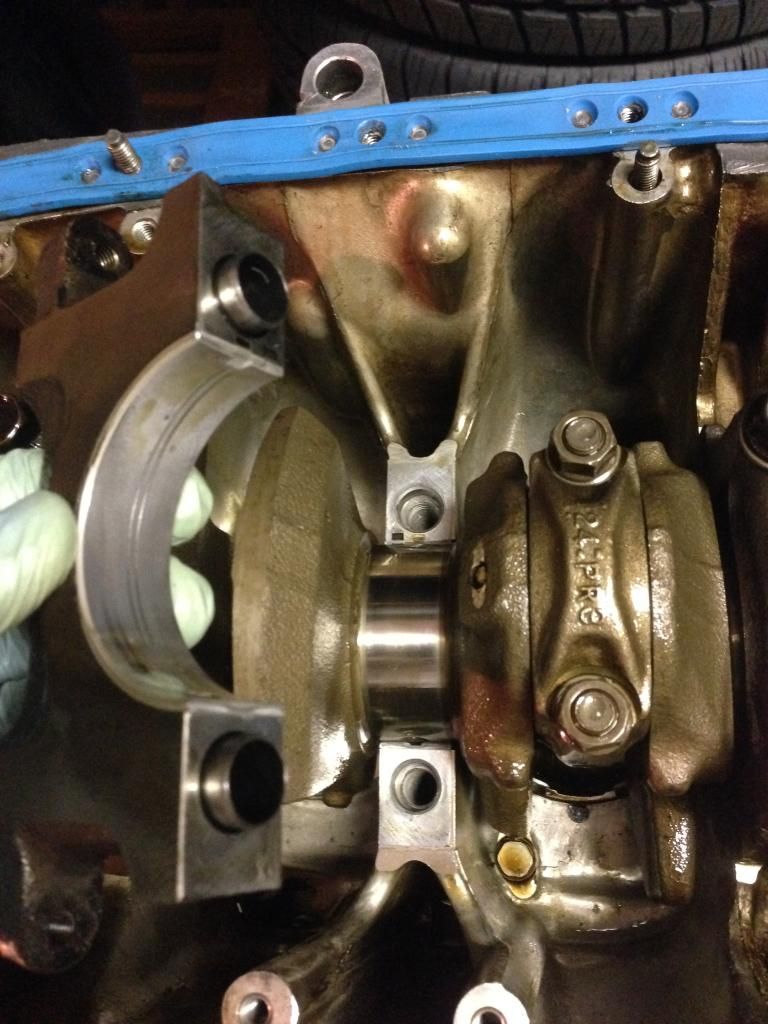
Is this normal? it does not look good, but it feels pretty smooth. Any input will be appreciated.
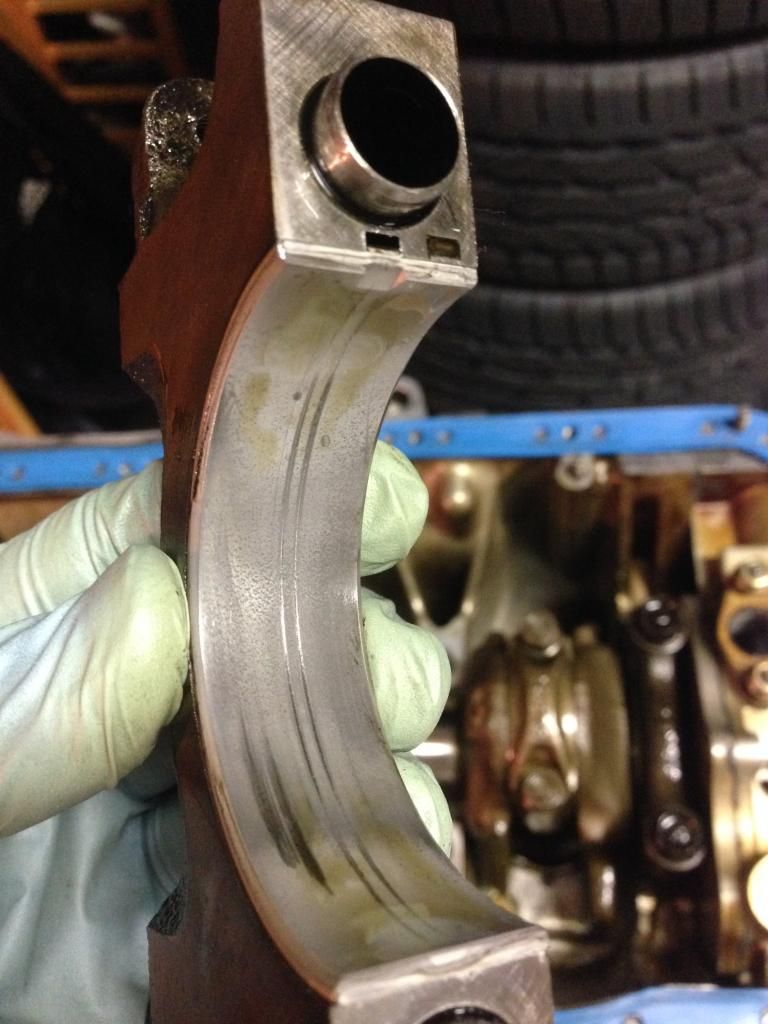
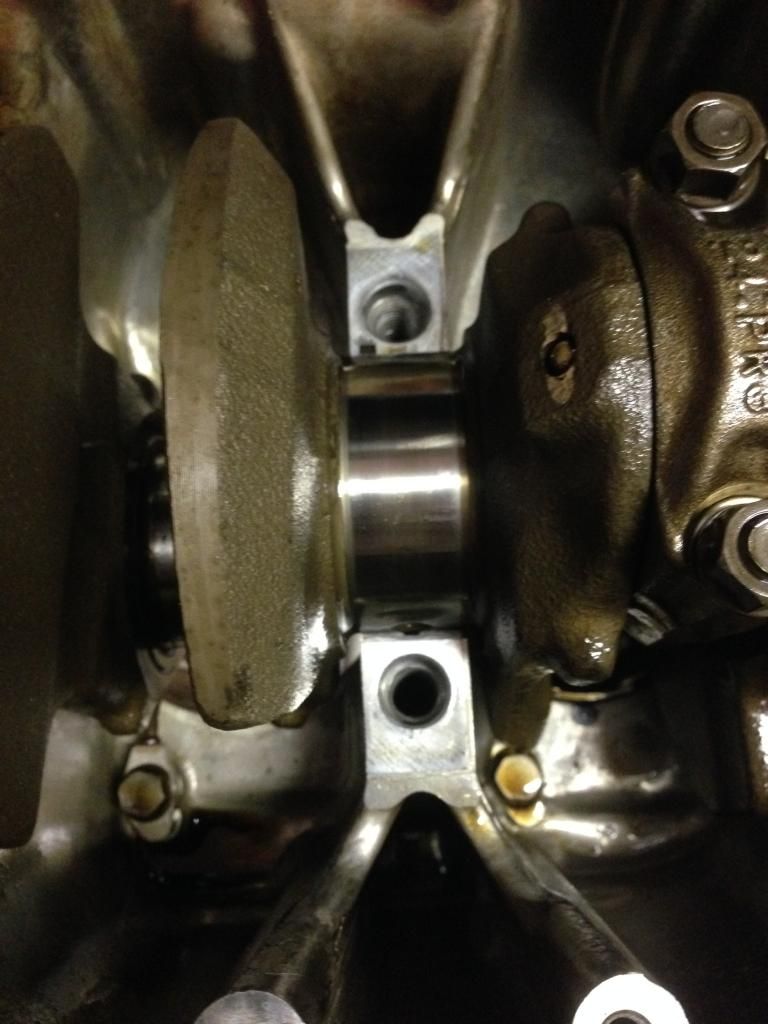
Plastigauge
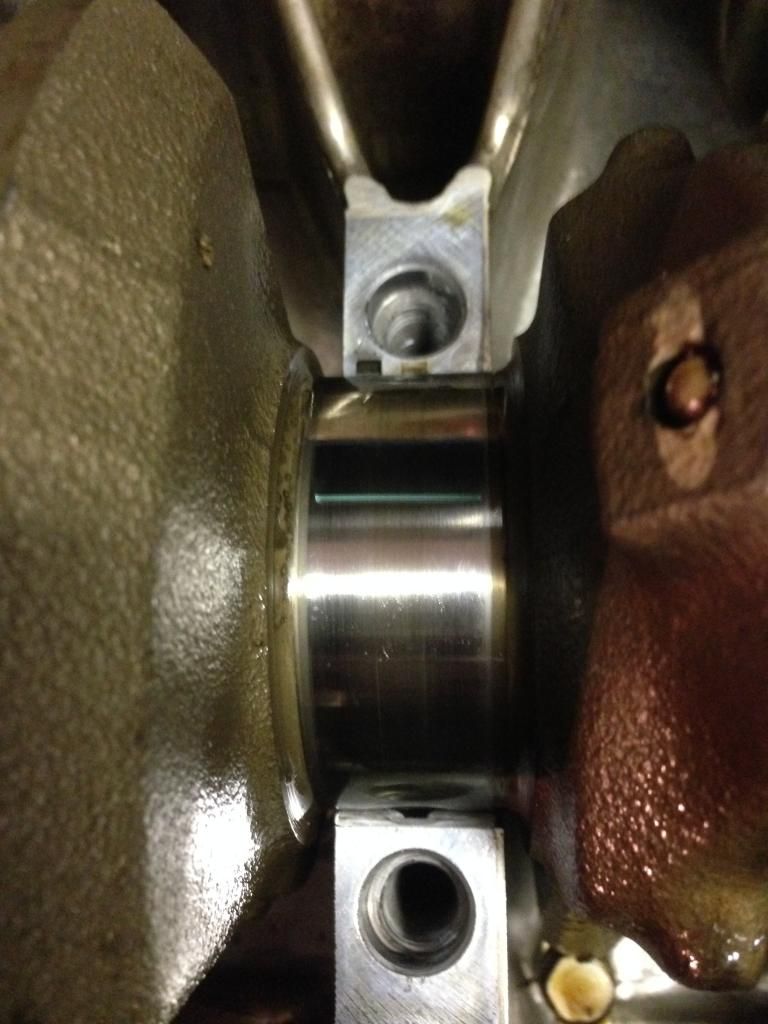
Again picture of the main cap bearing.
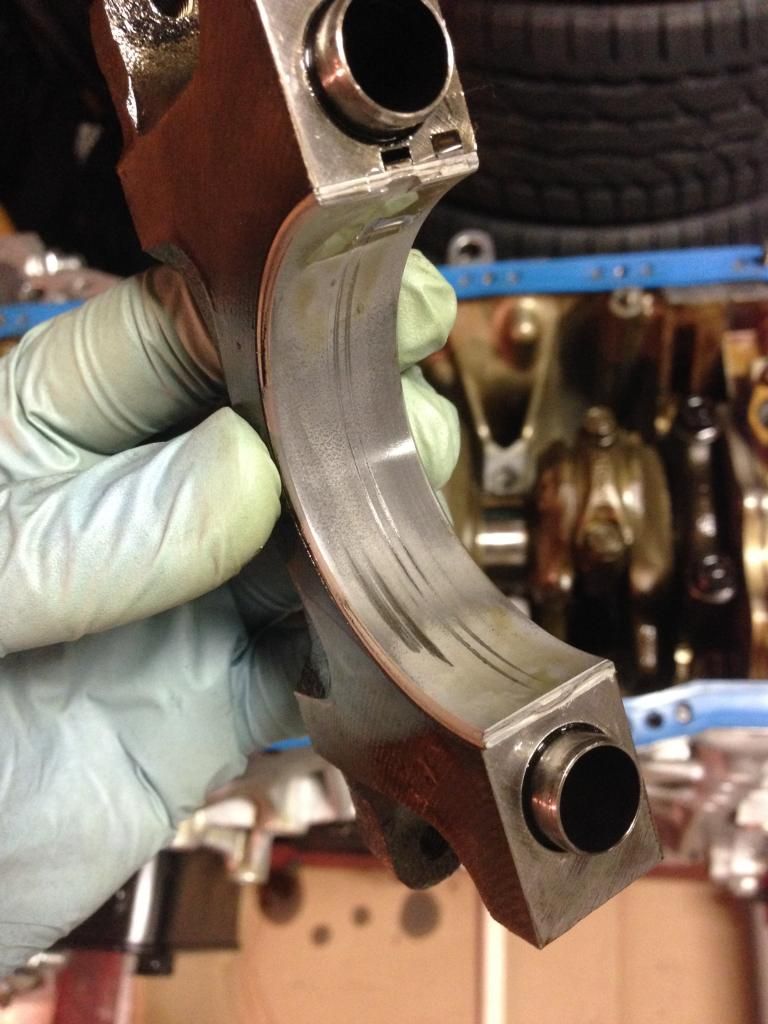
It is hard to see, but it is a bit bigger than the 0.038. Maybe close to 0.030.
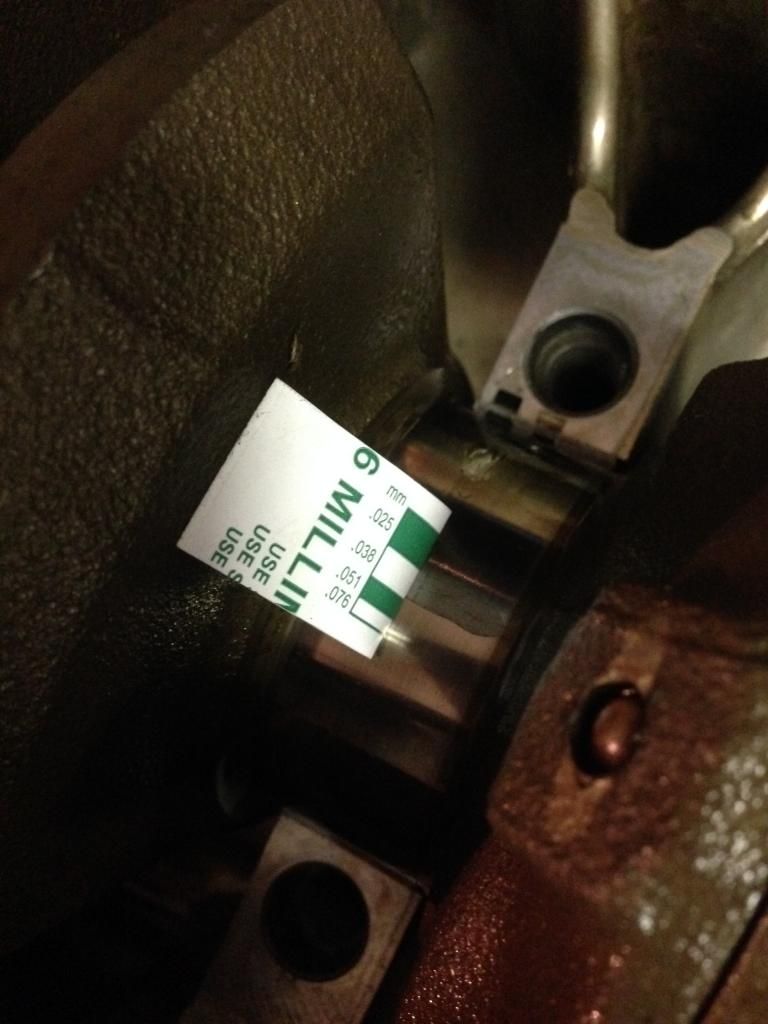
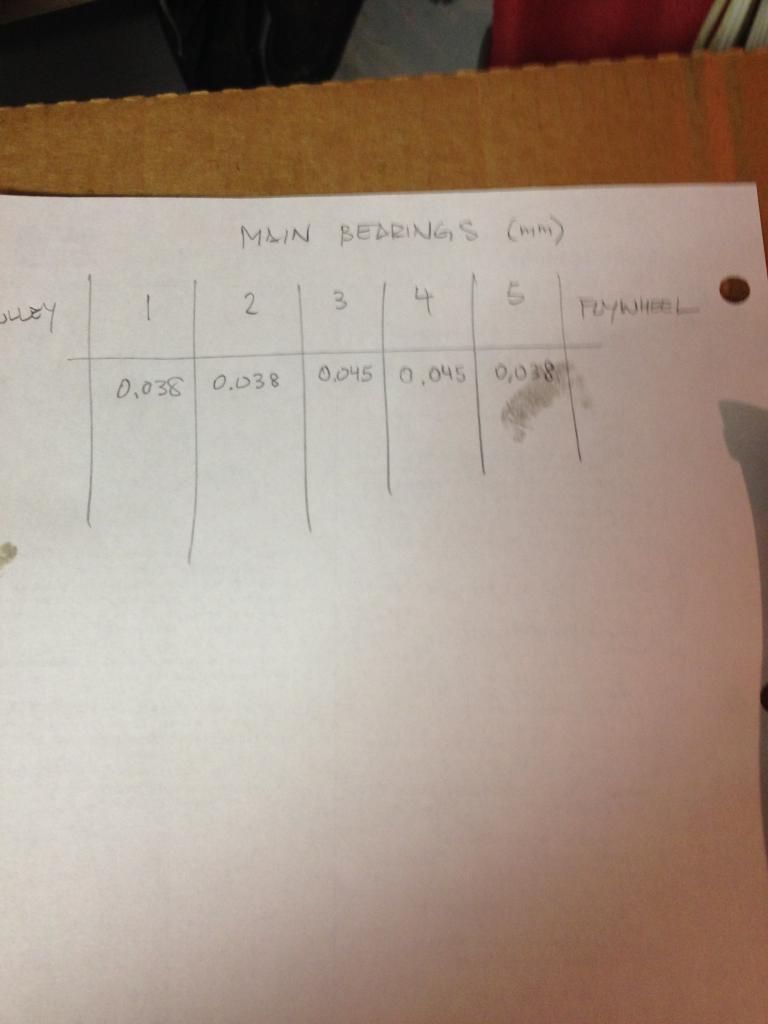
This is the result.
No picture of the specs, but all the measurements come within the new bearing limits.
 <br /><br /> <br /><br />
Couple of updates. I have been really busy with work and family.
Got some of the rubbing compound done.
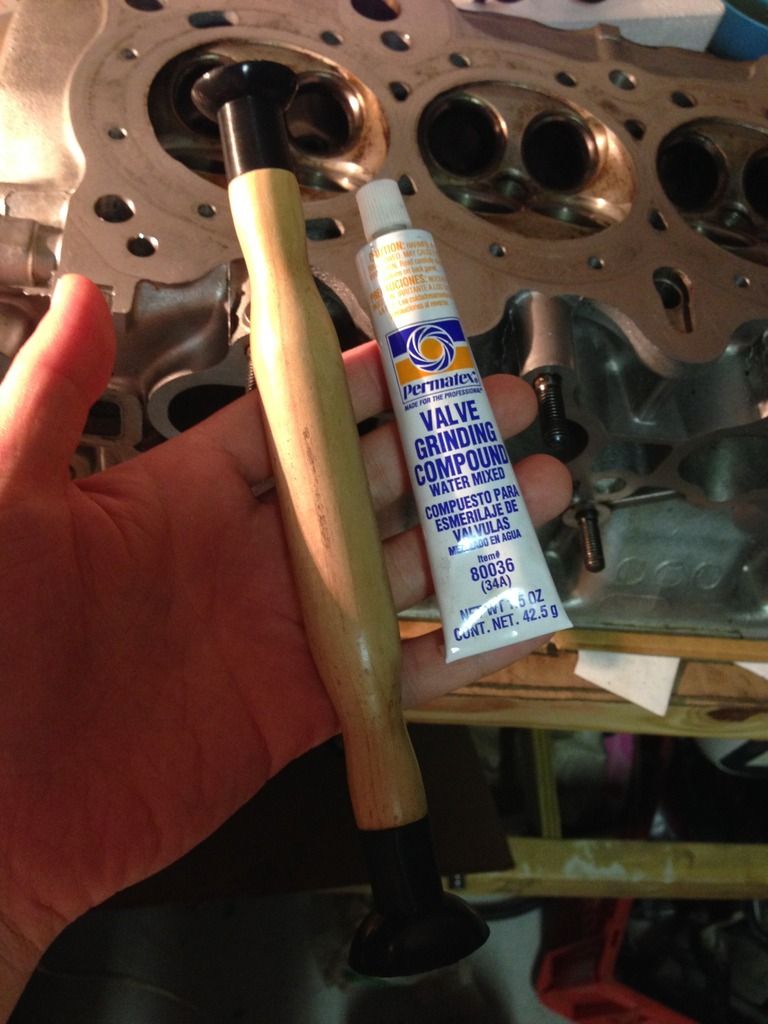
Some before and after on the head.
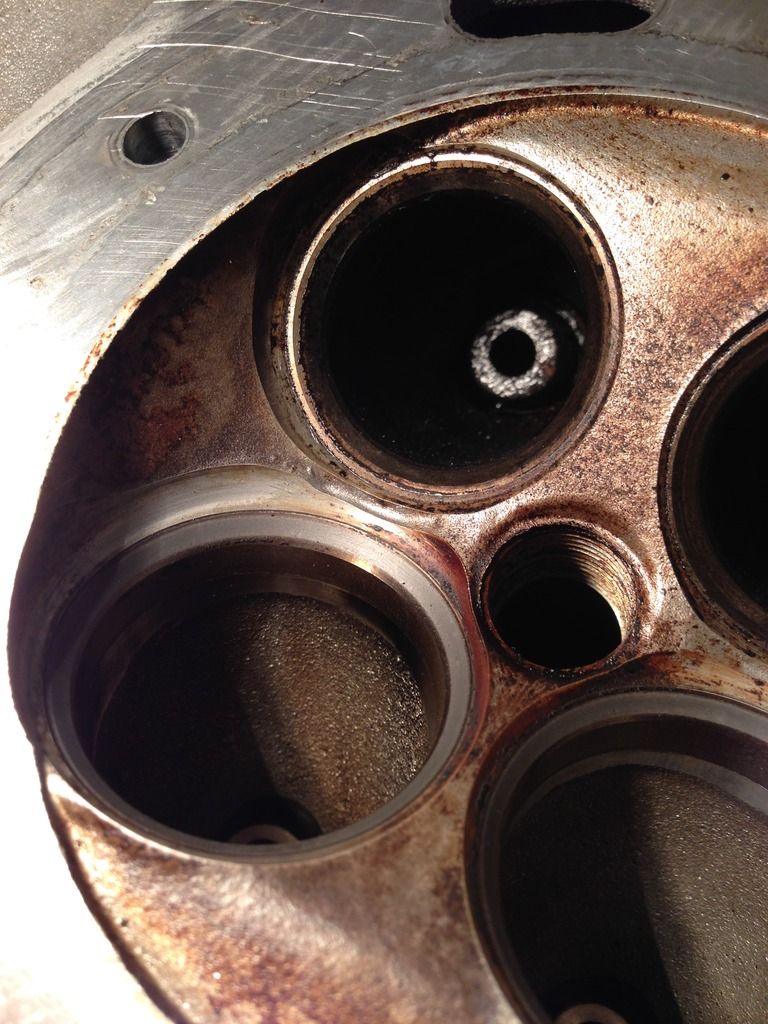
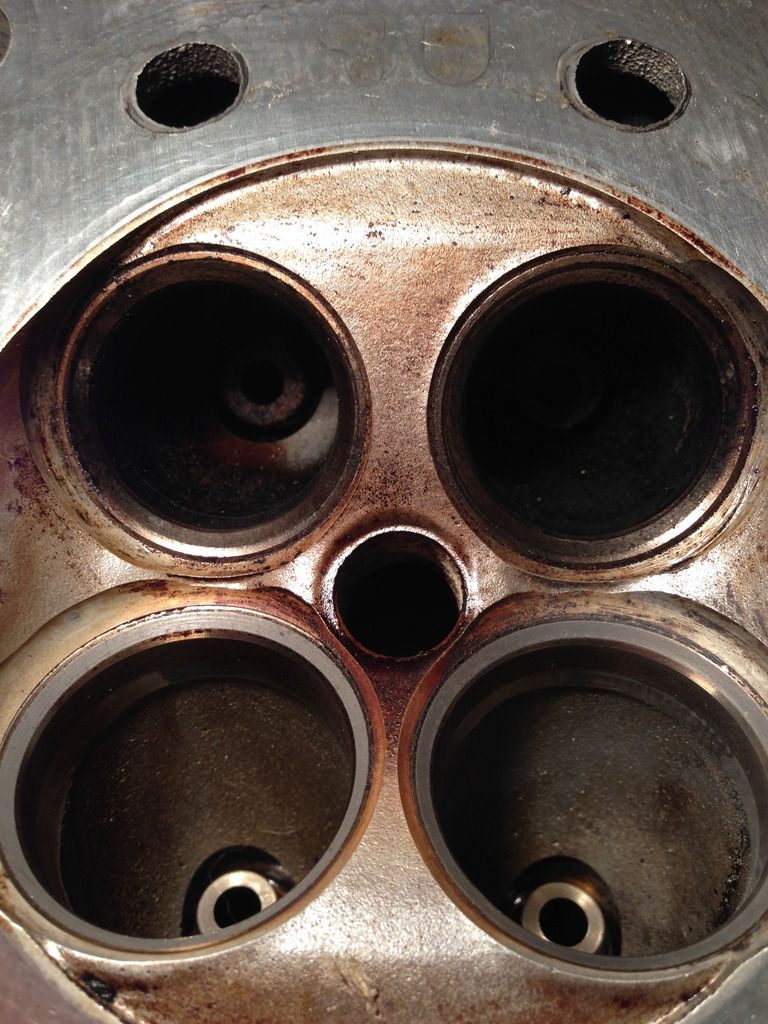
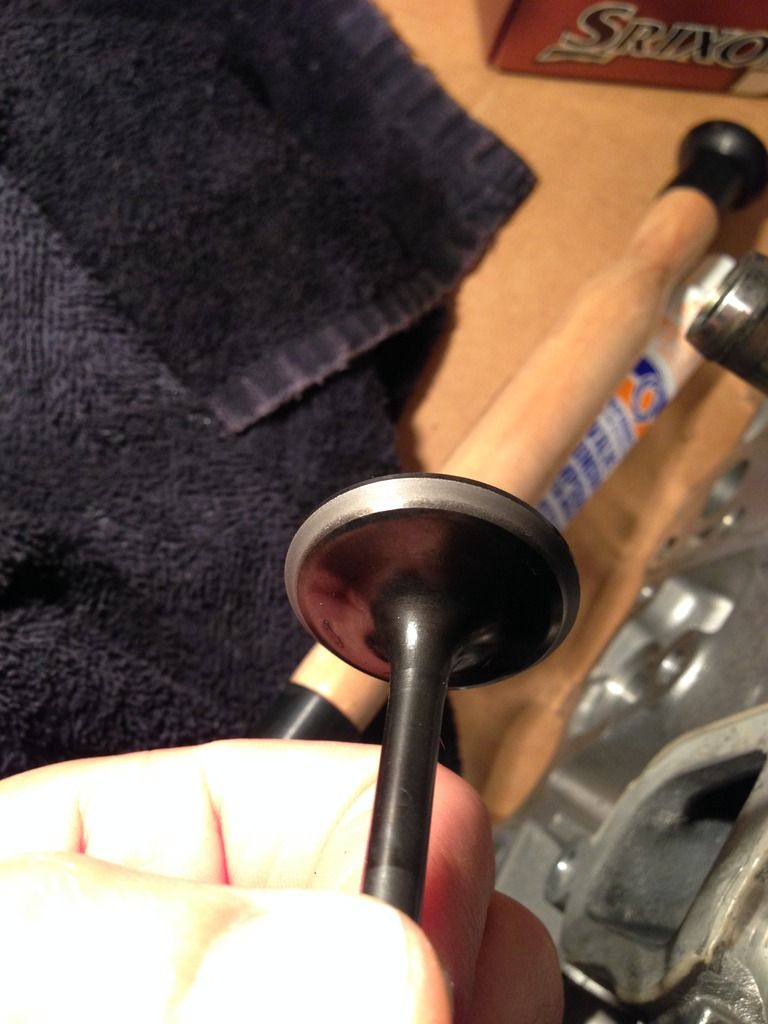
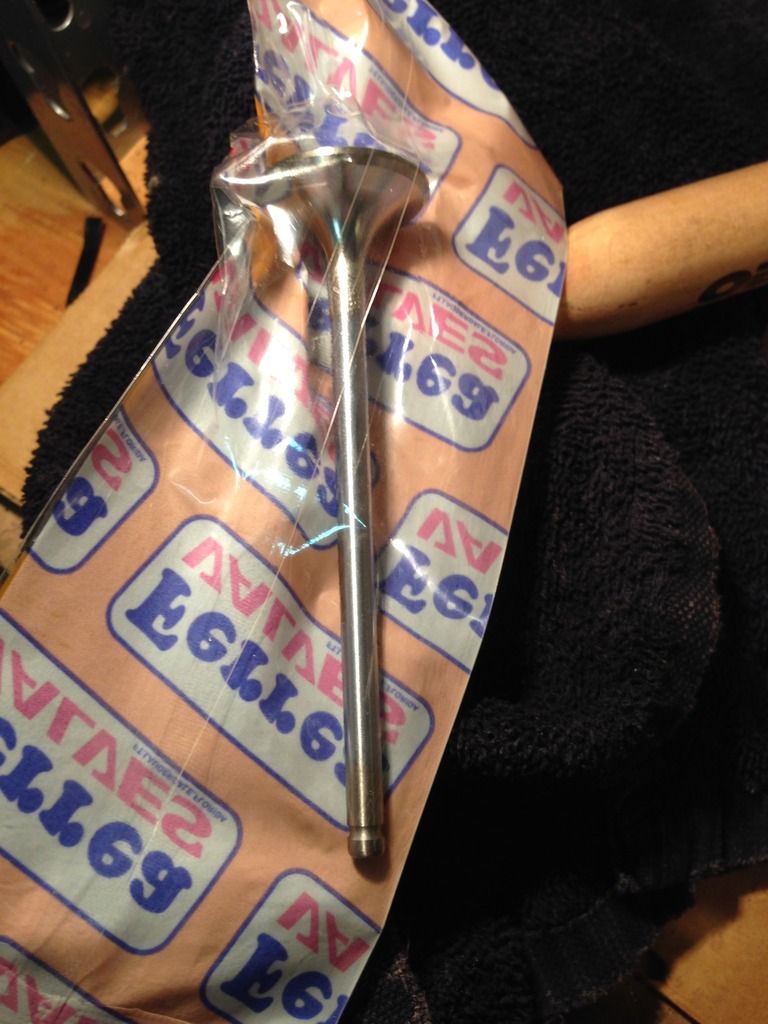
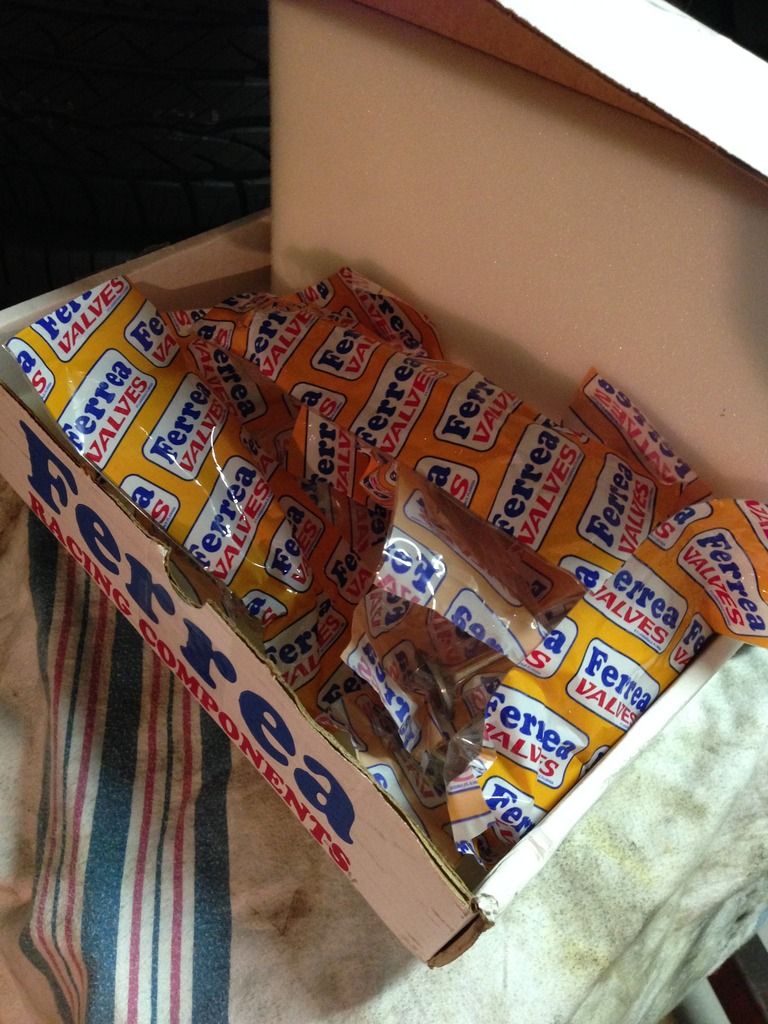
On the exhaust valves, I tried, but there was no way to remove the built up. I decided to get some new entry level Ferrea valves. They were like $84 from ebay.
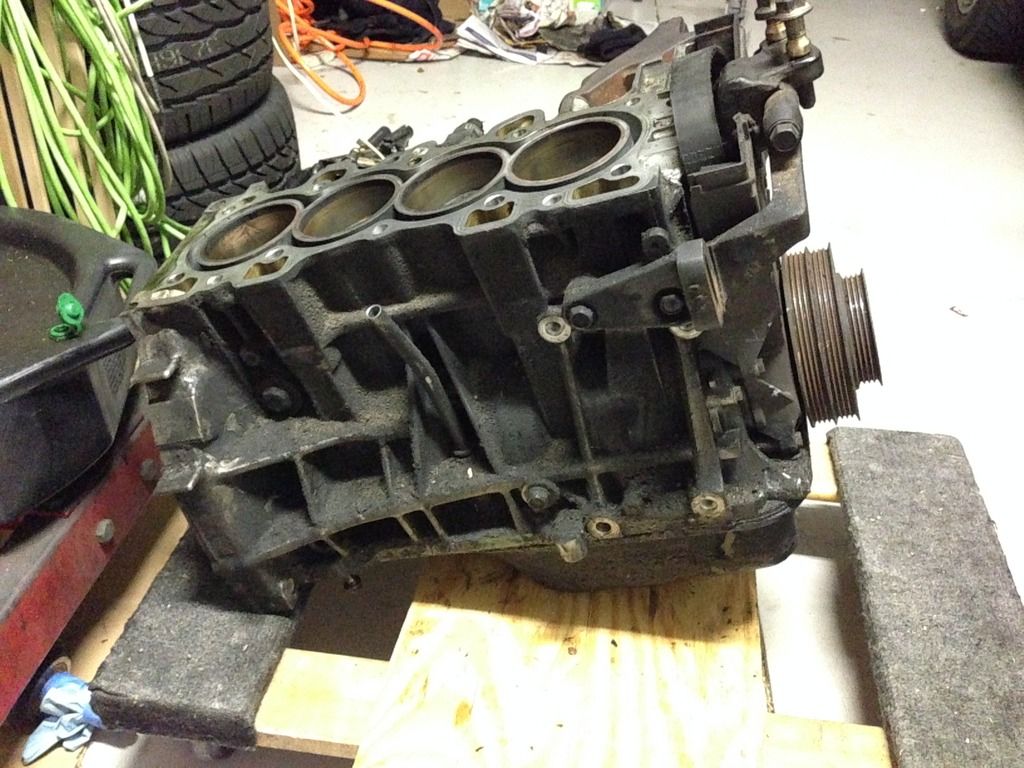
Just a pic of the Original block and clutch. After 250K miles, it was pretty beat on the outside, but internally, it seems to be able to handle another 100K no problem.
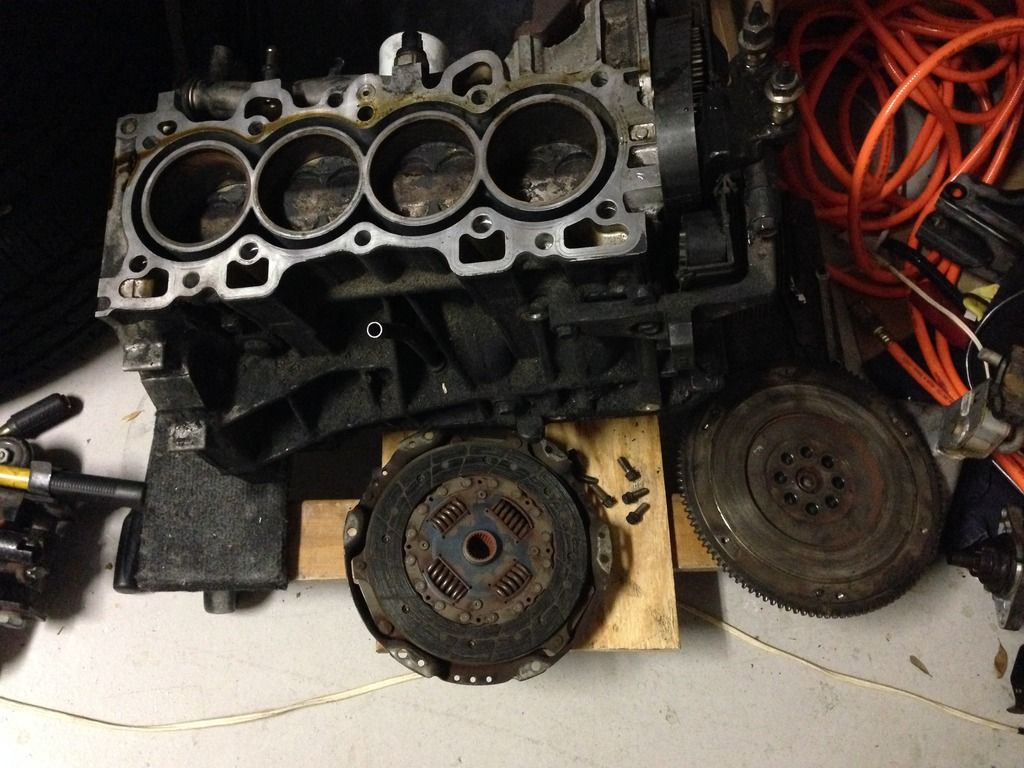
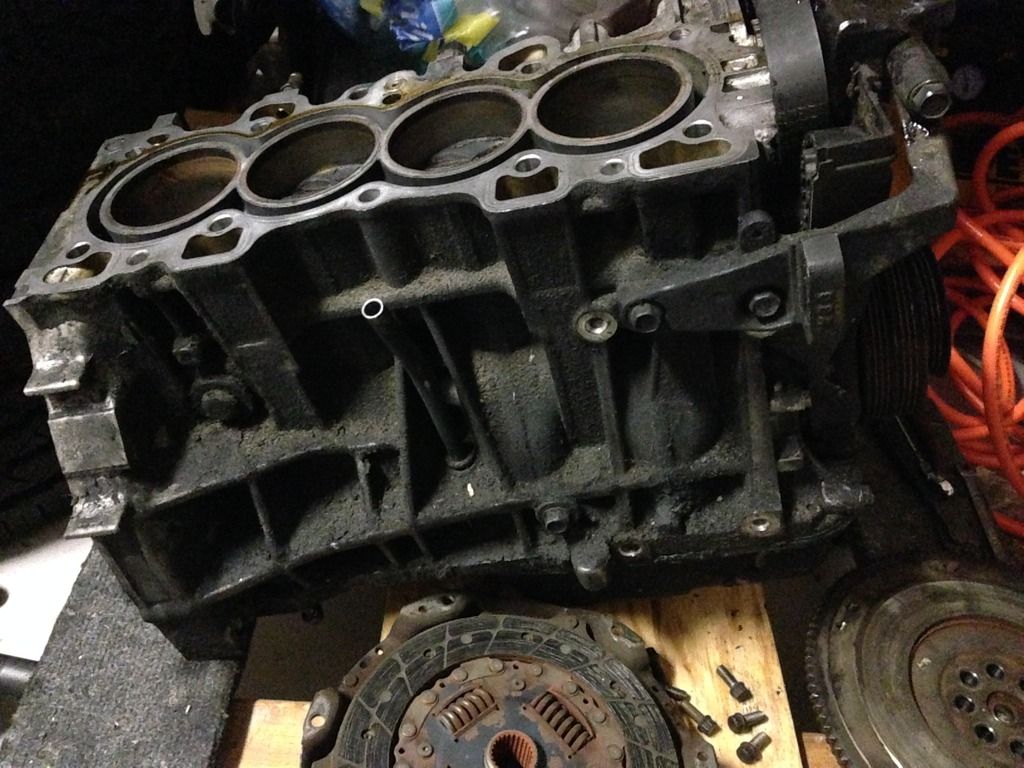
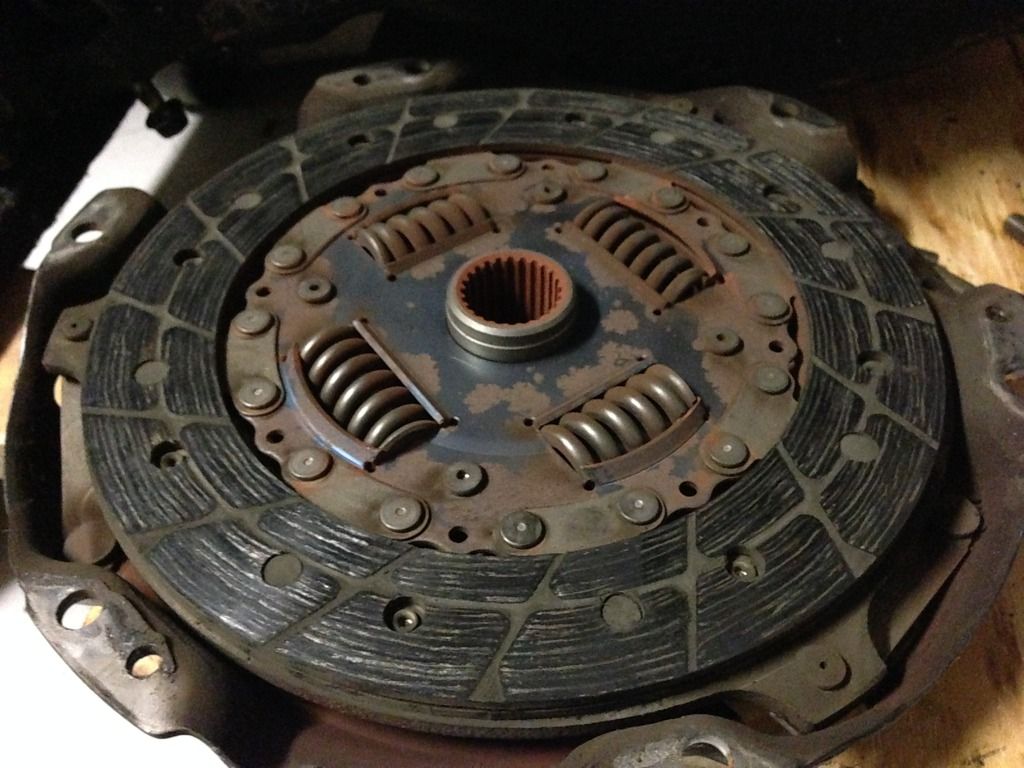
250K original clutch. Yes, I am a good driver.
Started transferring some of the brackets from the old to the new block
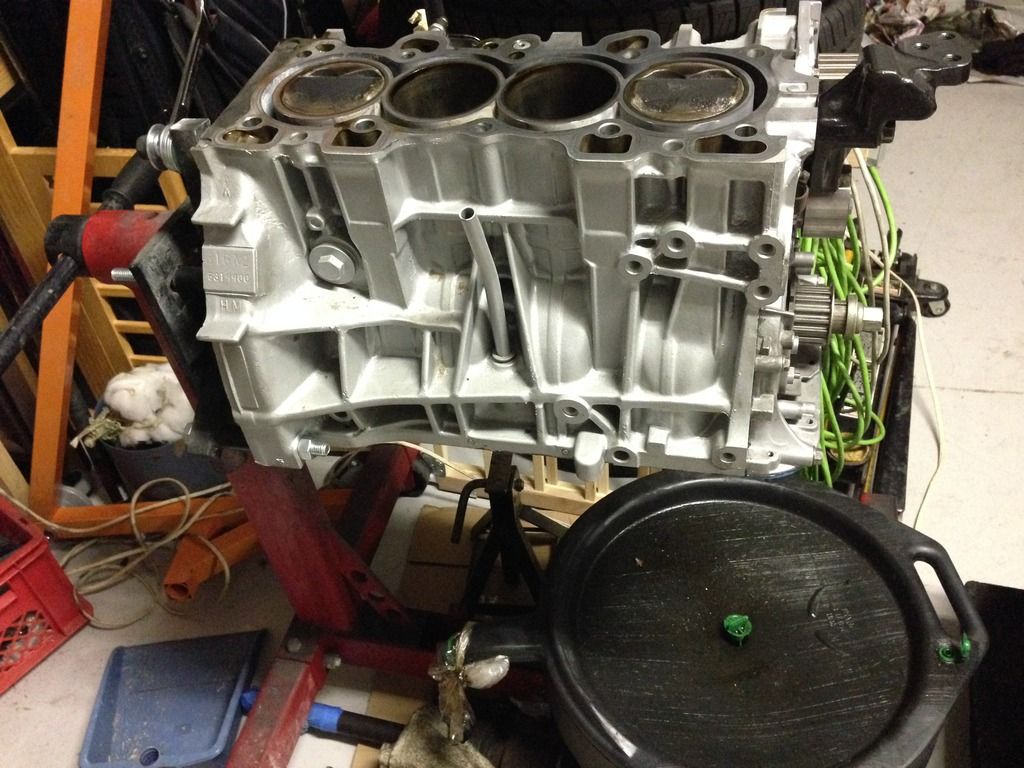
I have an 2135TiMAX Series IR gun. That thing did not do anything to the crank bolt. I had to use other methods.....
I thought I was going to break the block in half.
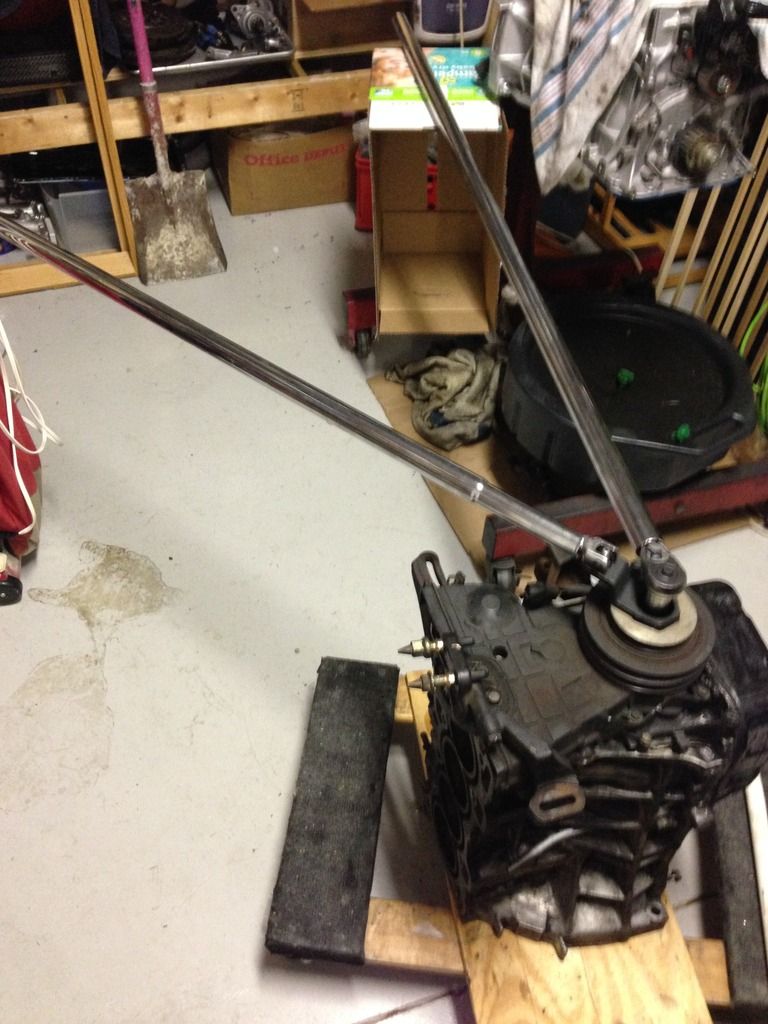
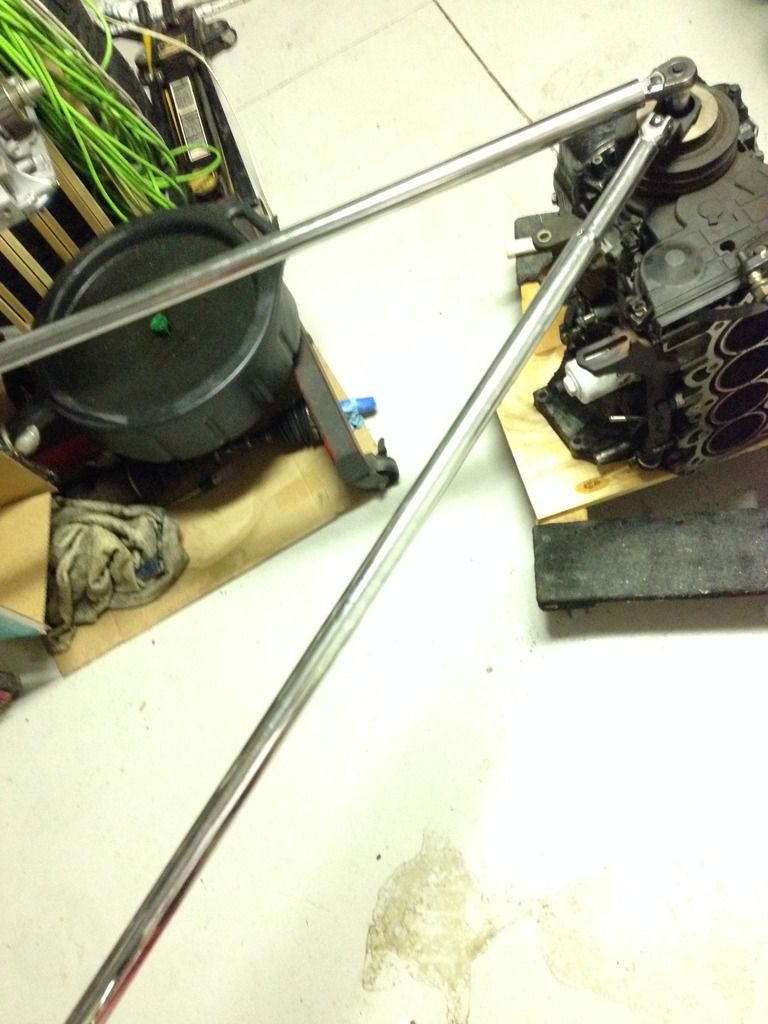
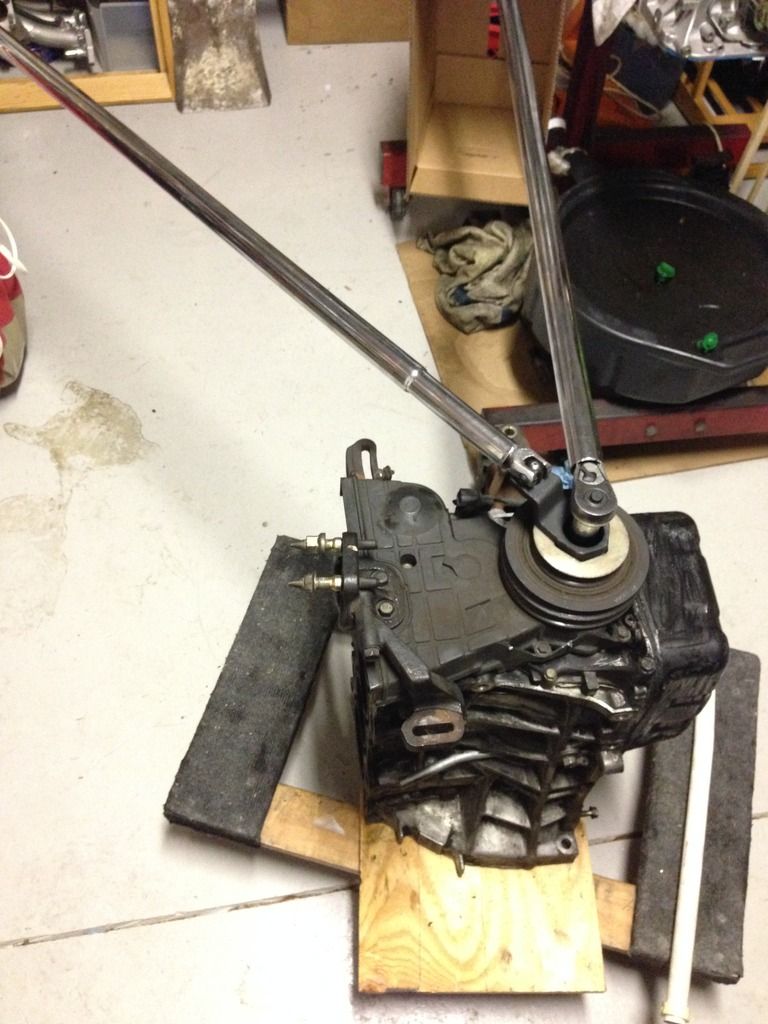
Took a break and changed the oil on the ITR.
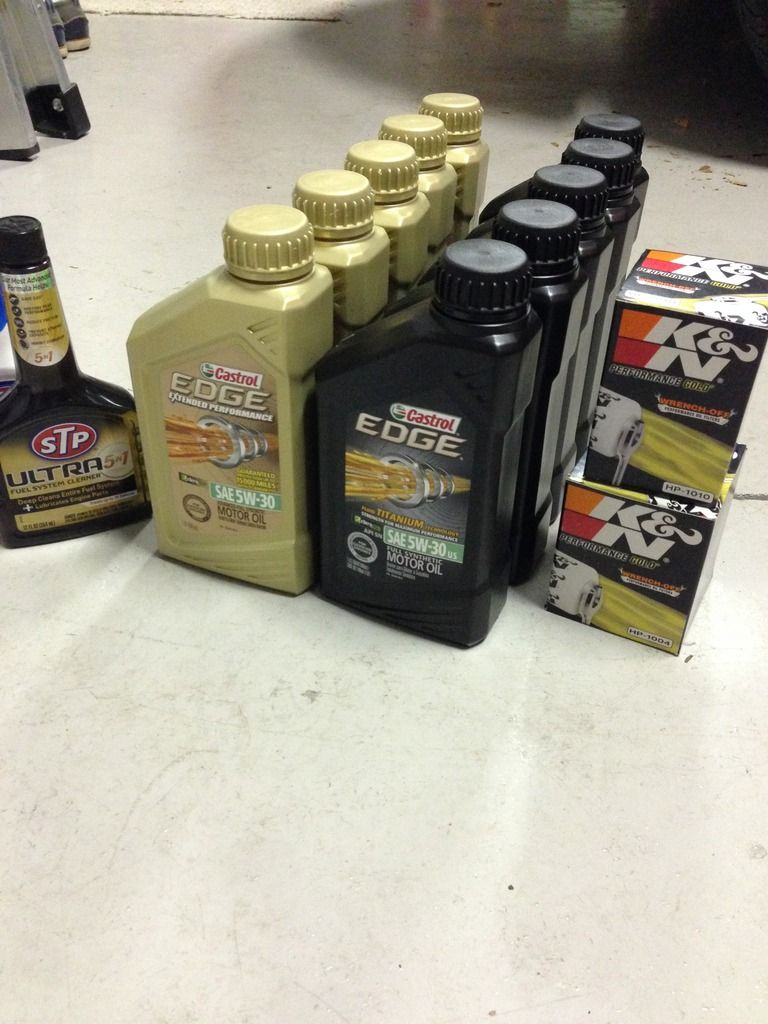
Transfering some of the sensor and other brackets.
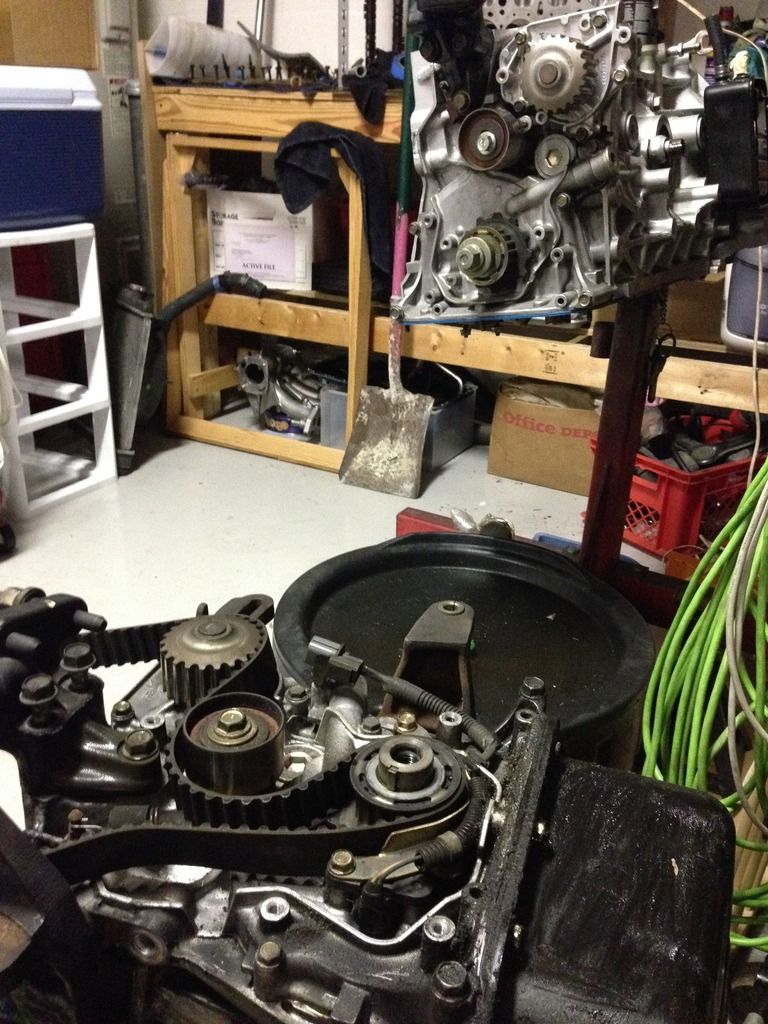
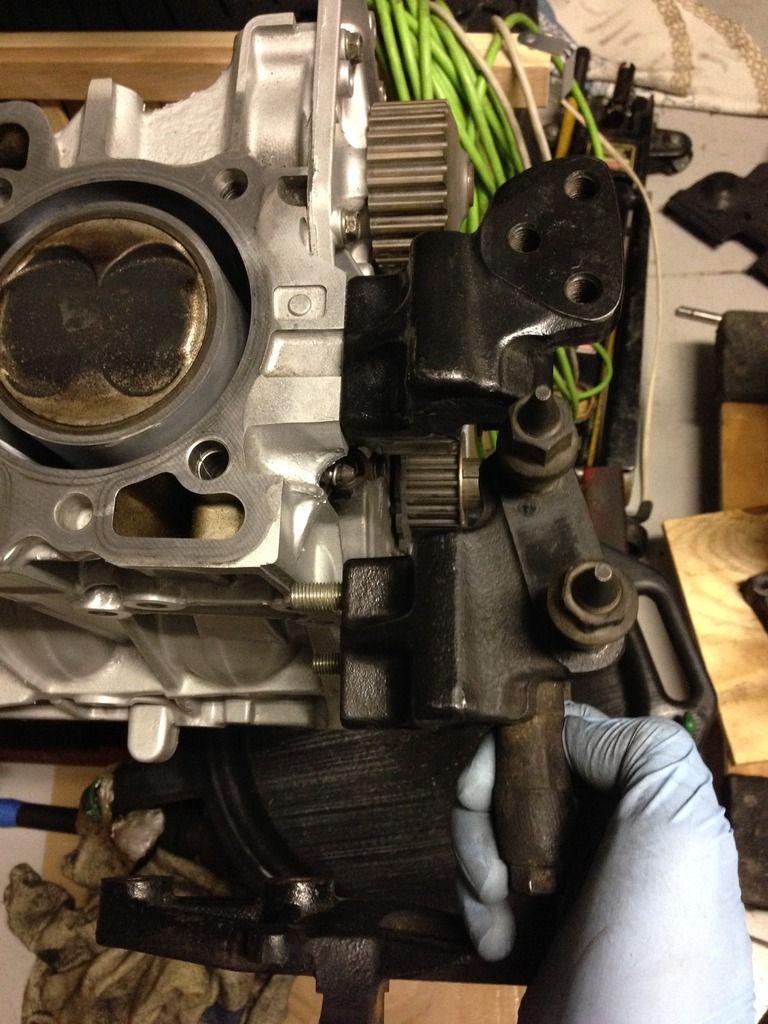
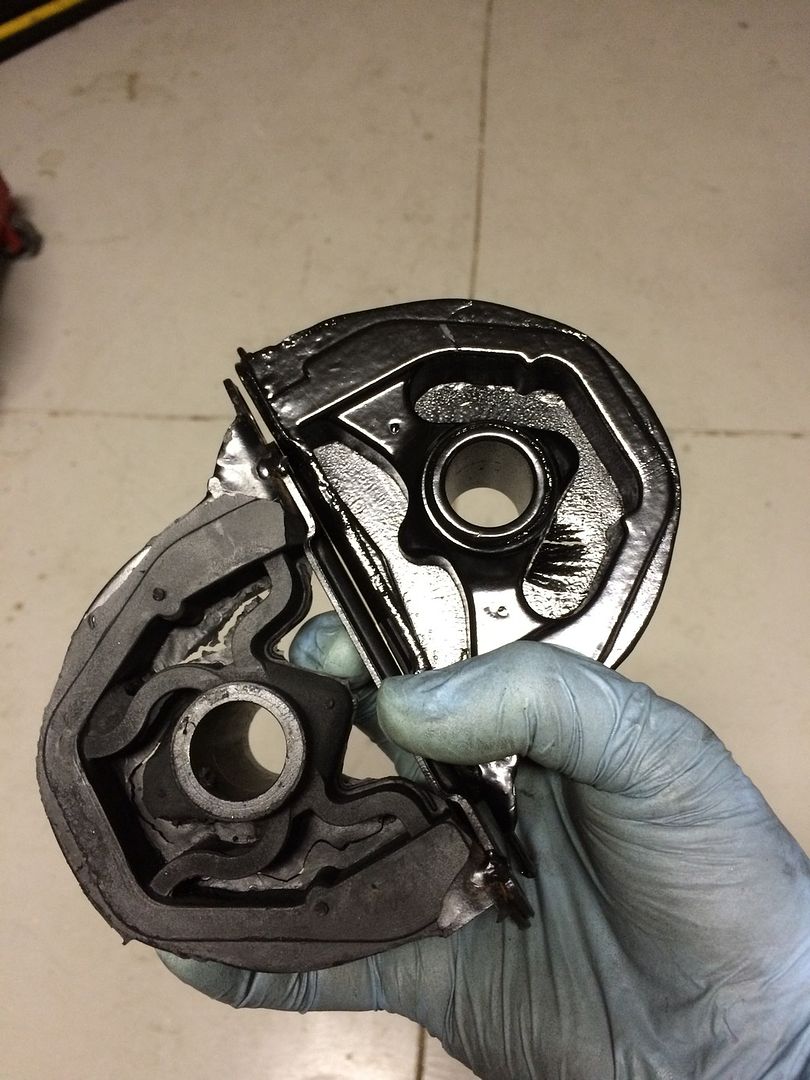
Notice the difference in driver side motor mounts. The one on the botton (not installed) is for an EM1.
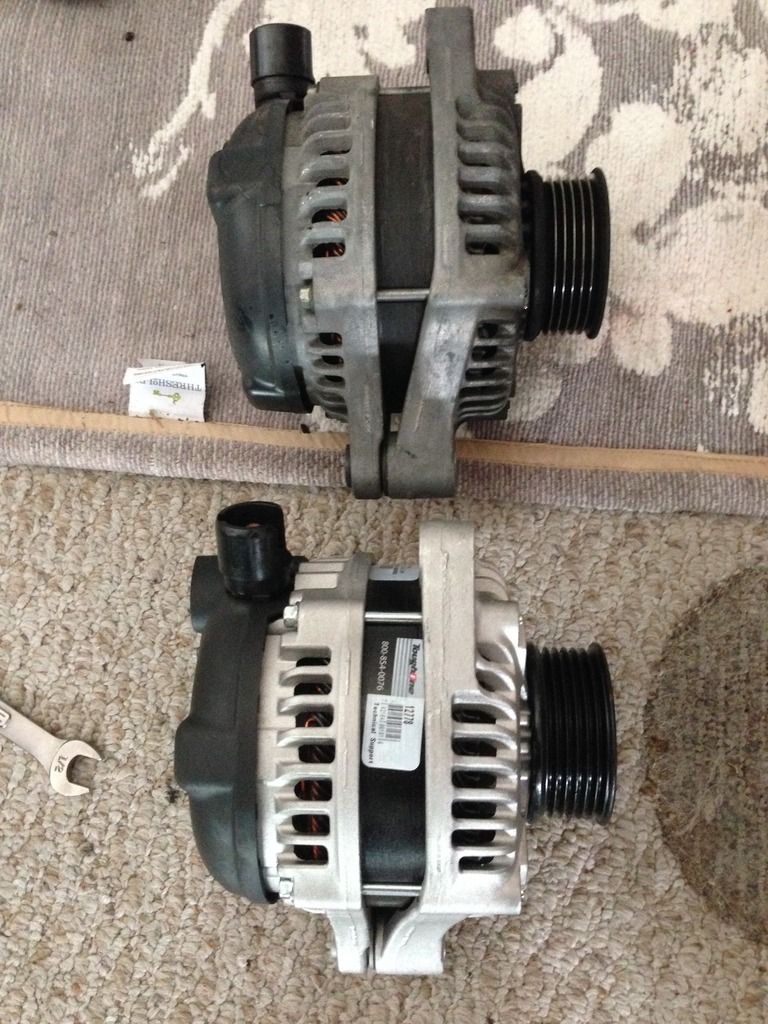
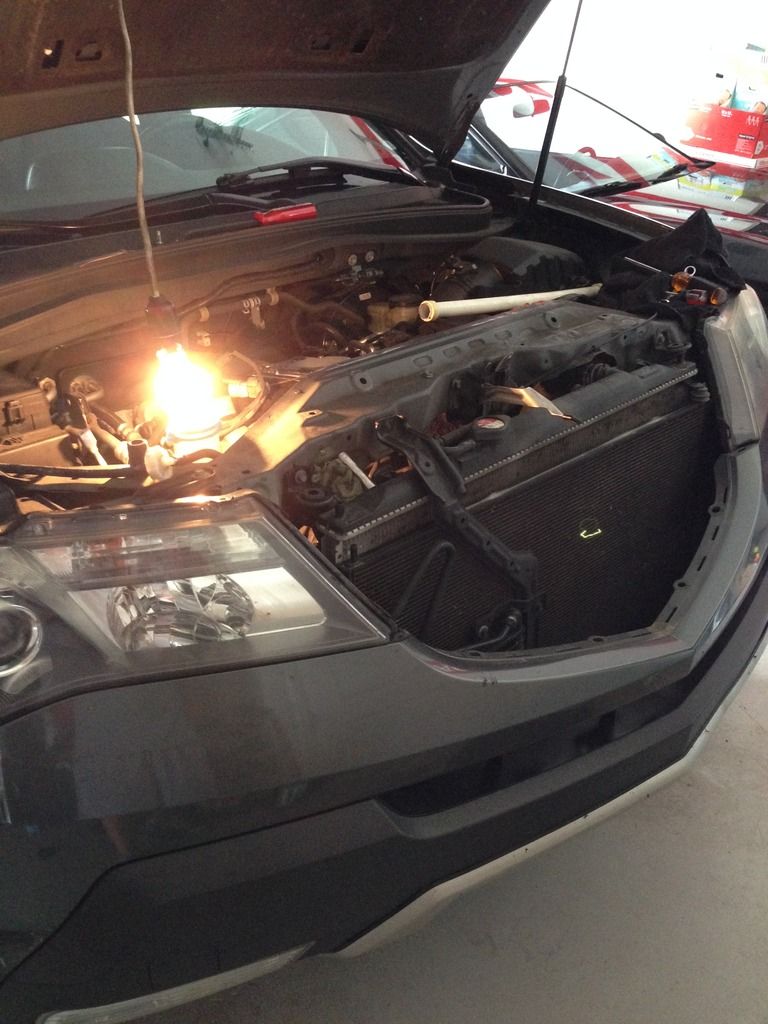
While sweating like a pig and dealing all issues. The Wife's MDX alternator takes a dump the next morning. I had to replace it.
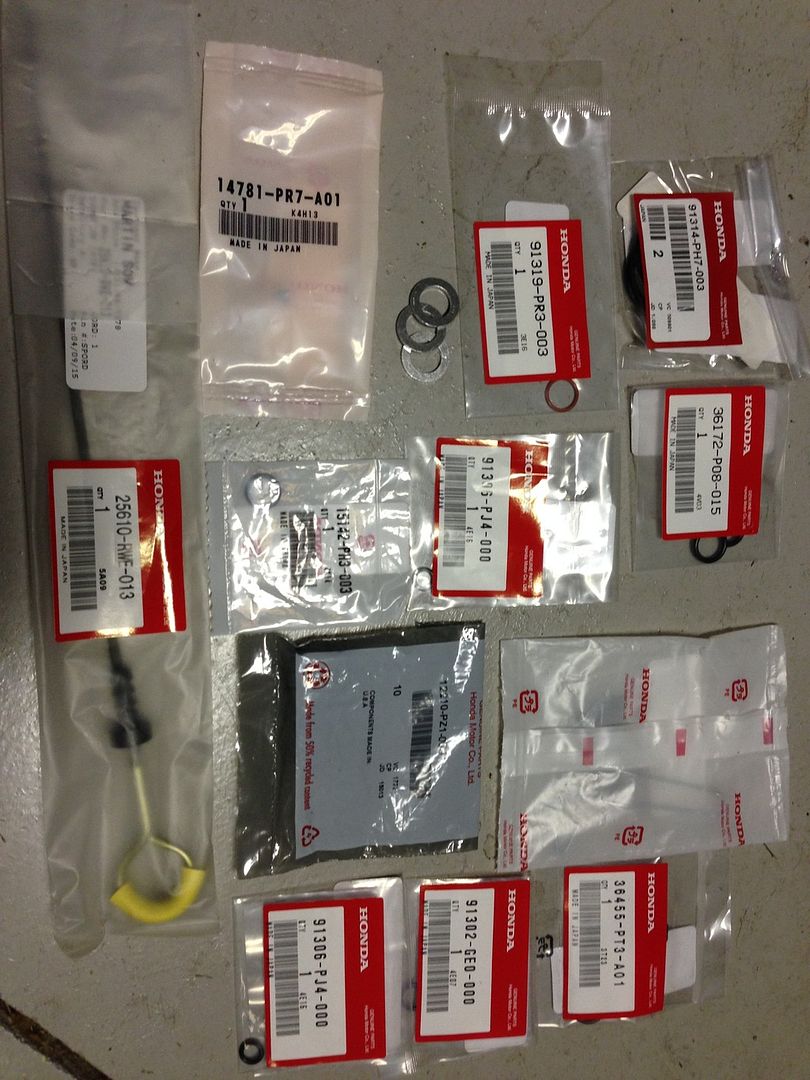
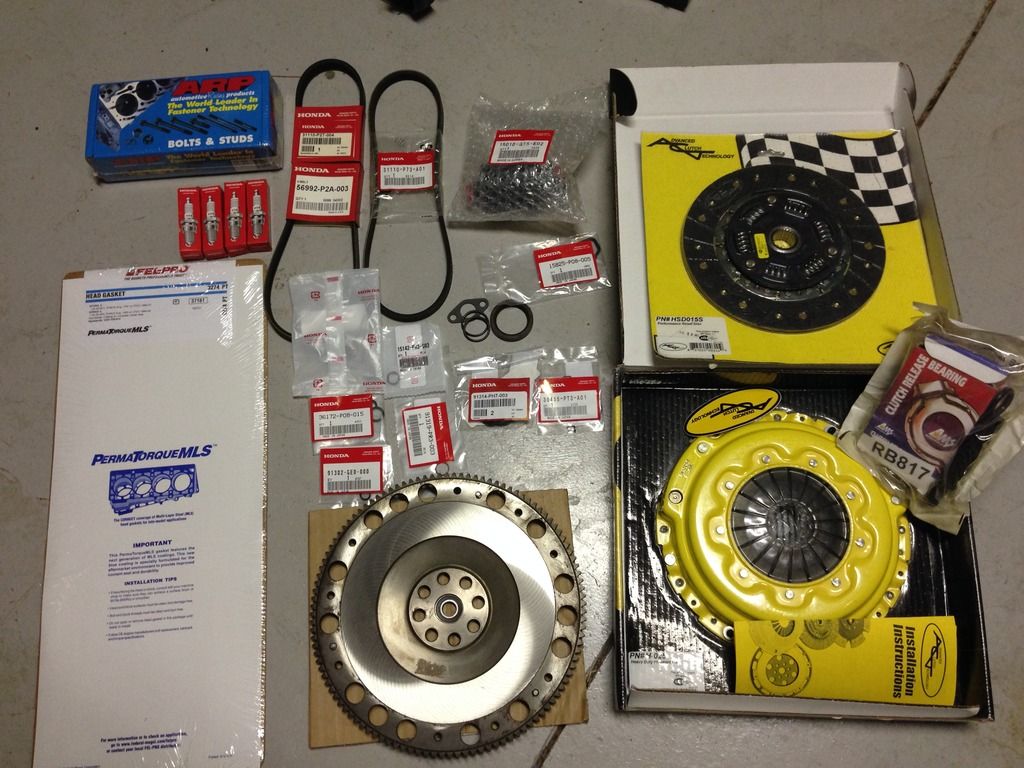
Some OEM goodies.
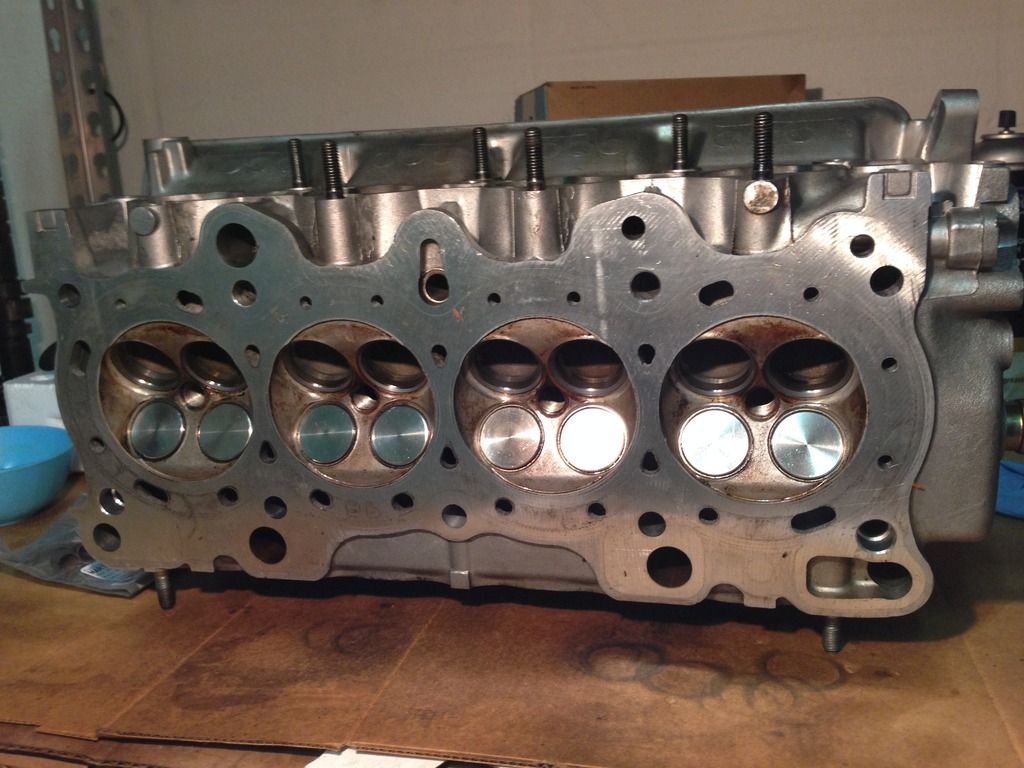
Began putting the head together.
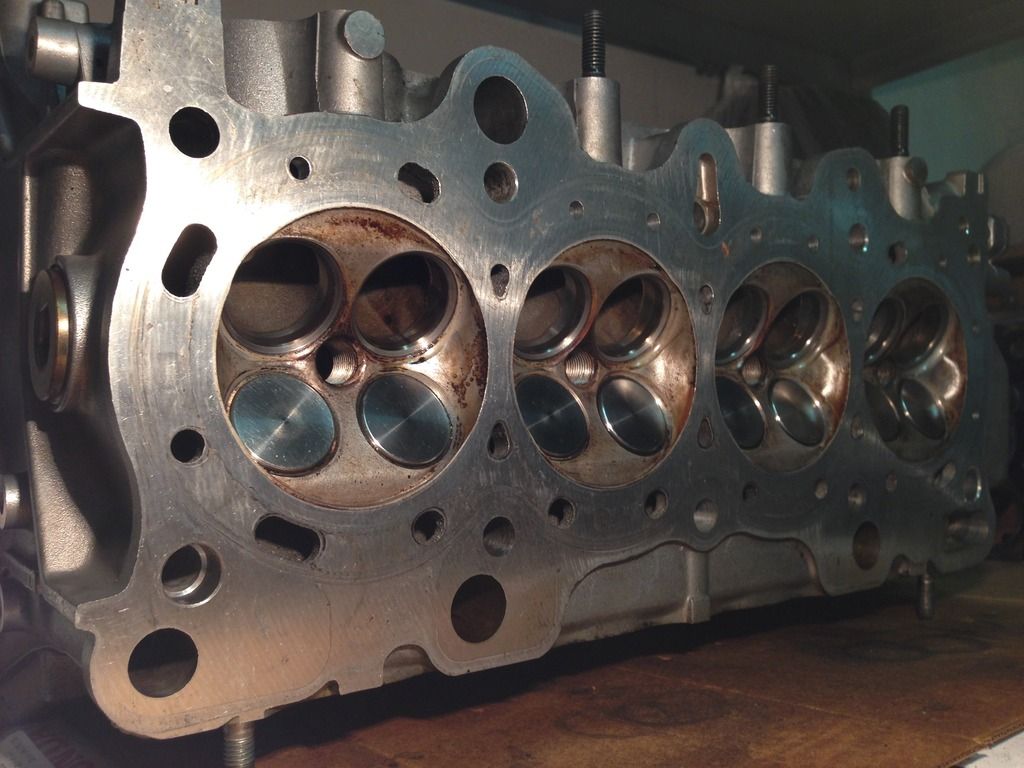
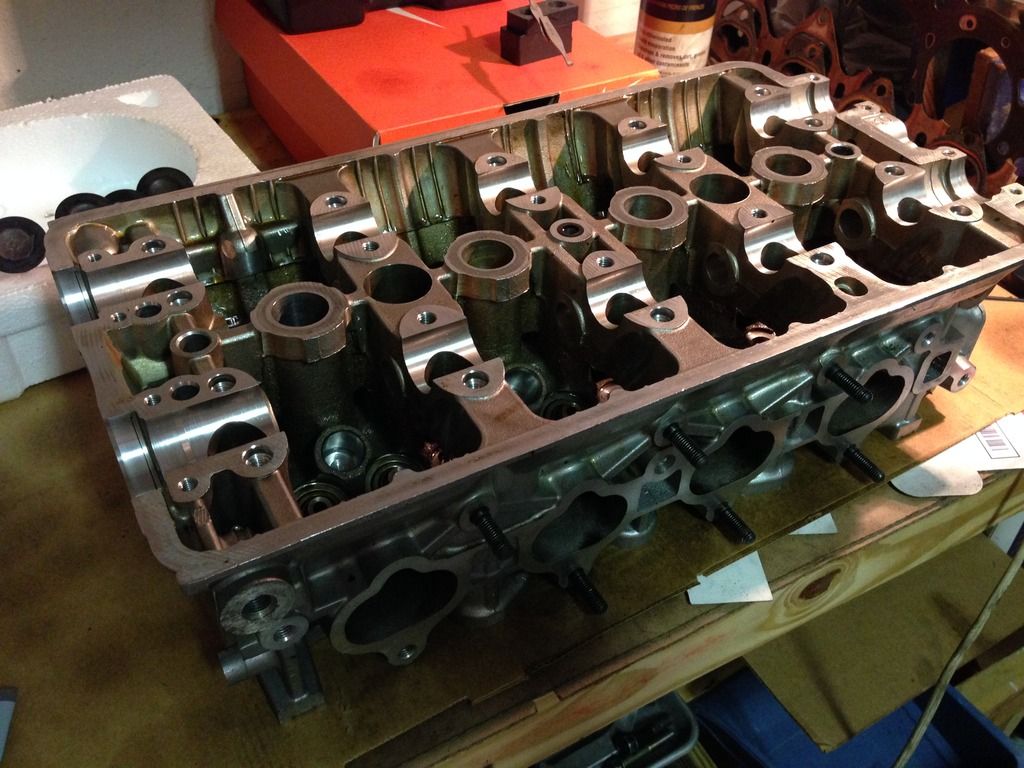
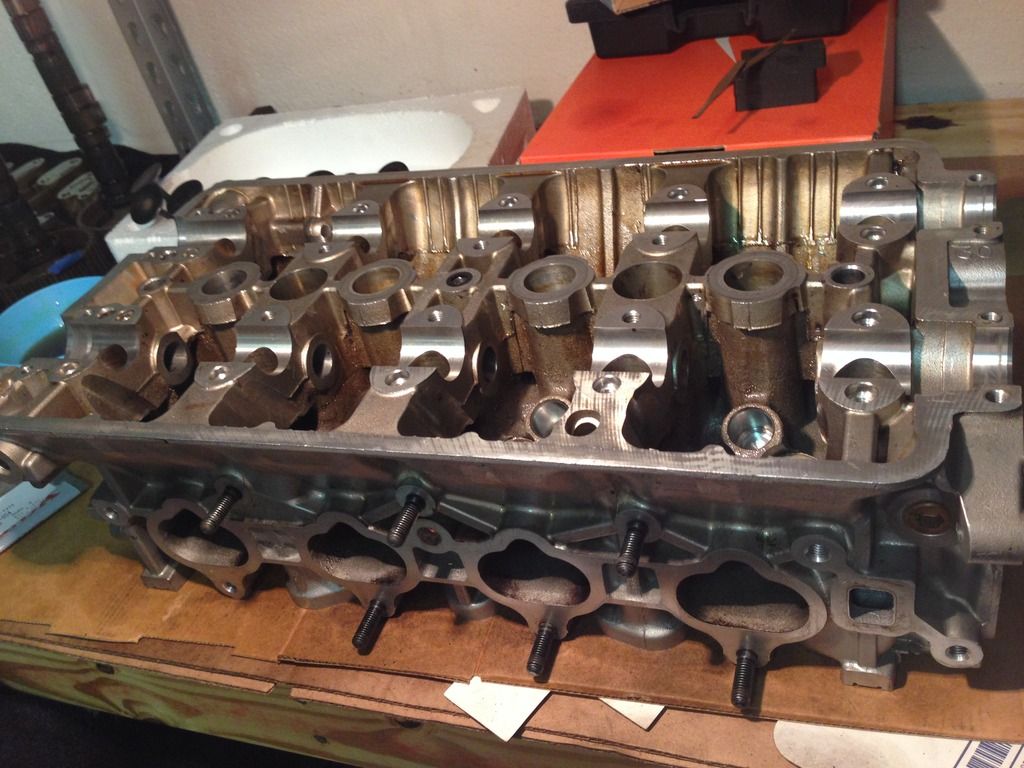
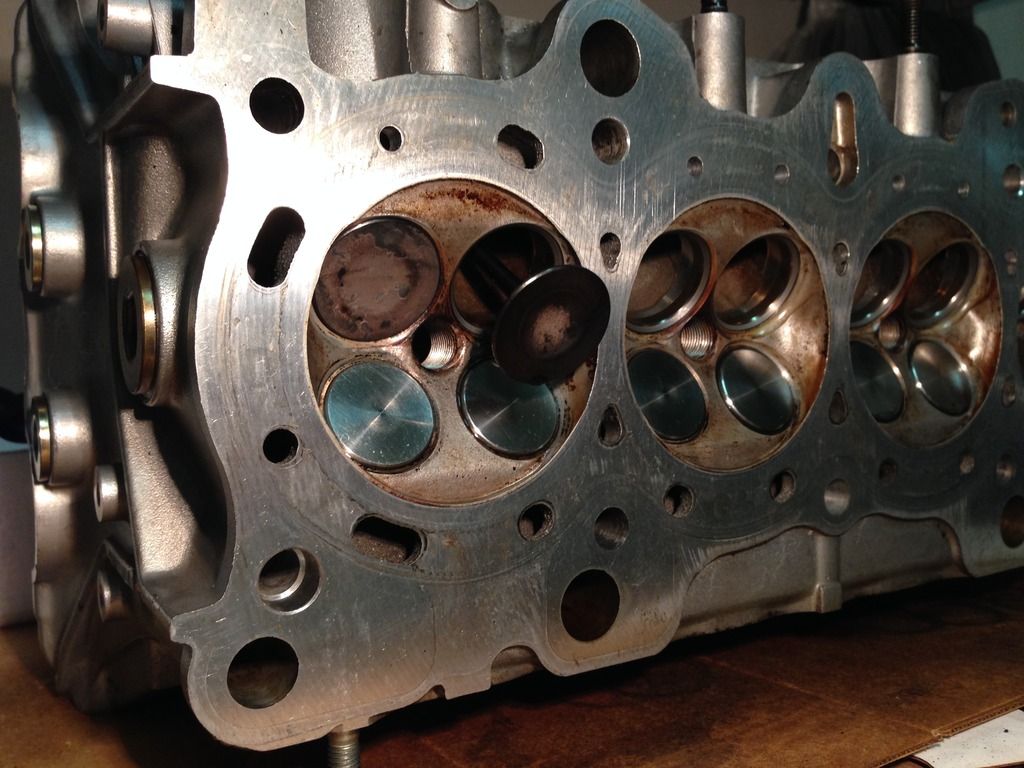
Some dremel and 3/4" PP piping = Valve compression tool..... I am missing my arm and upper body weight.
It took me about 3 days to get all 16 valves in. Average of 6 per day. lol
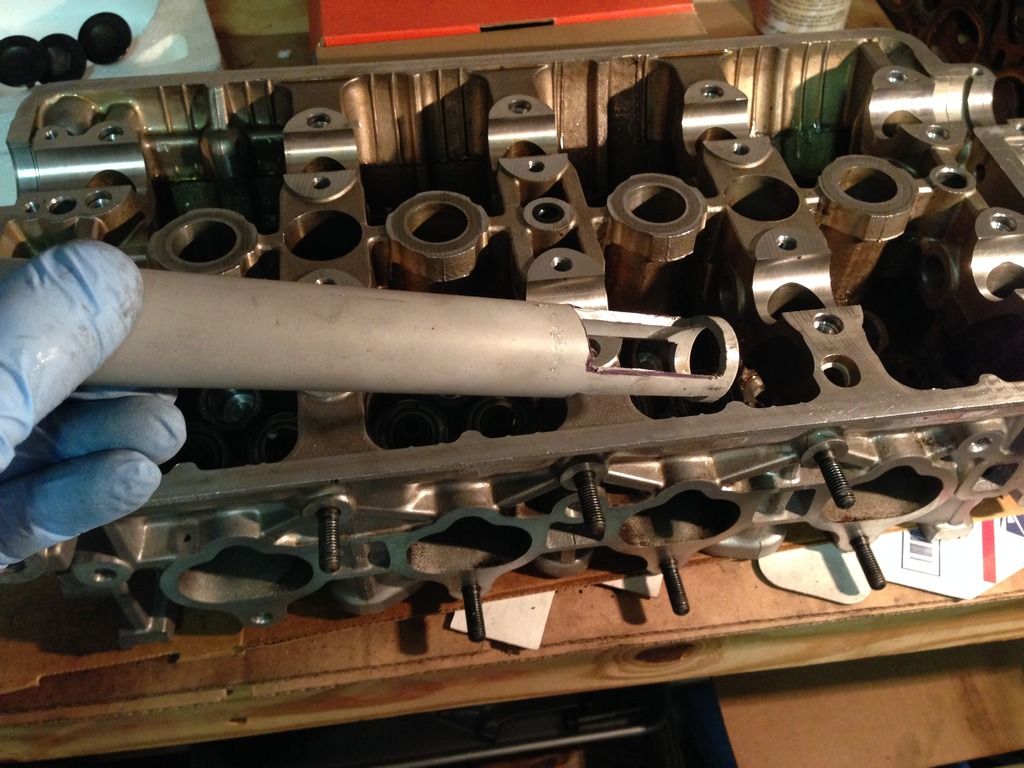
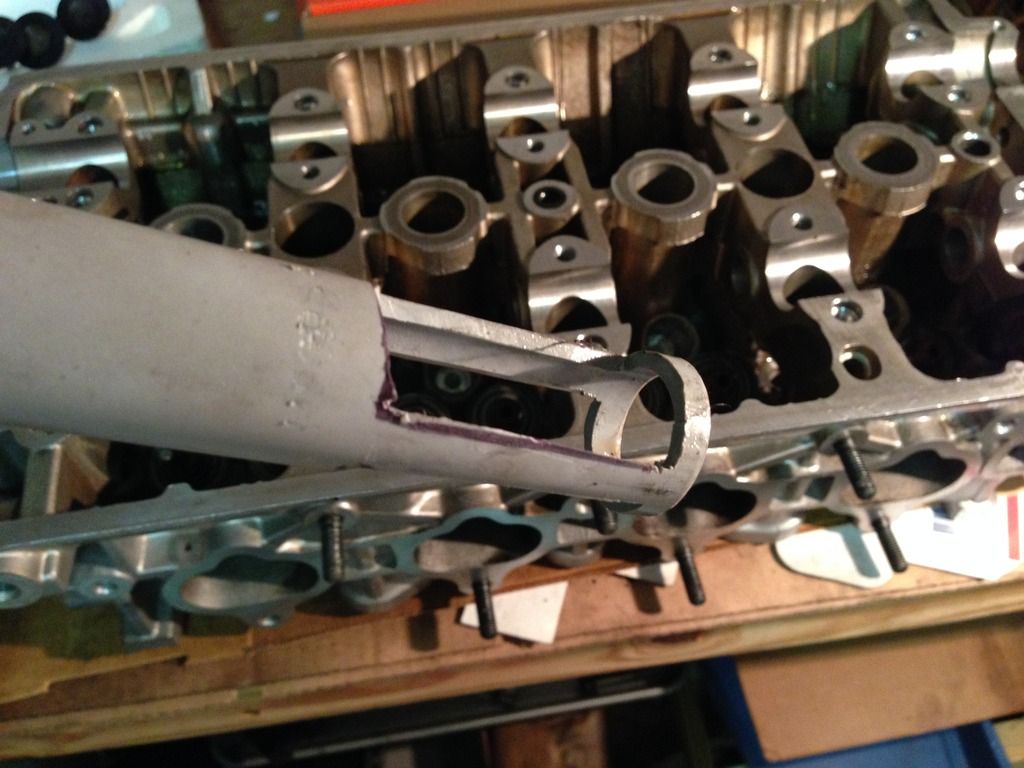
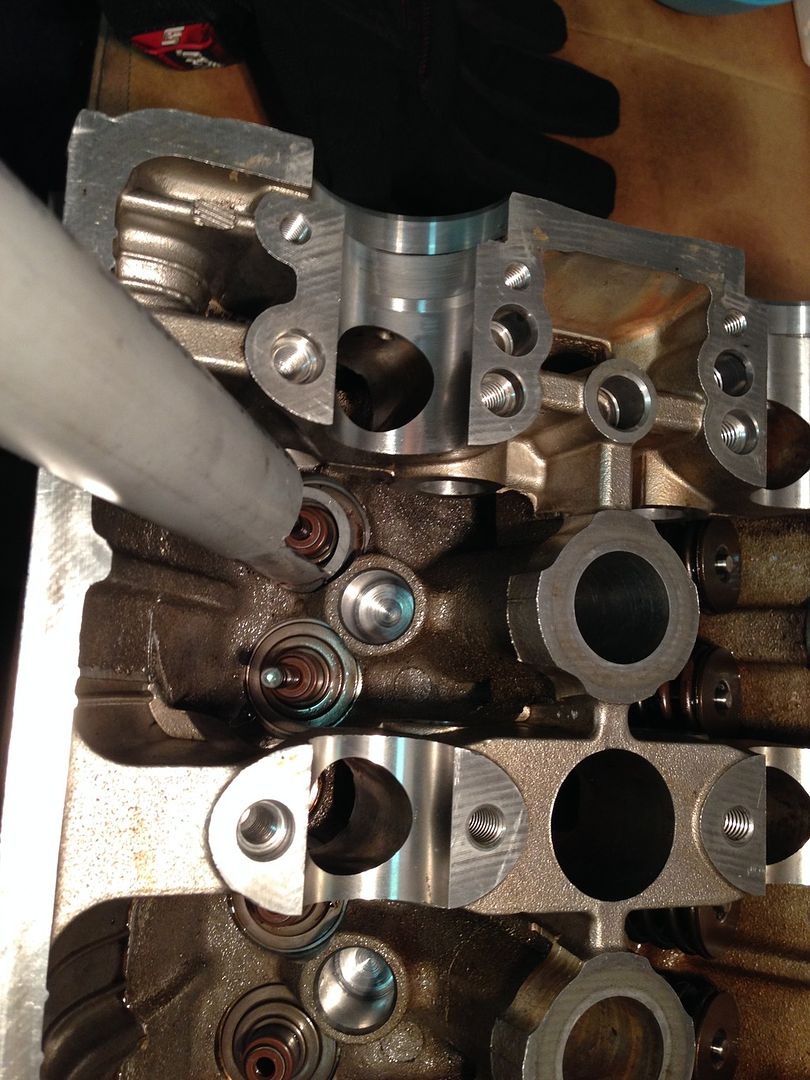
First set done.
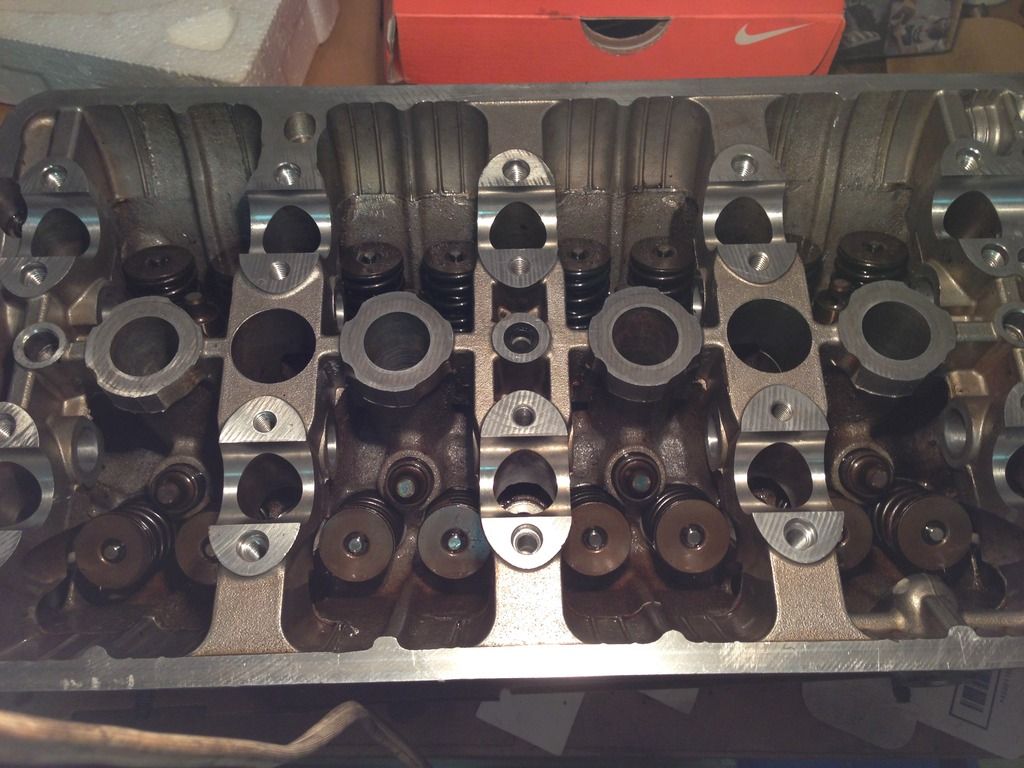
Did not have rubber band, so I used zip ties.
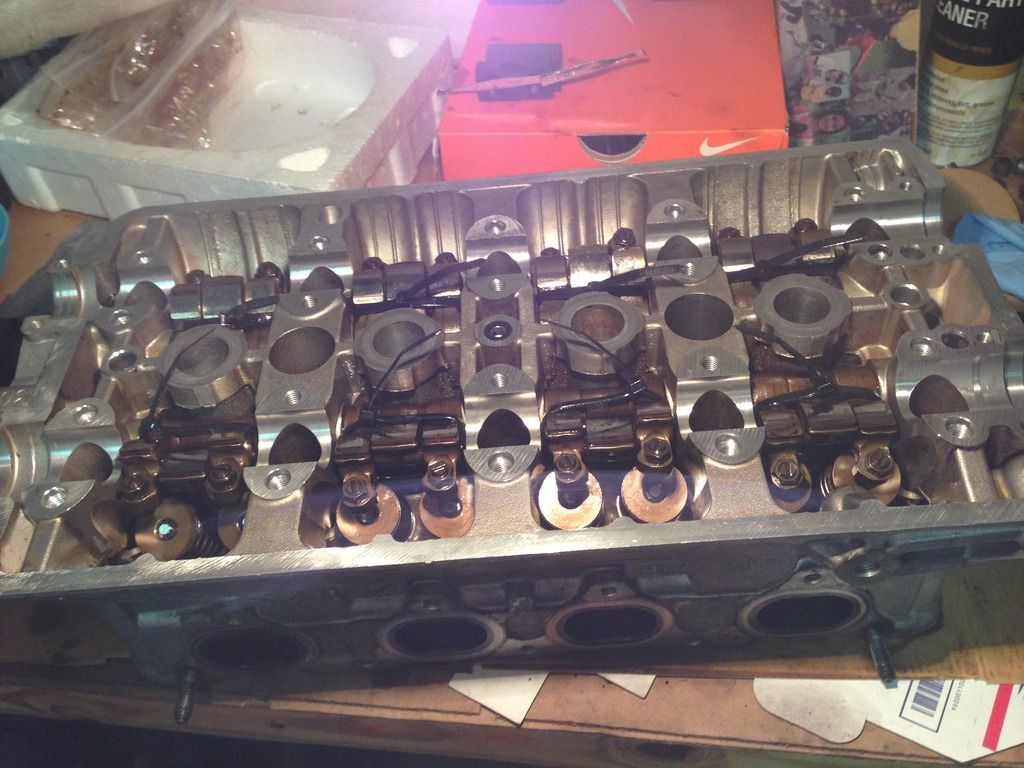
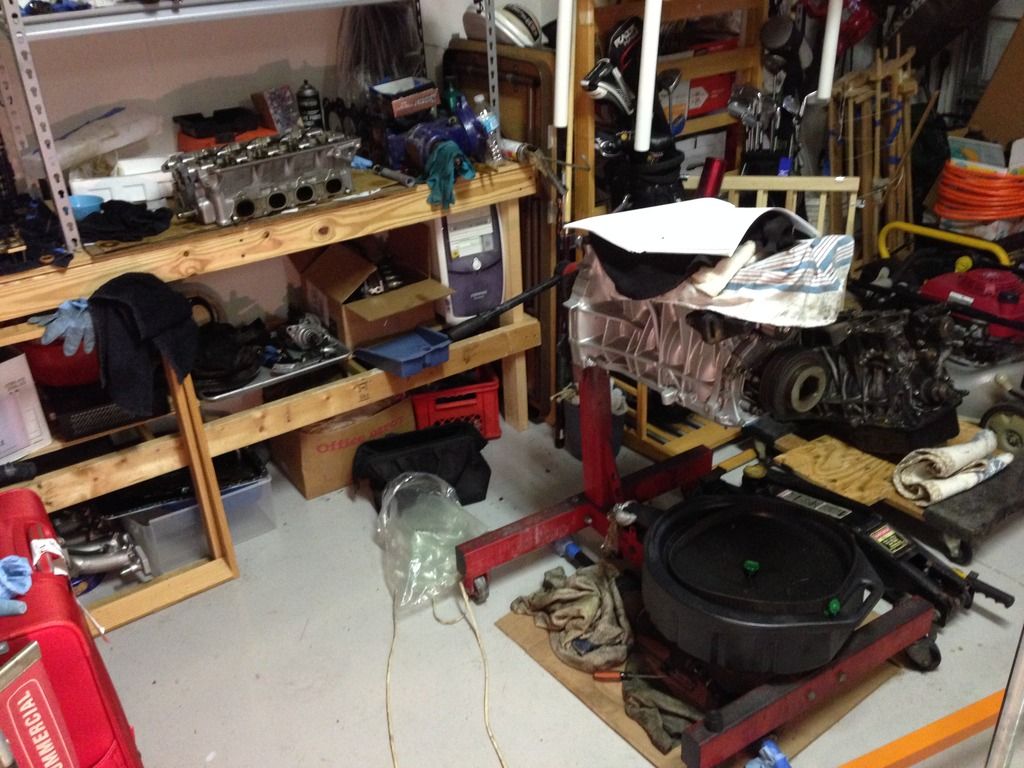
Current Garage situation.
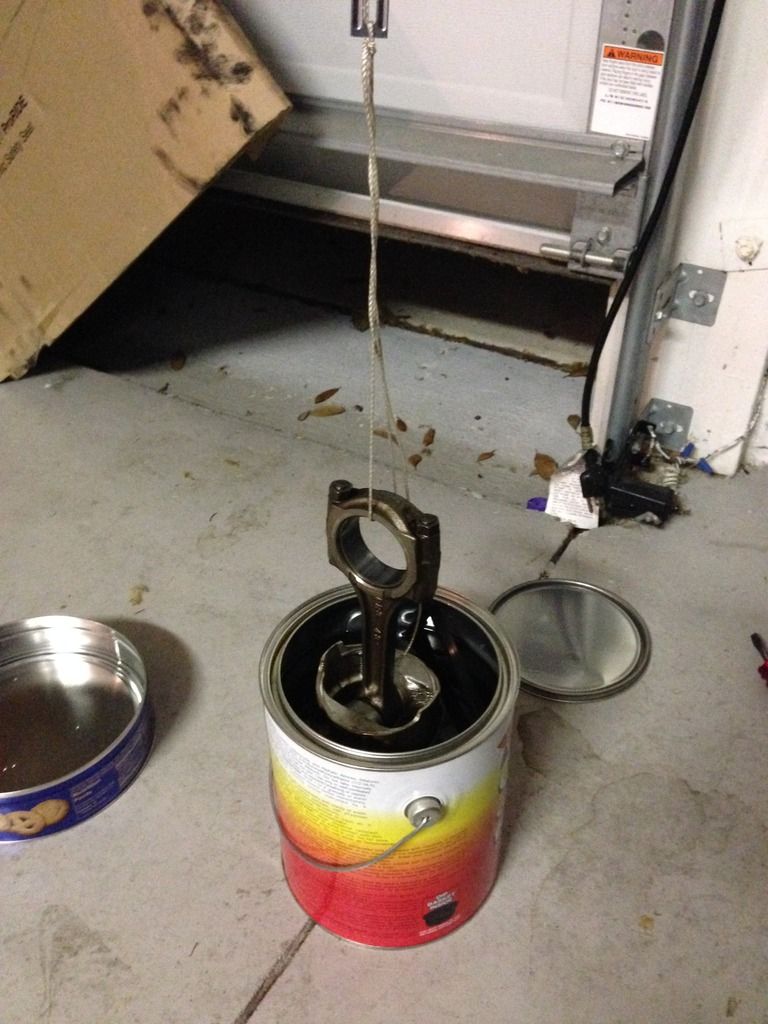
So I bought this from Walmart. I heard good things, but in reality is only fair. I recommended for light cleaning. It is pretty much a big can of carb cleaner.
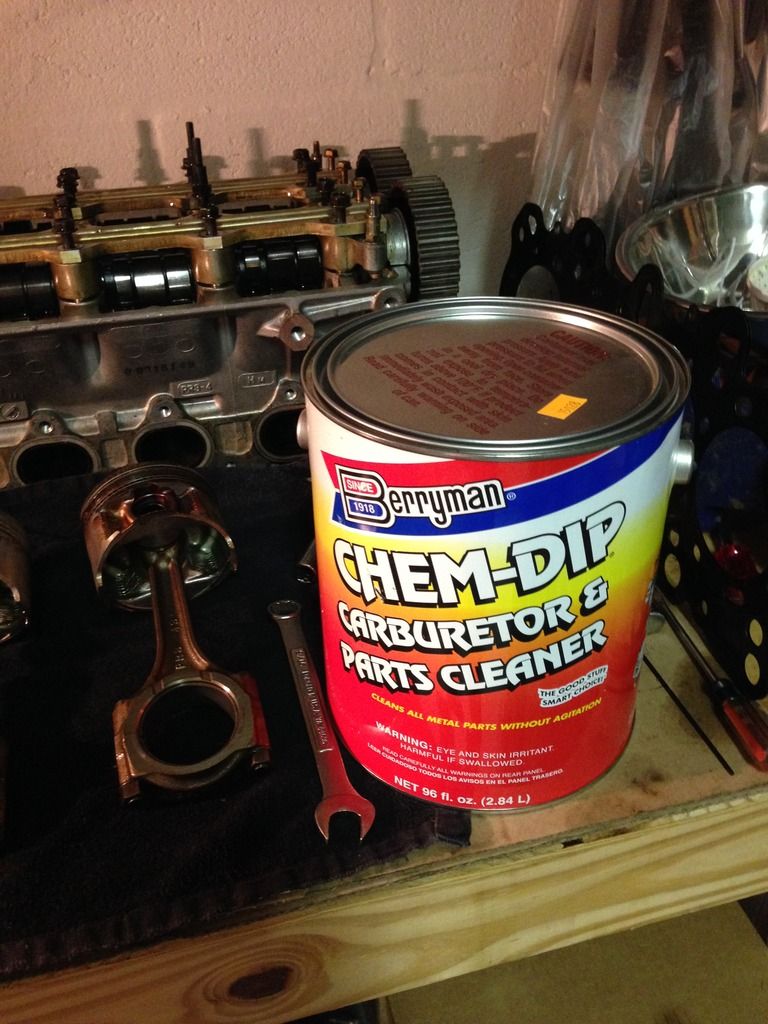
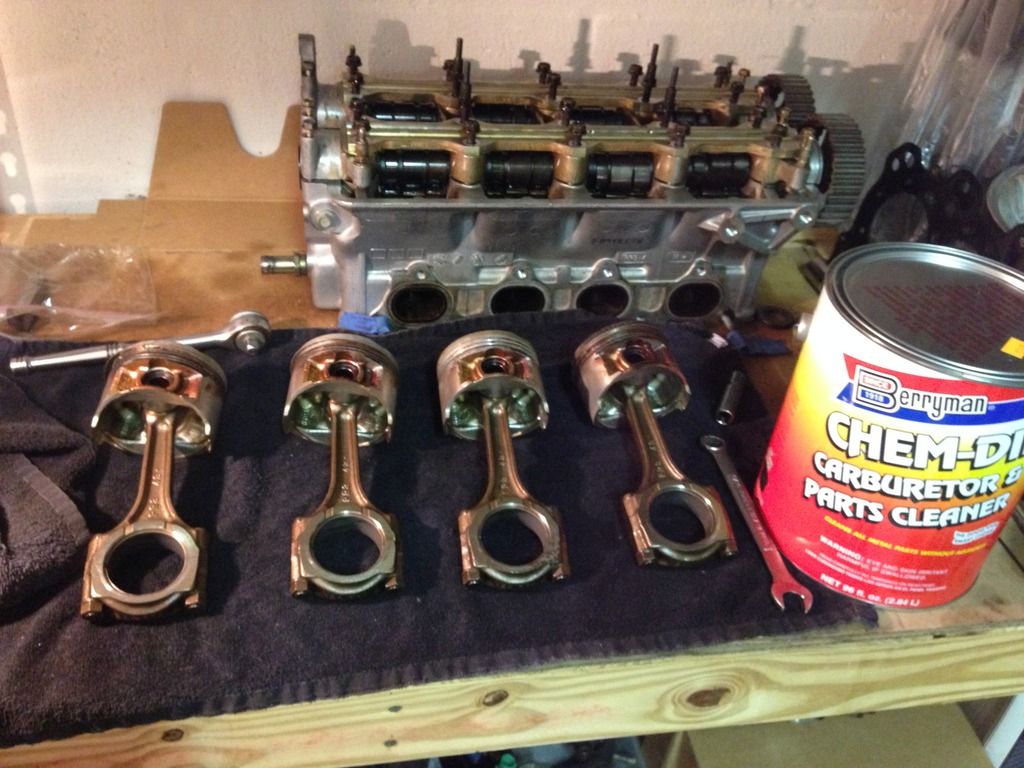
I used to clean the pistons and some of the bolts and nuts.
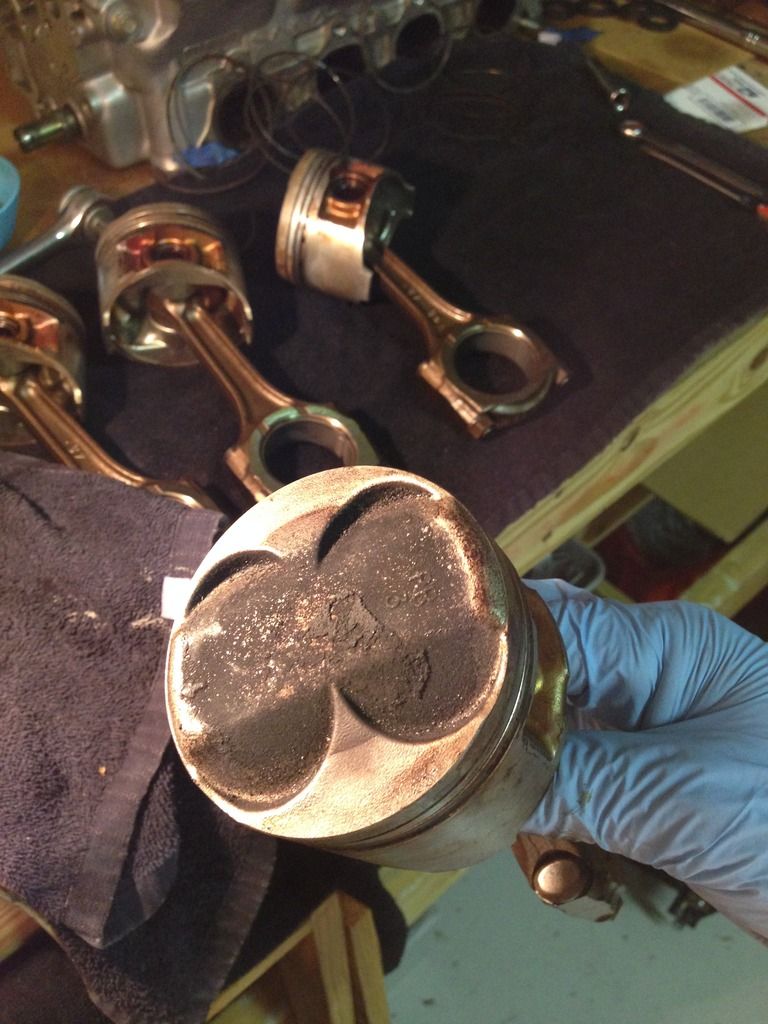
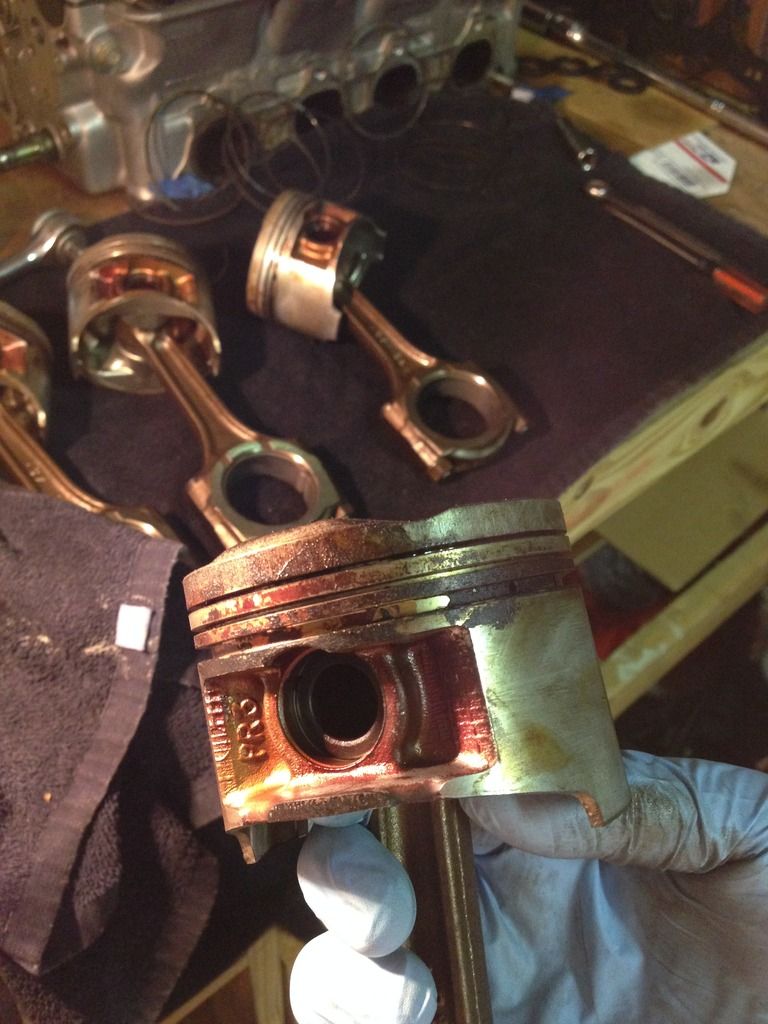
This is how the piston started
30 minute soak
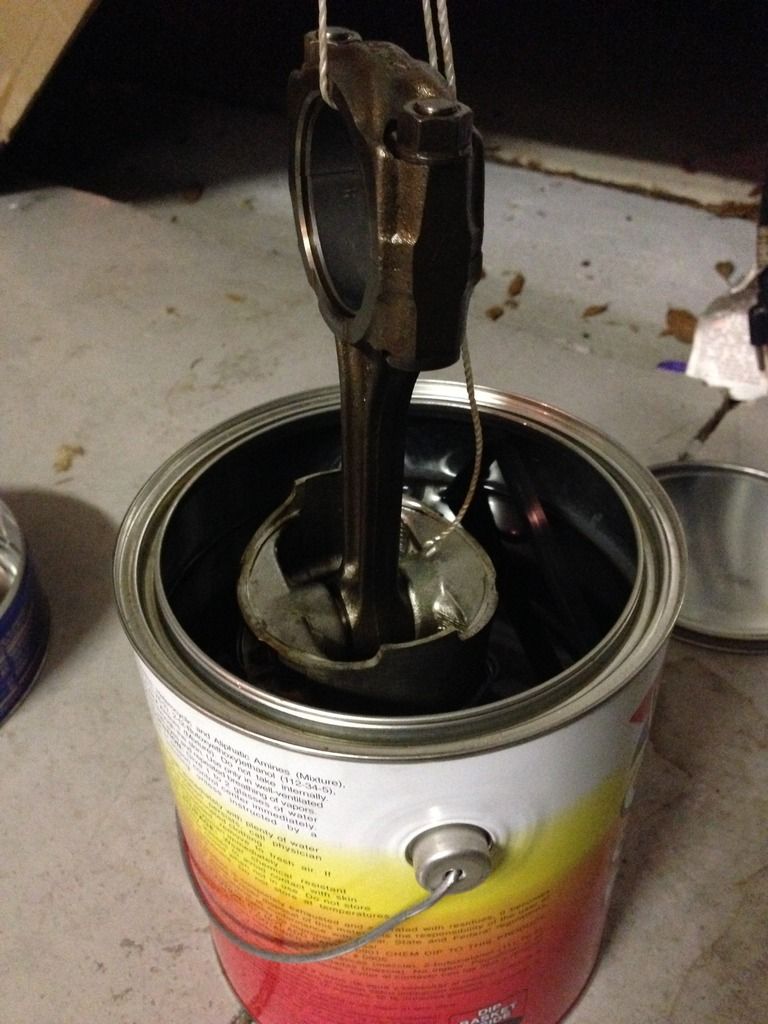
Final result.
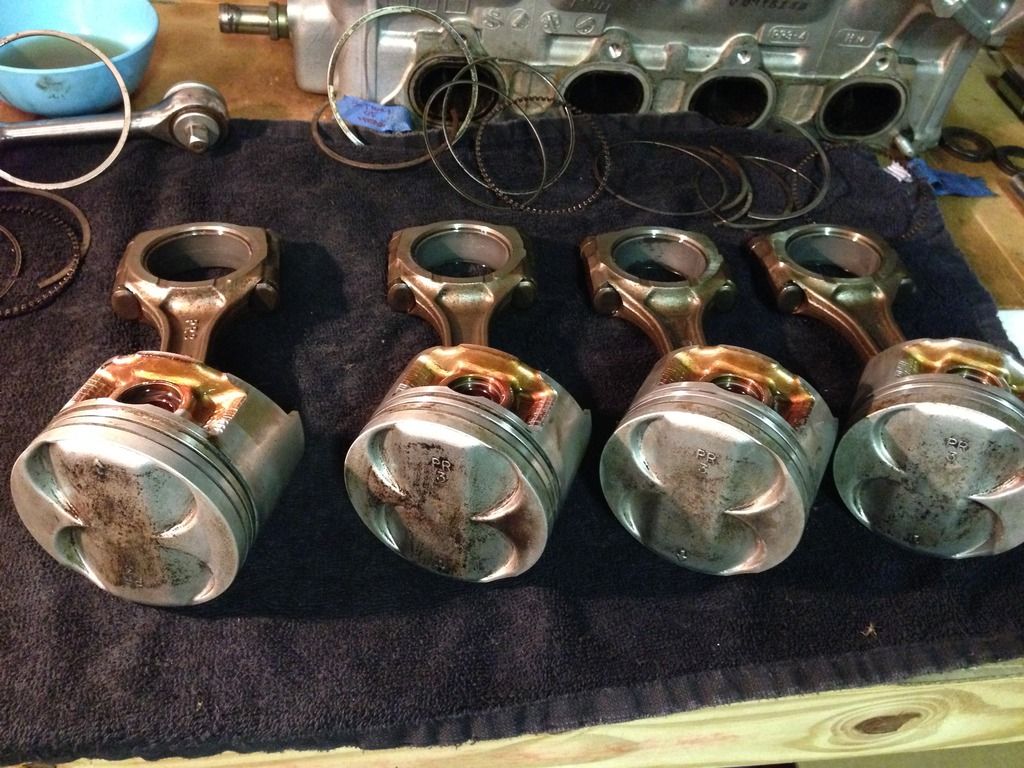
Some whatever brand piston rings.
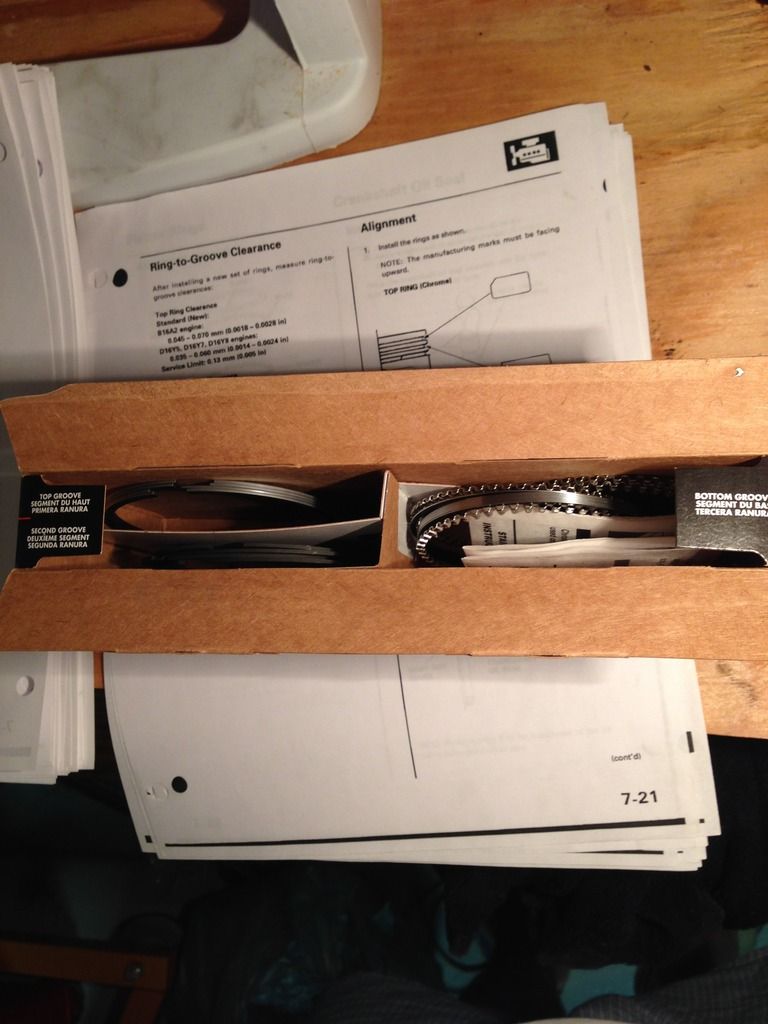
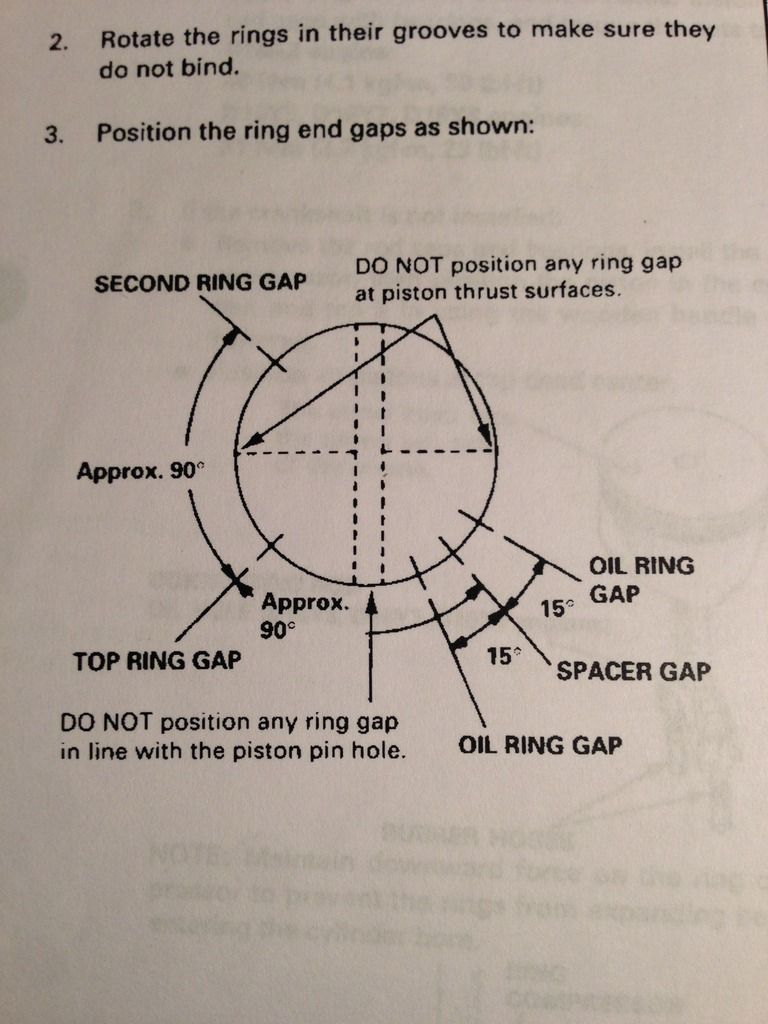
Got the specs out
Pistons in.
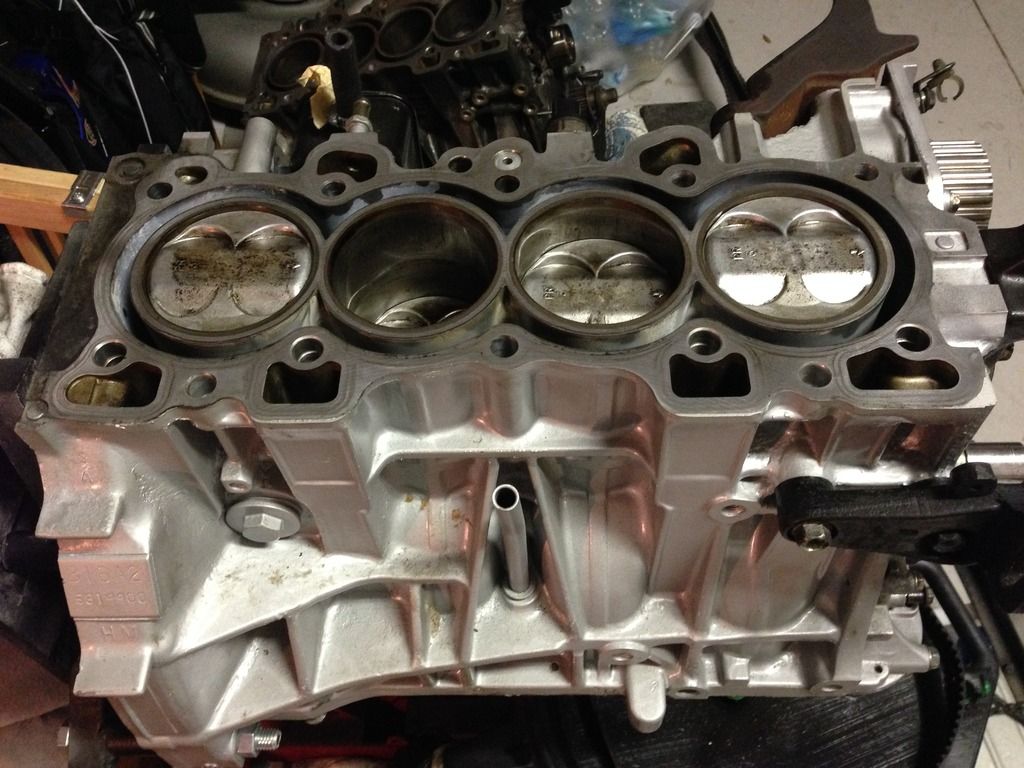
Continue putting the bottom end together.
Collection of parts of 8 years.
Back to the cool blue oil pan.
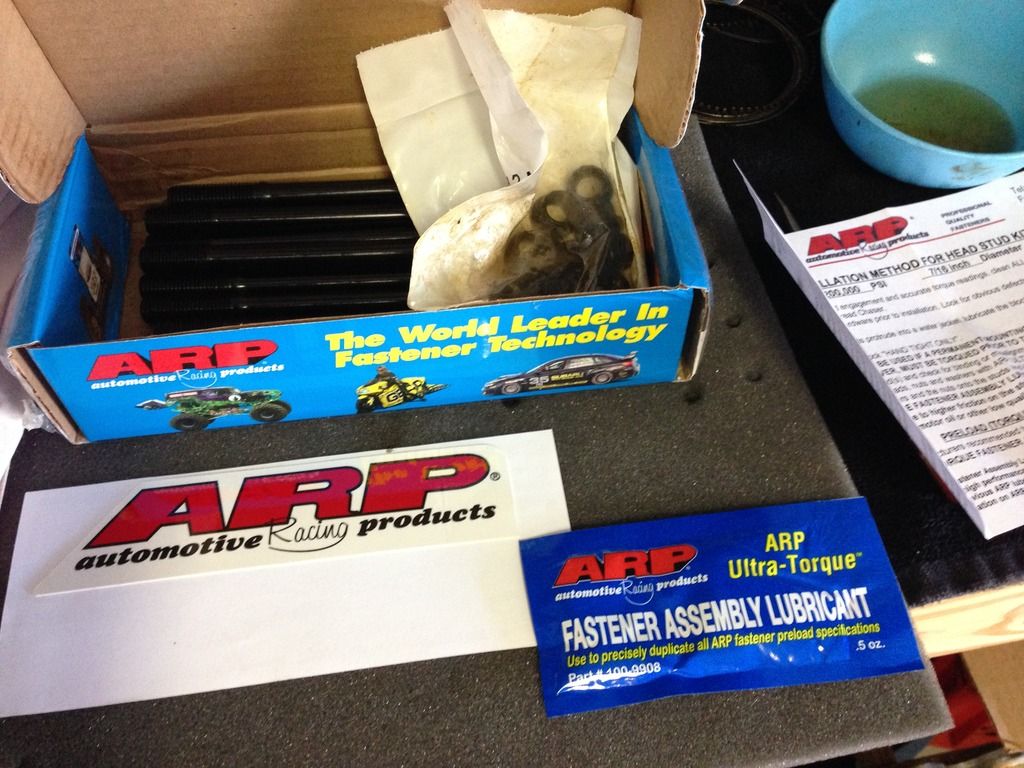
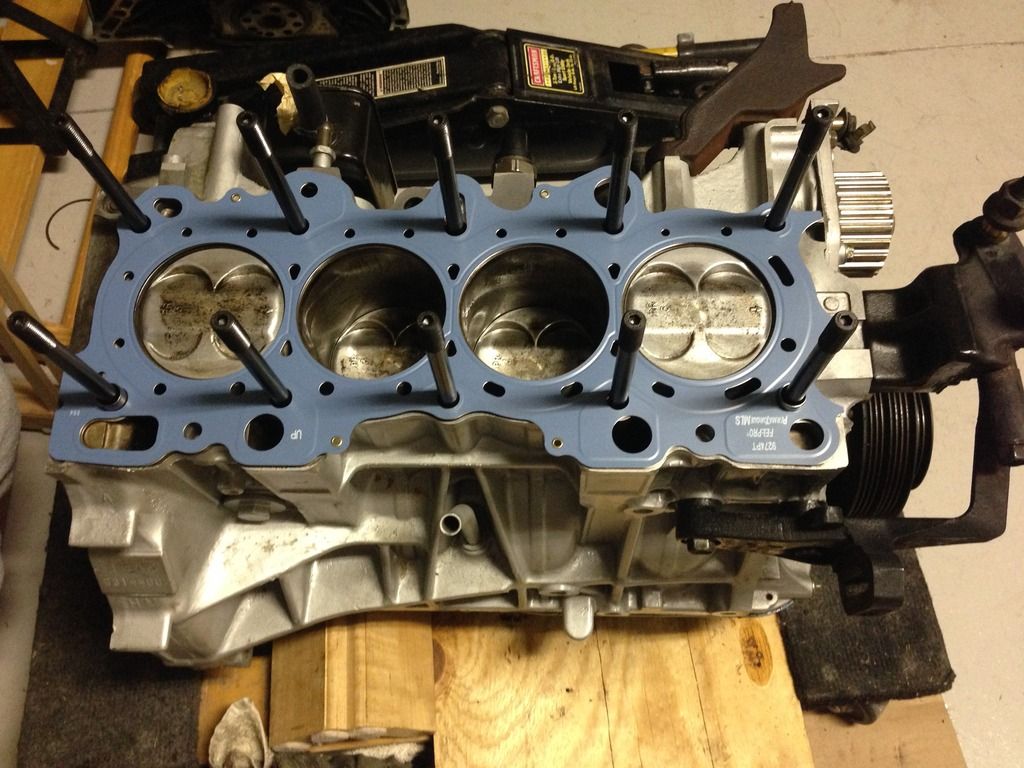
New Studs
Some OEM goodies
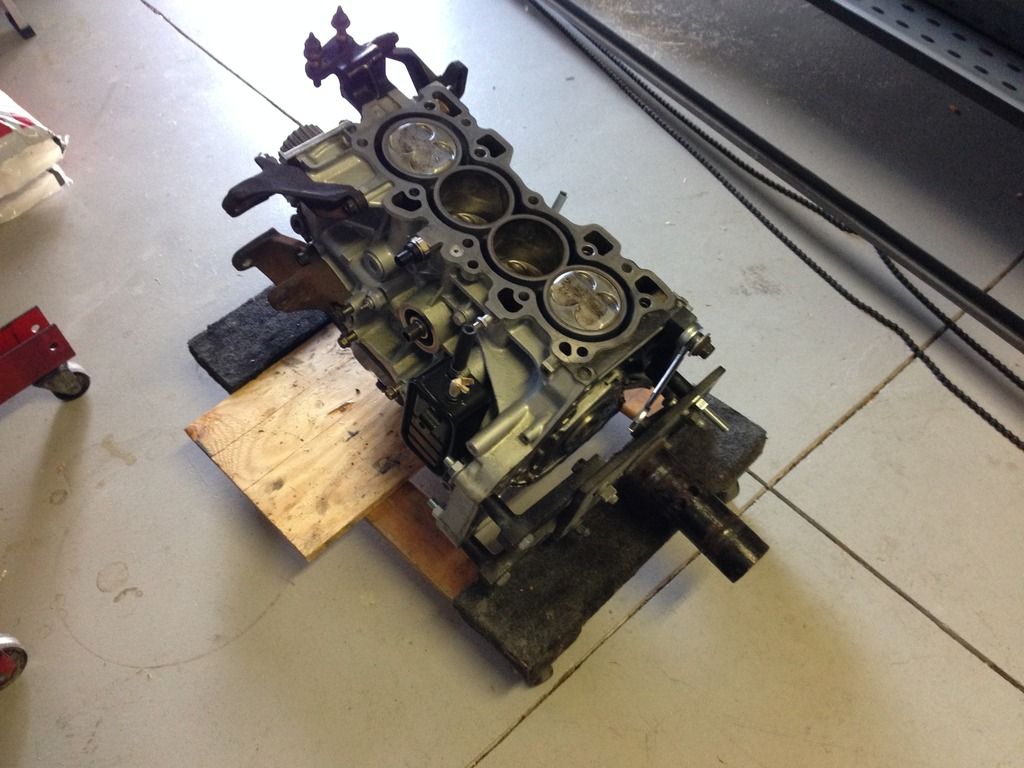
I don't have a cherry picker, so I figured it is a good time to drop the block before I put the head. Otherwise, I wont be able to move it. lol
No name head gasket
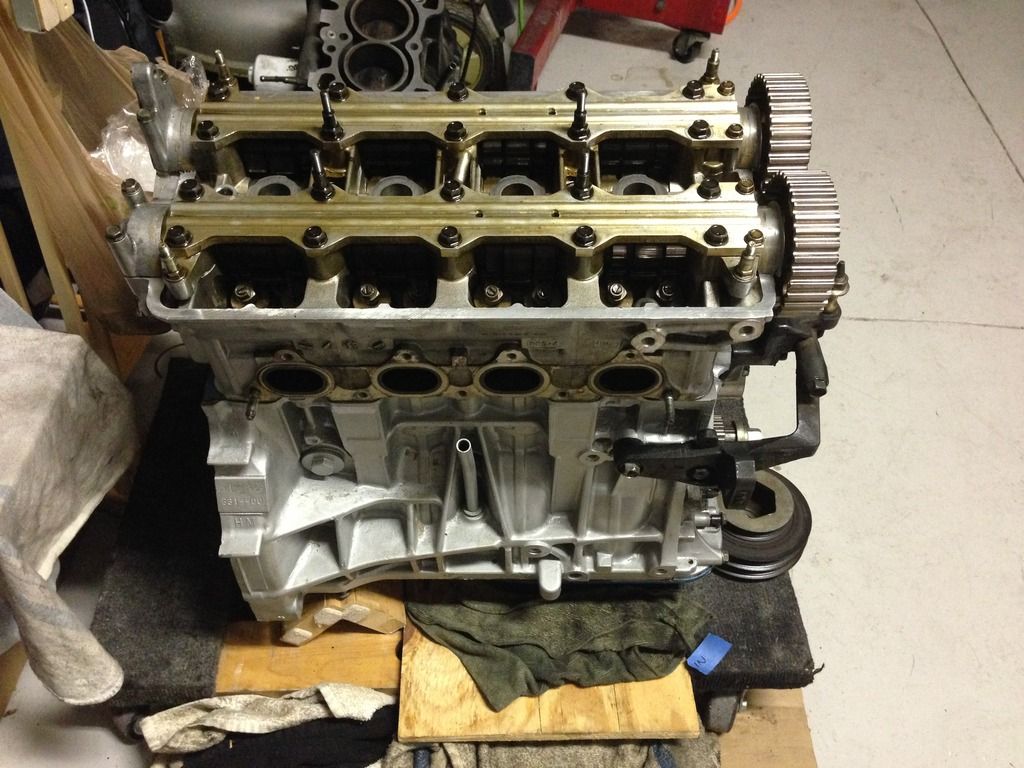
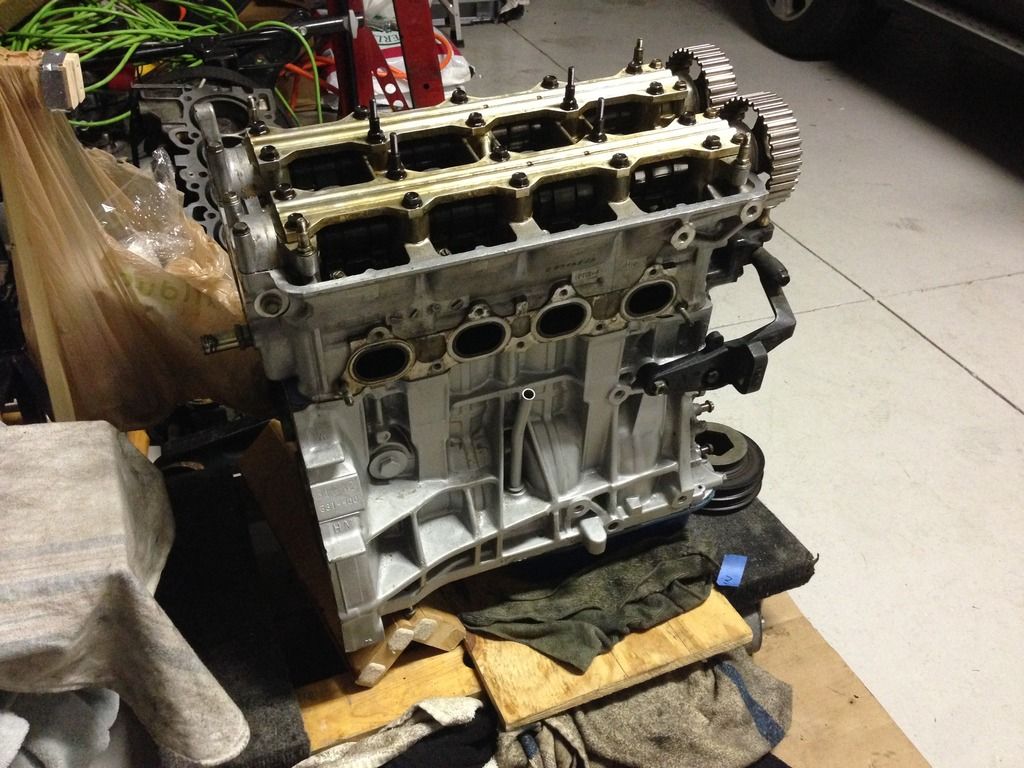
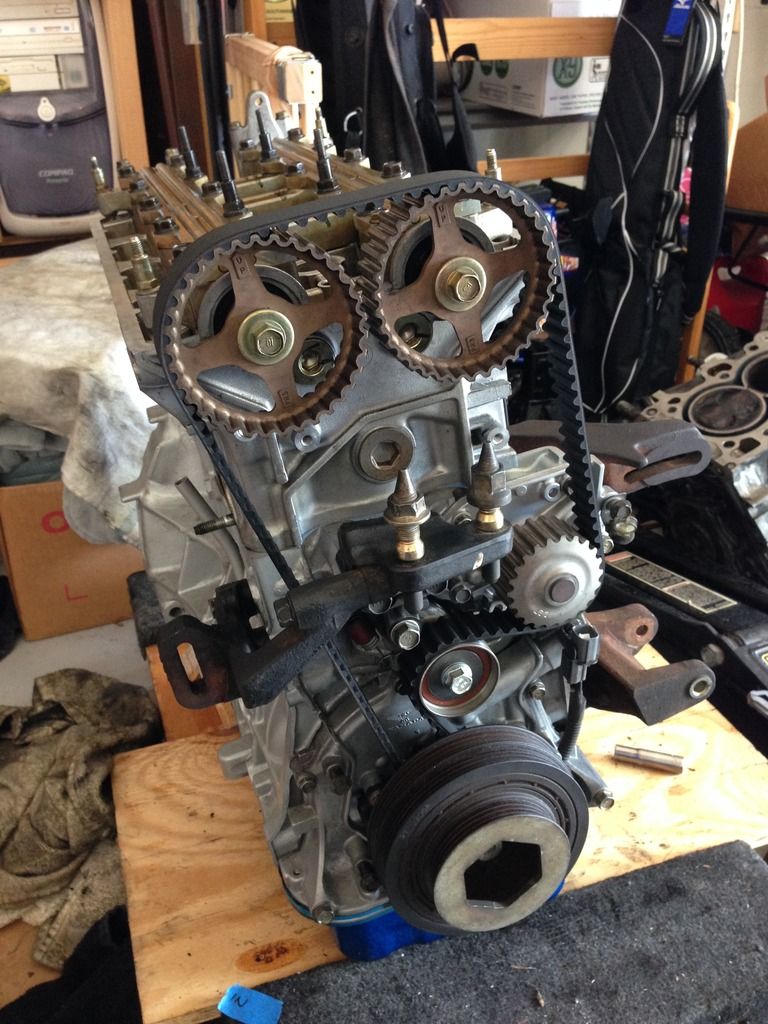
MORE VTEC Power.
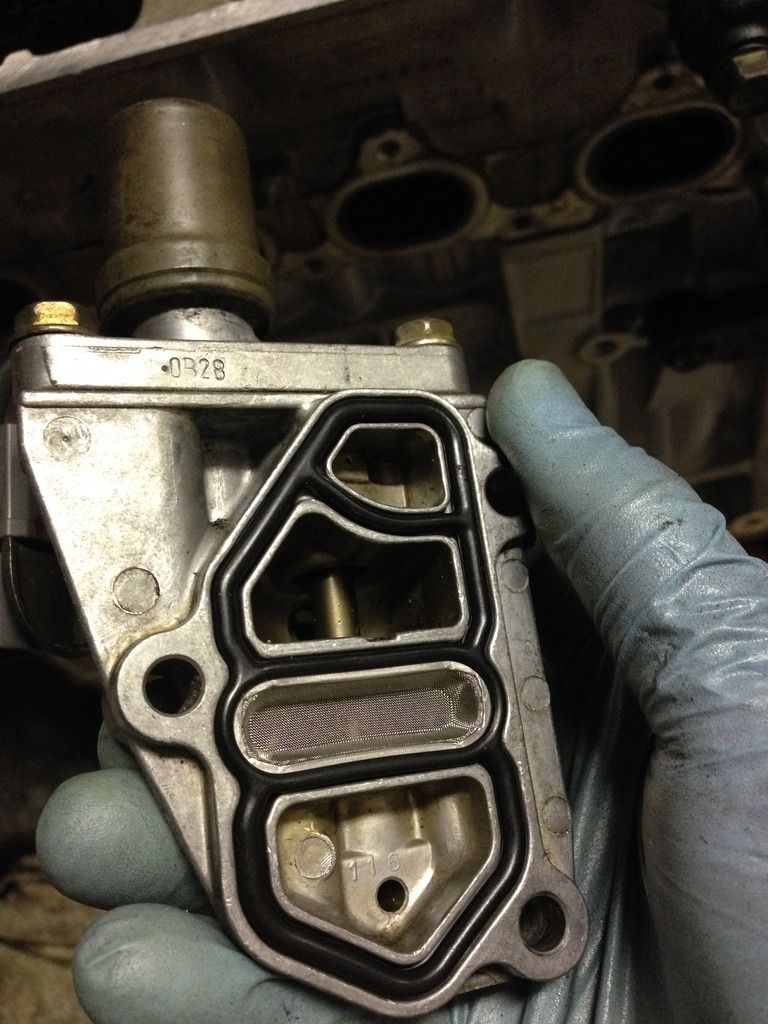
Time to adjust the valves.
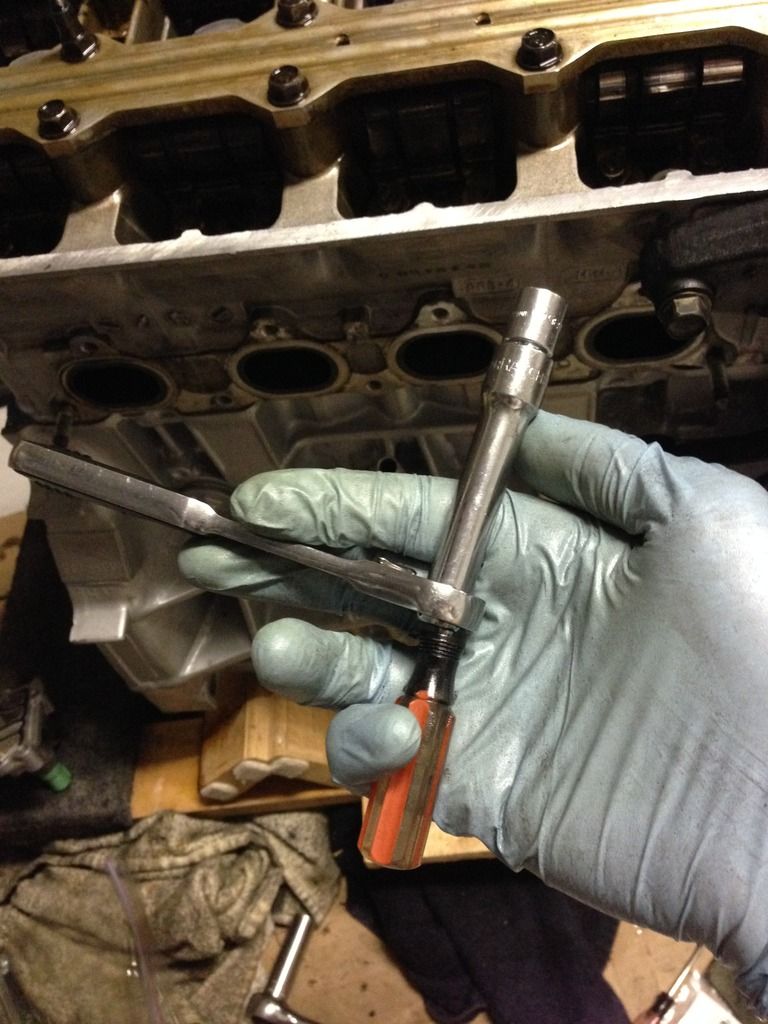
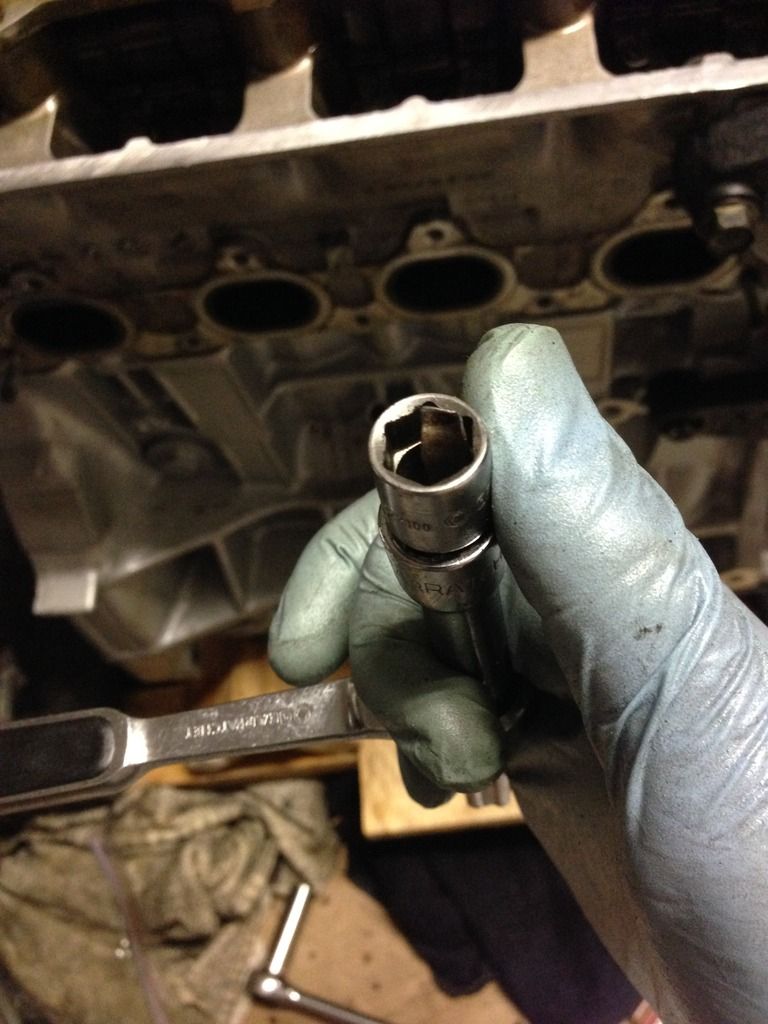
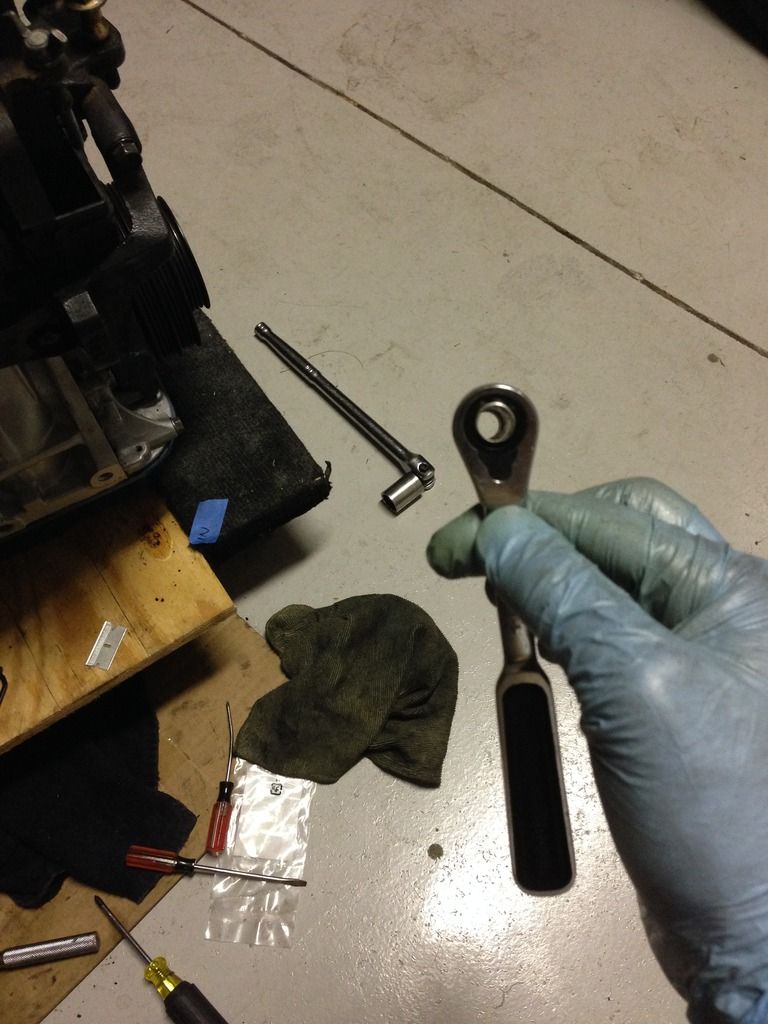
Gear wrench makes this neat ratchet that can be used for our valve adjustments.
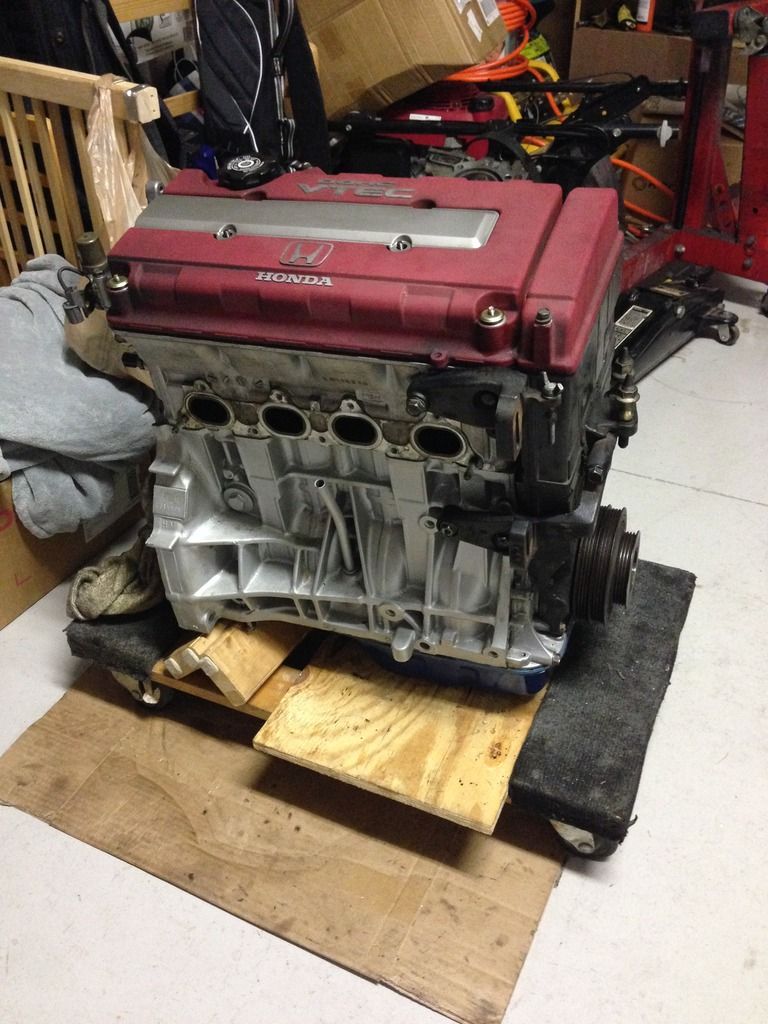
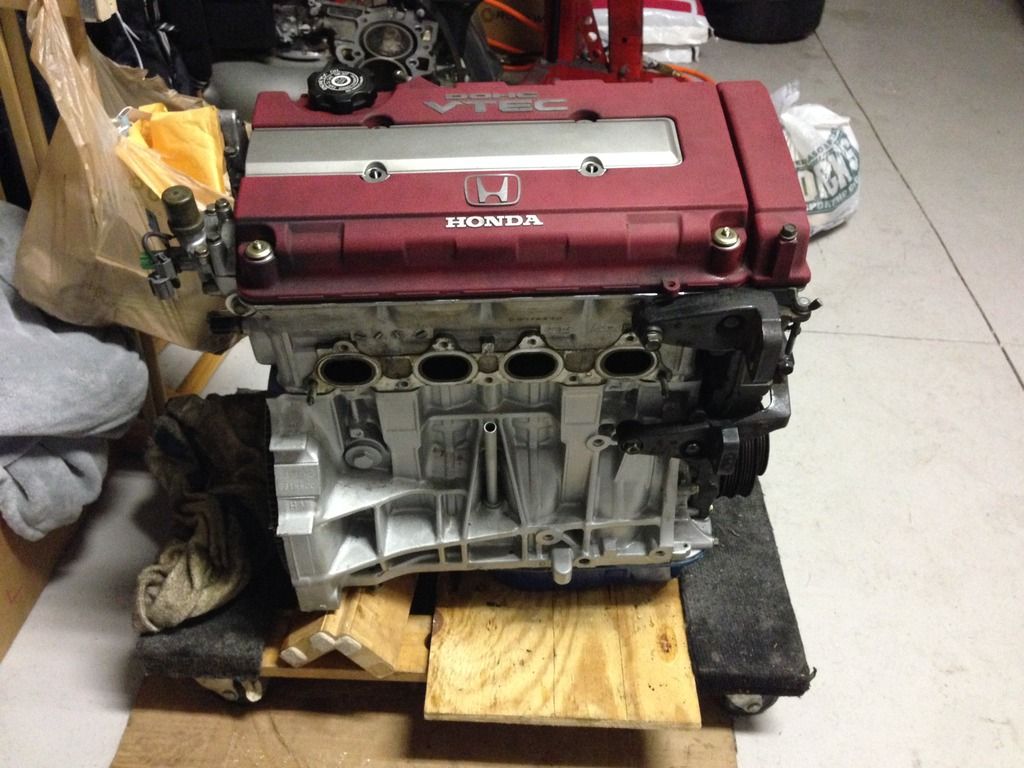
Best looking valve cover ever. I dont think anything comes closer to how simple, elegant, and functional the B series cover is.
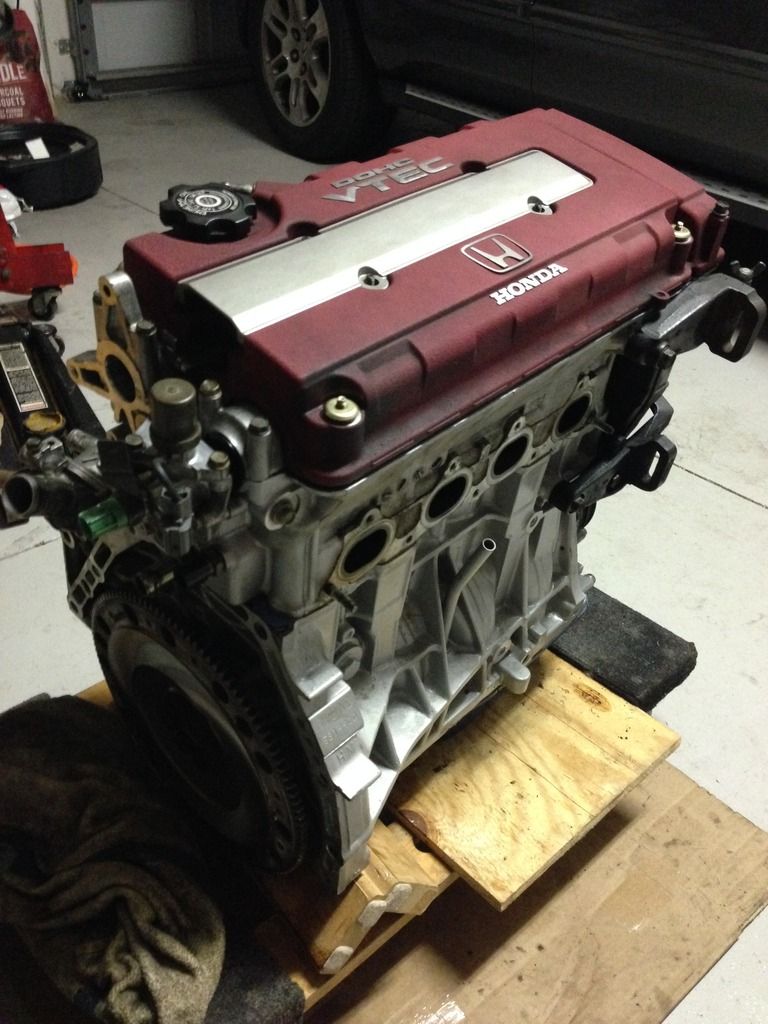
Some of the other parts cleaned and ready to go.
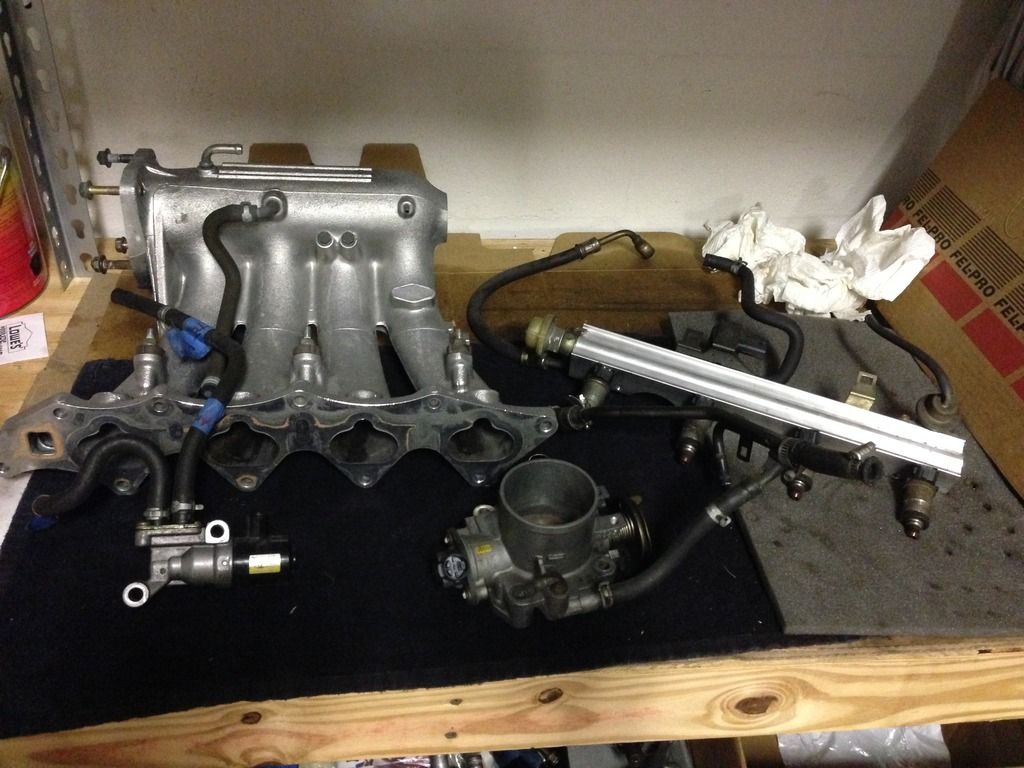
I dipped this in the carb cleaner can I shown above. it cleans parts fairly well.
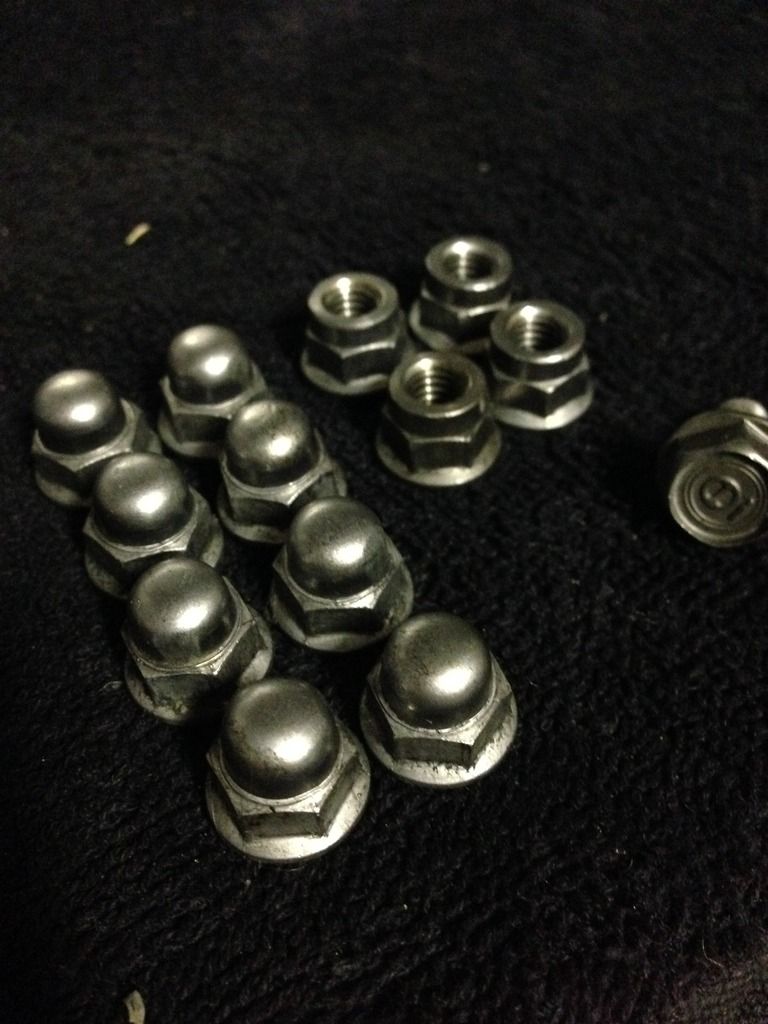
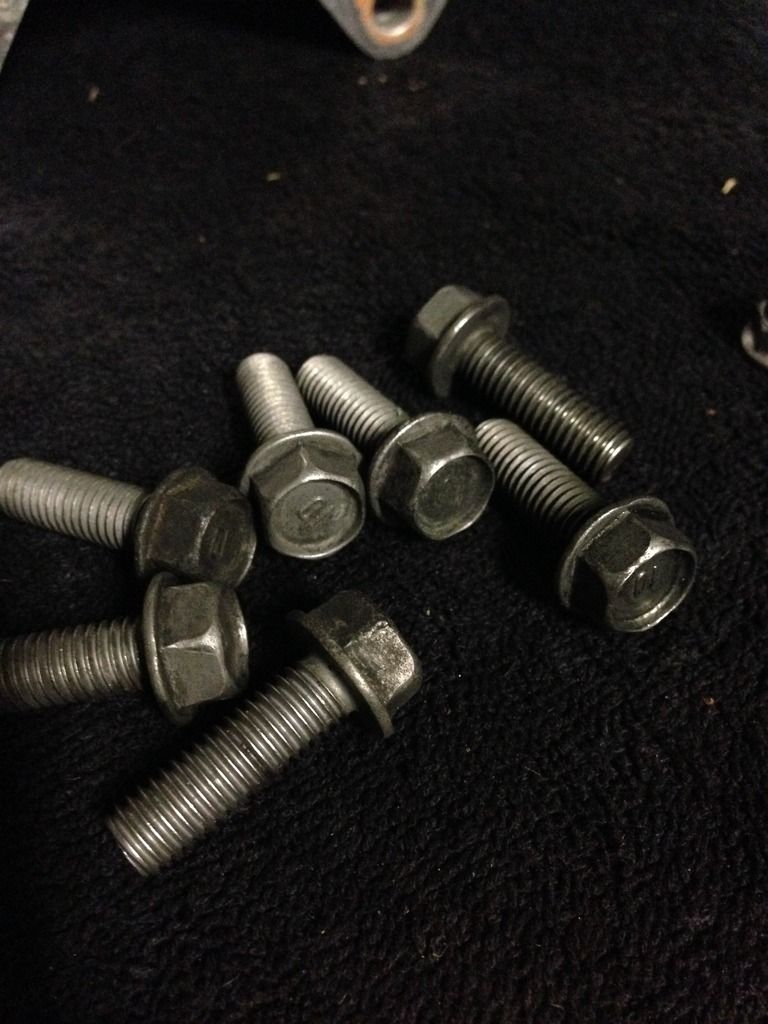
Some before and after.
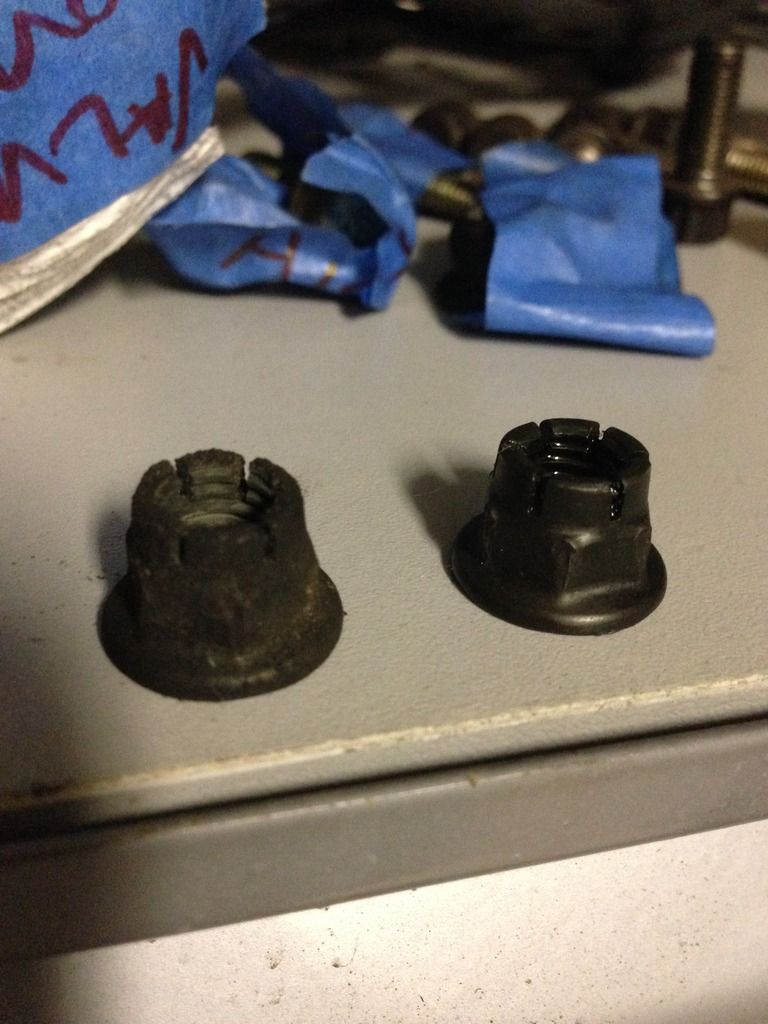
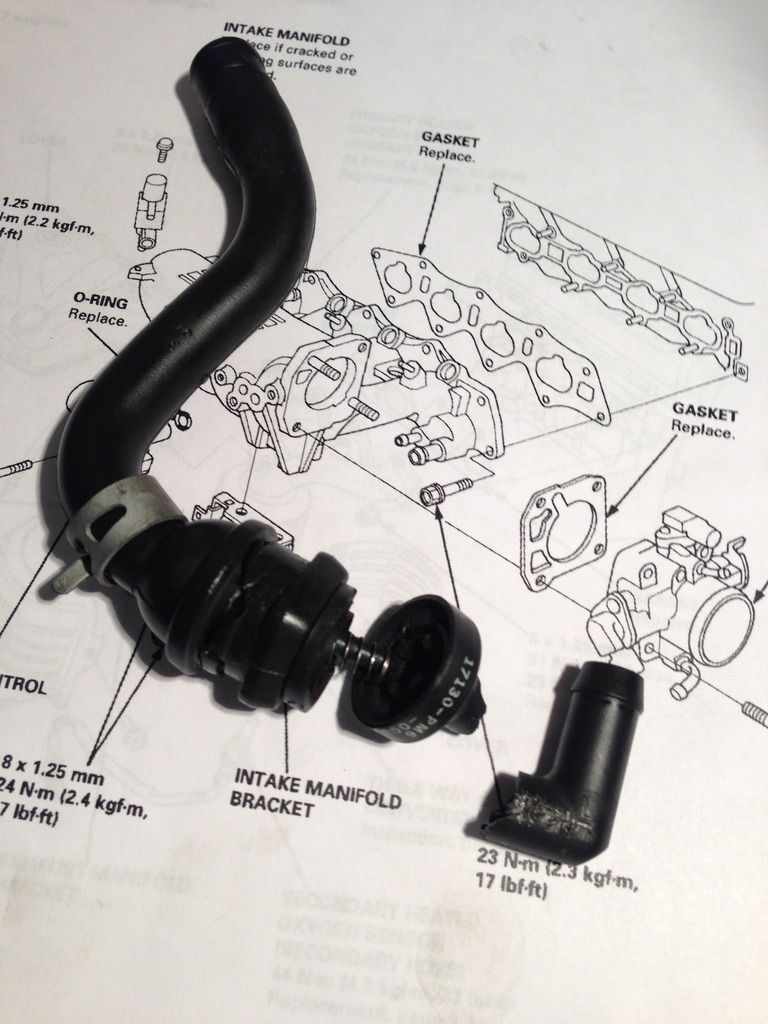
PCV valve breaks every time you take it out. is there anyway to take this crap out without breaking....
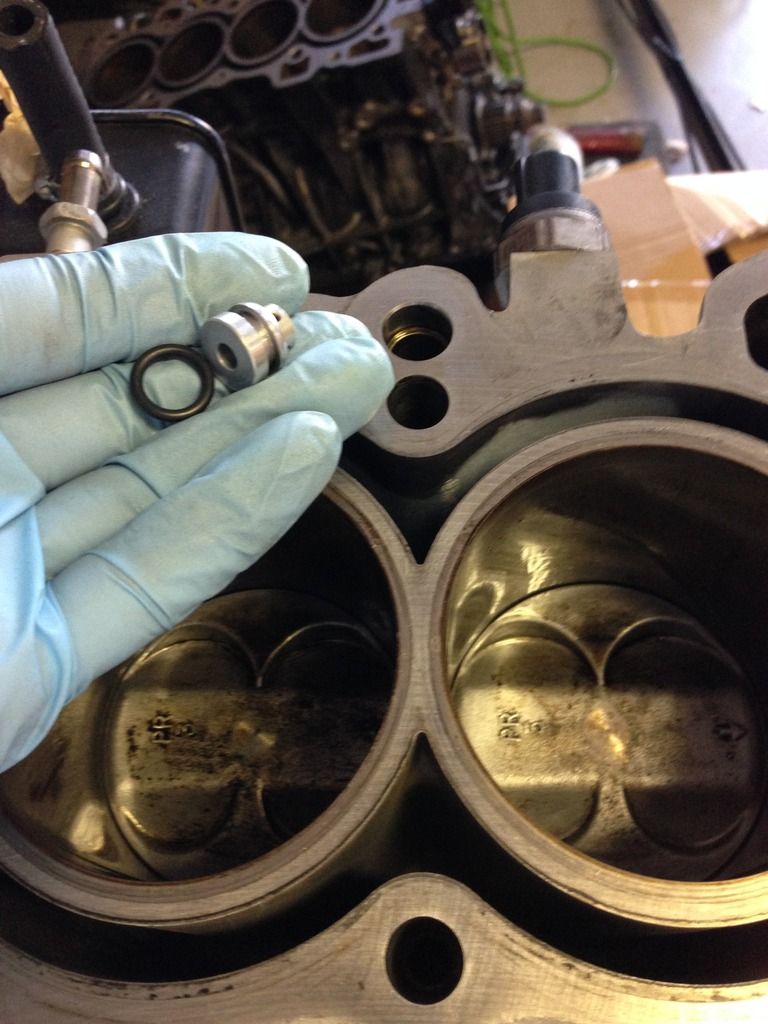
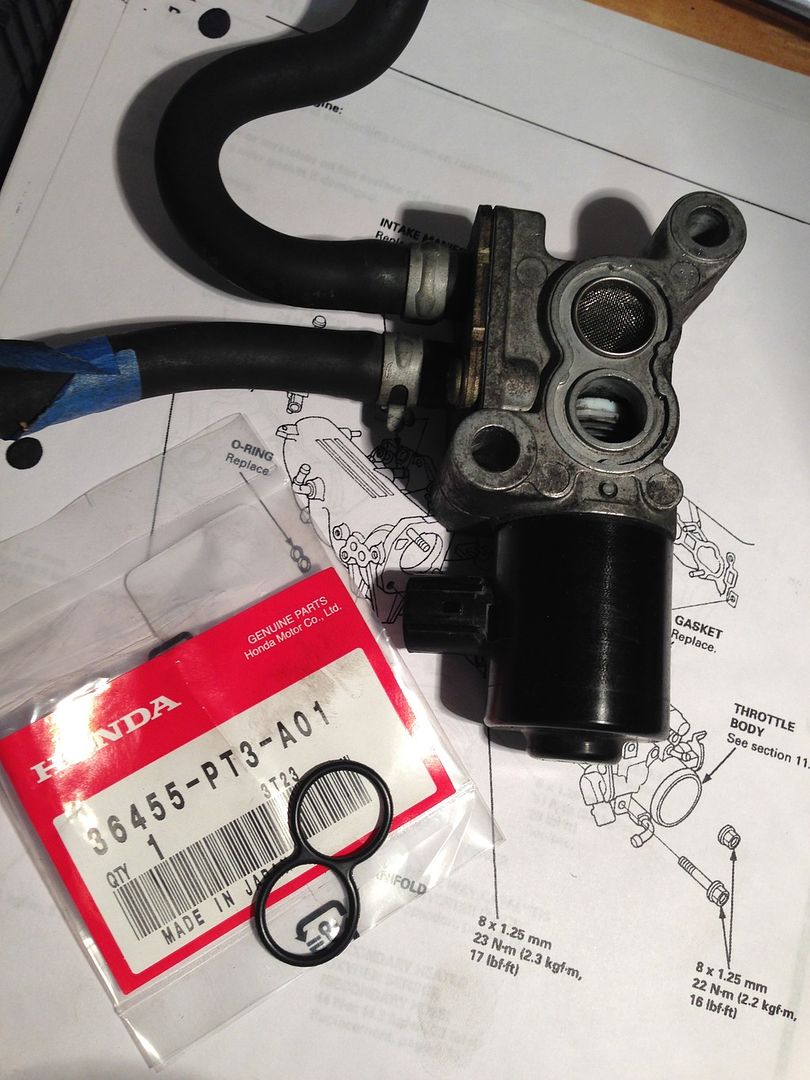
Replaced O rings
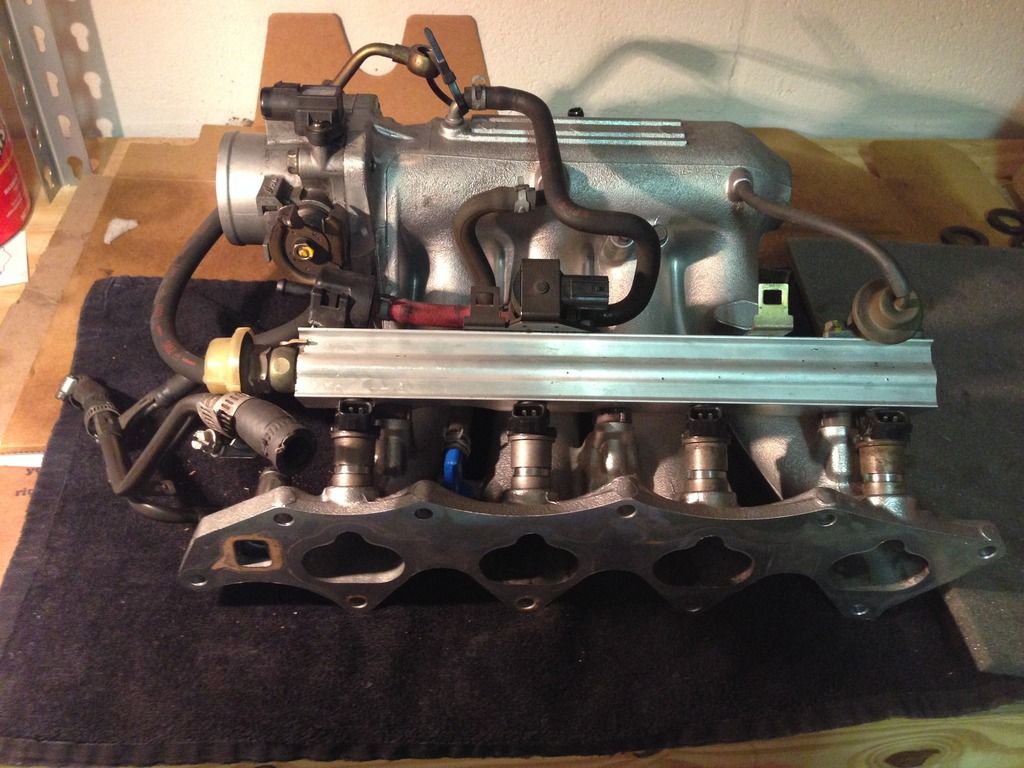
IM ready to go.
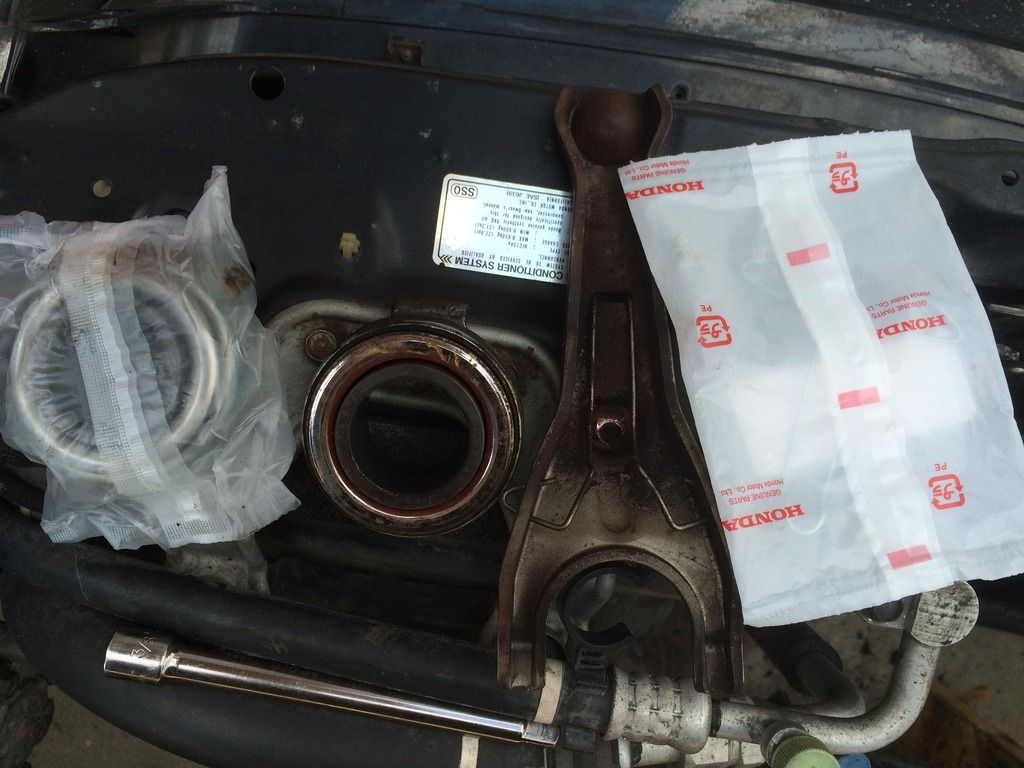
New Bearing.
New Mounts
Is this possible....
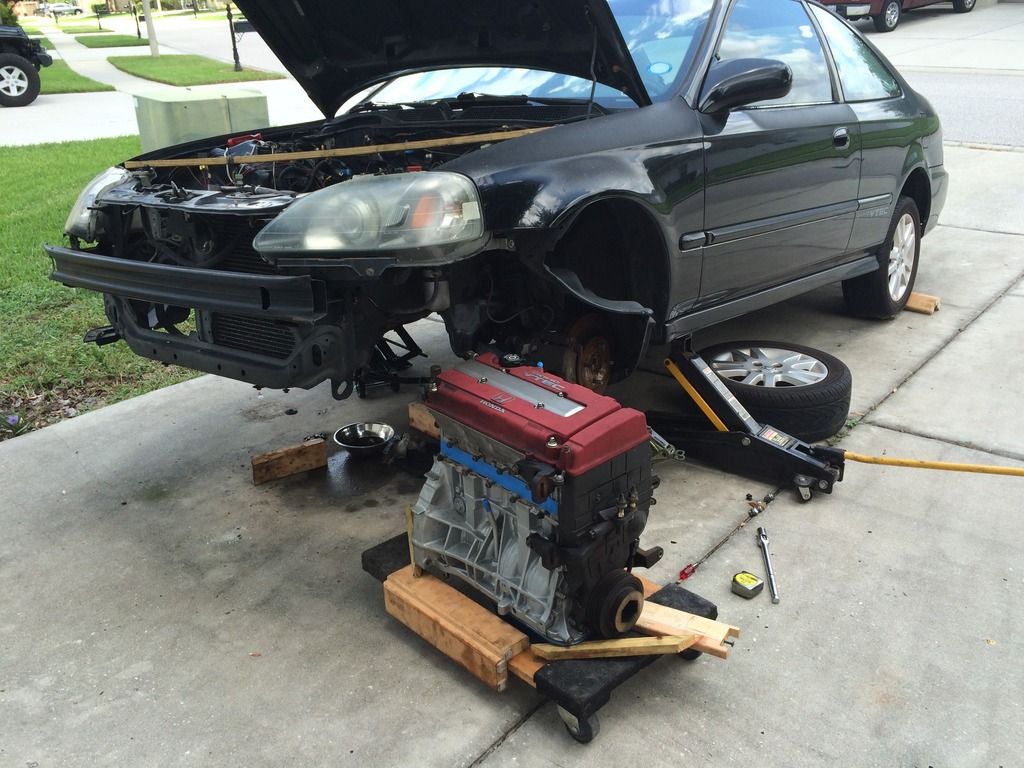
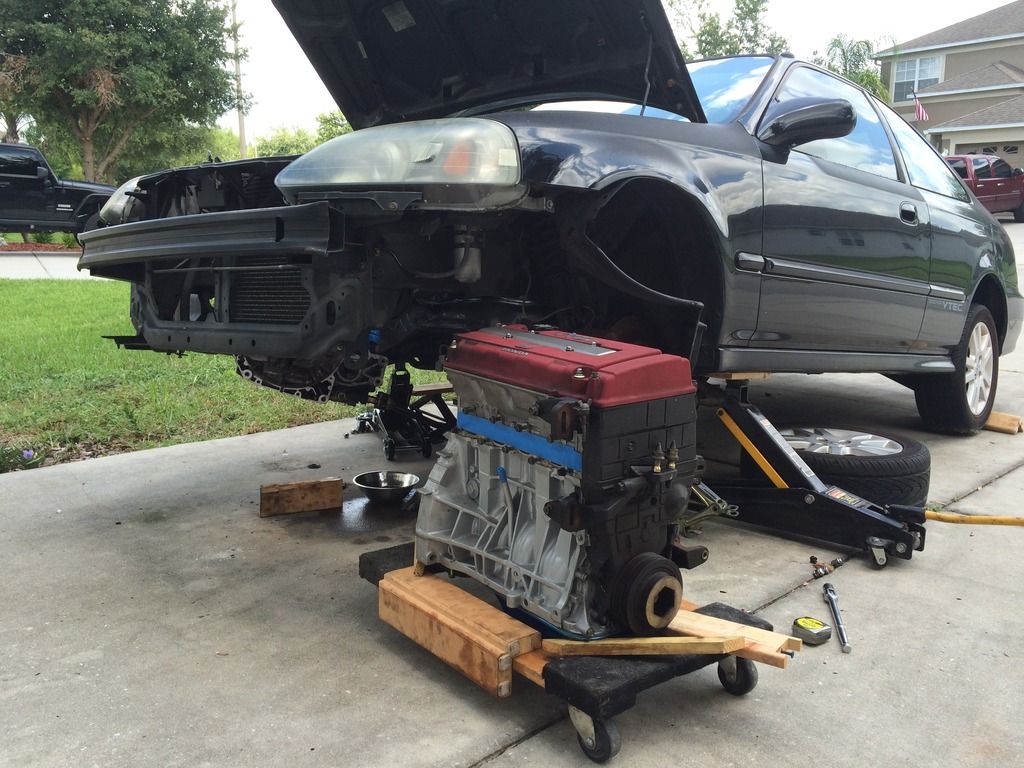
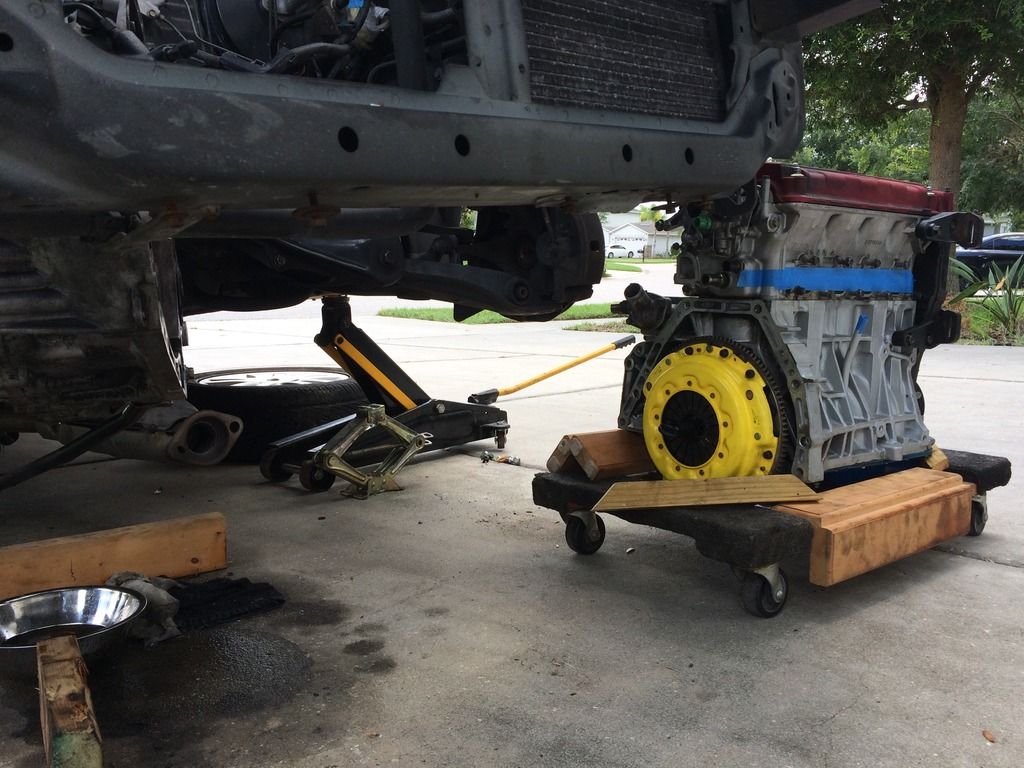
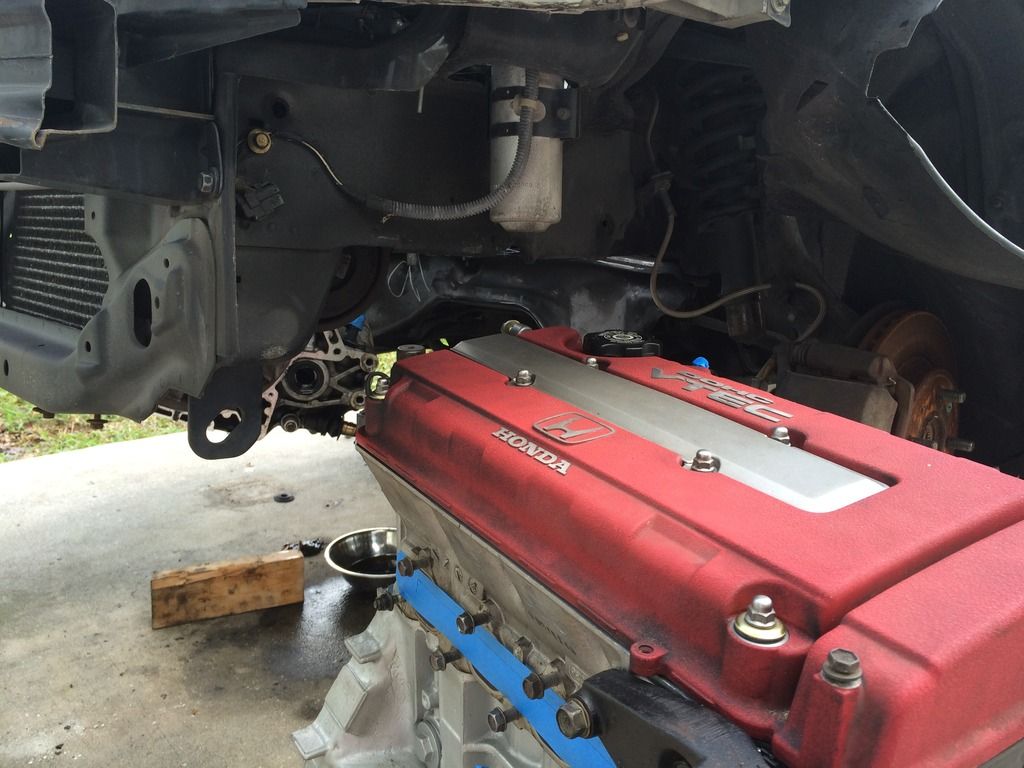
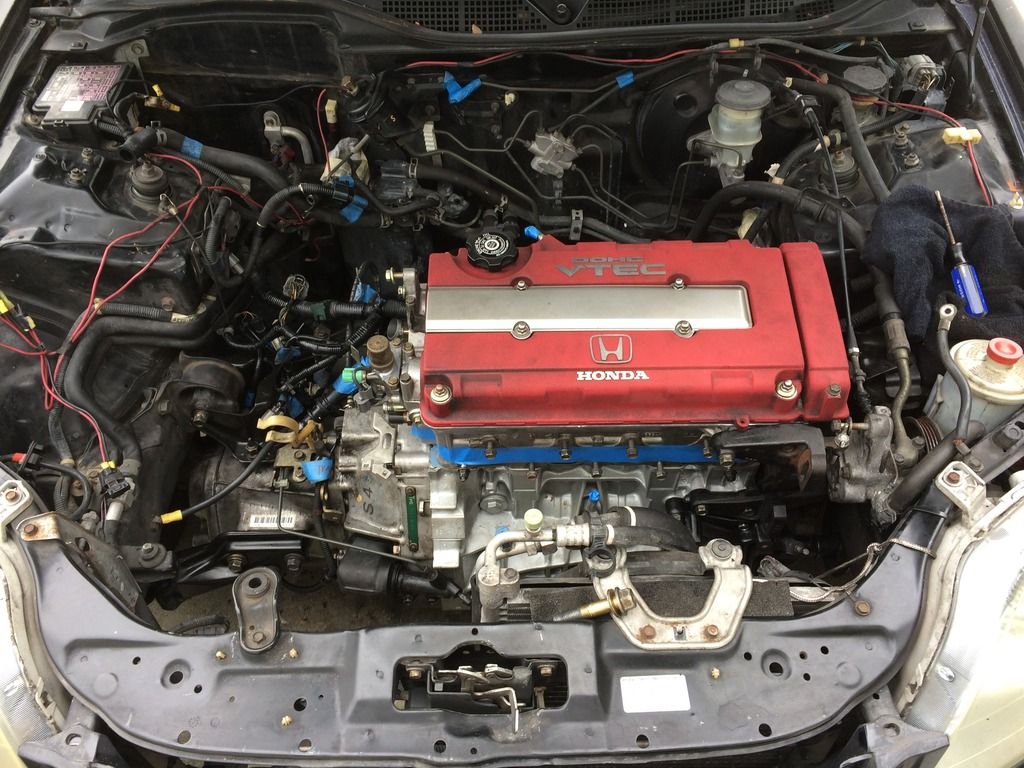
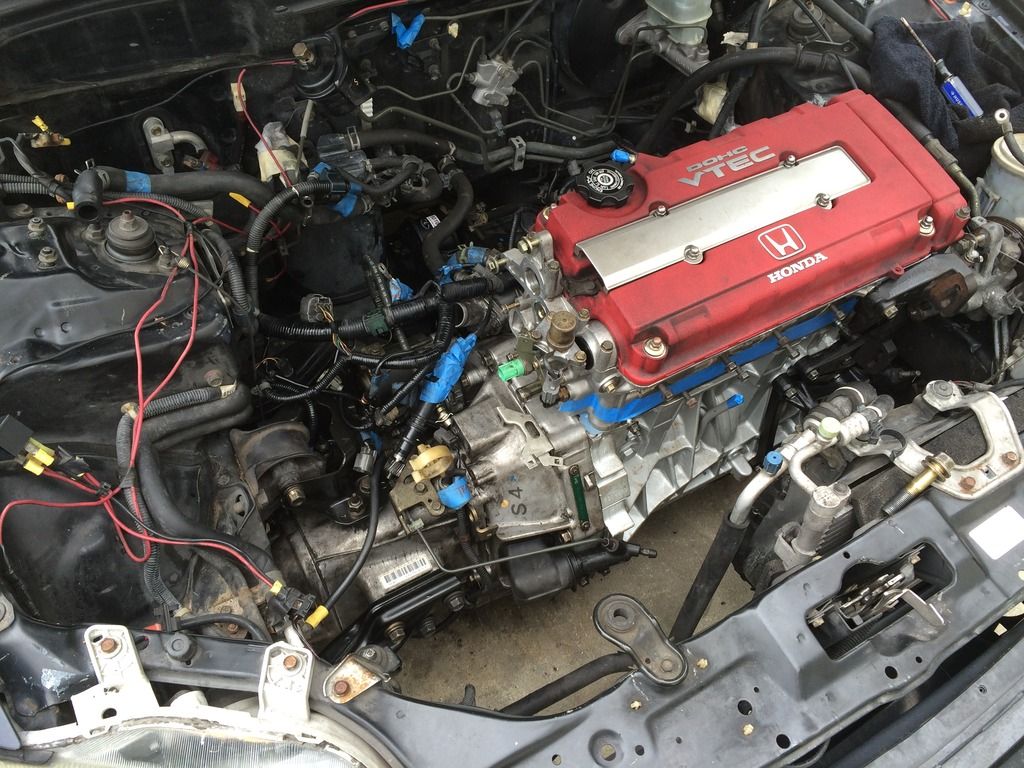
After an hour of fighting the motor and transmission, Its in.
_________________________
Your beginnings will seem humble, so prosperous will your future be......
|
|
Top
|
|
|
|
Moderator: Runnin@Redline Jr, Dr. BrokenLimits, Professor Paki
|
|