| zachys |
| (Post Master Jr) |
| 10/29/06 07:55 PM |
|
|
X, Please move this to frequently asked questions.
Thanks!
I found a DIY for an R18 but not a K20 so here goes
First thing you need to do before you even start is go to the hardware store and pick up some clamps for the hoses that Injen supplies. Your existing clamps (which they tell you to use) don't fit.
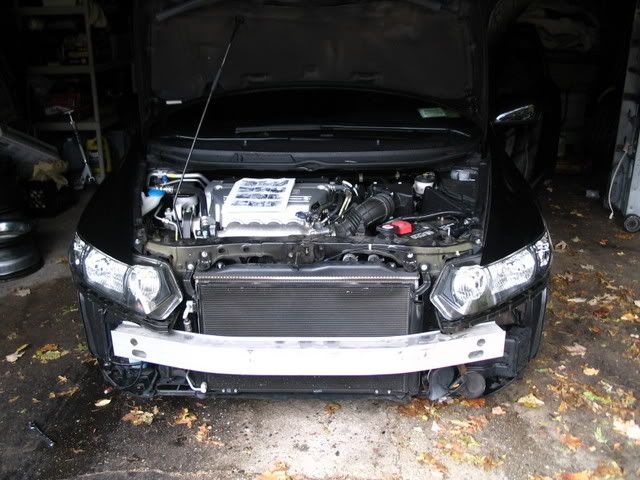
First remove the bumper assembly. There's a separate DIY here if you need it.
http://forums.clubsi.com/showflat.php?Cat=0&Number=7326025&Main=7326025#Post7326025
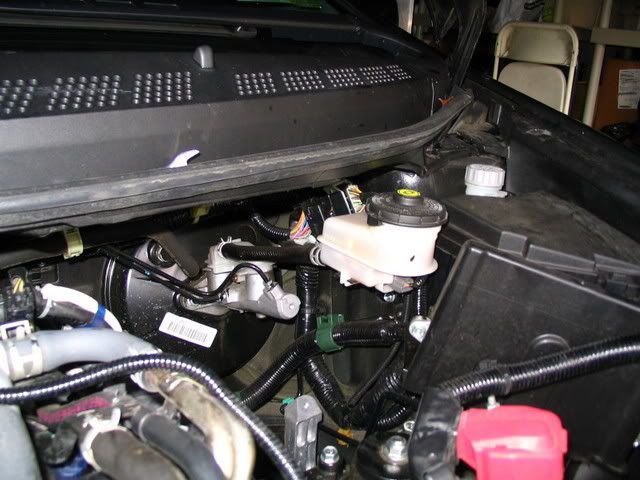
Next, remove the battery and tray
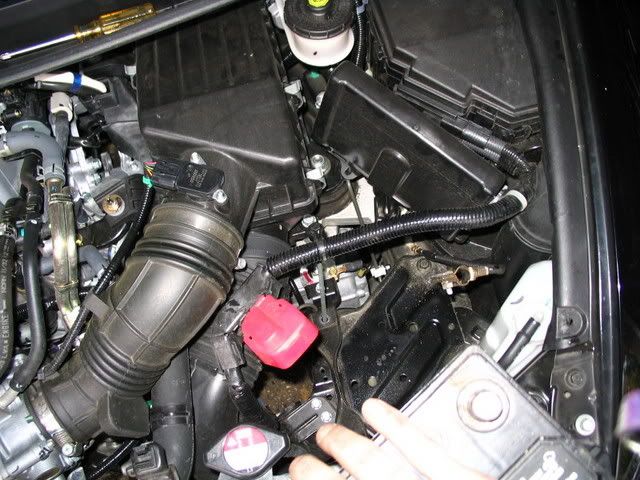
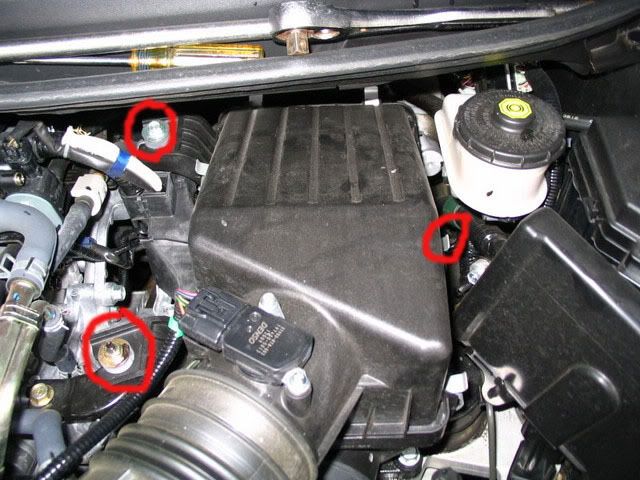
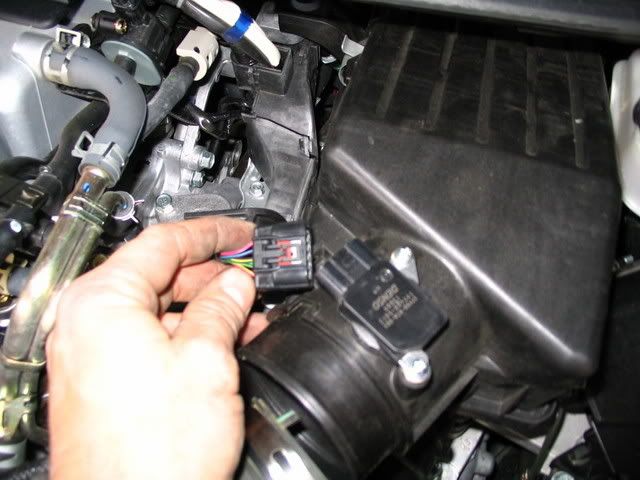
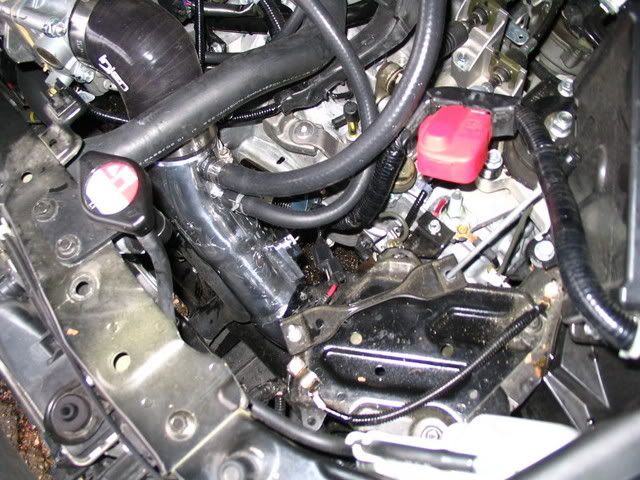
Next, remove the 3 blots holding the air filter assembly on as well as the connection to your sensor and remove
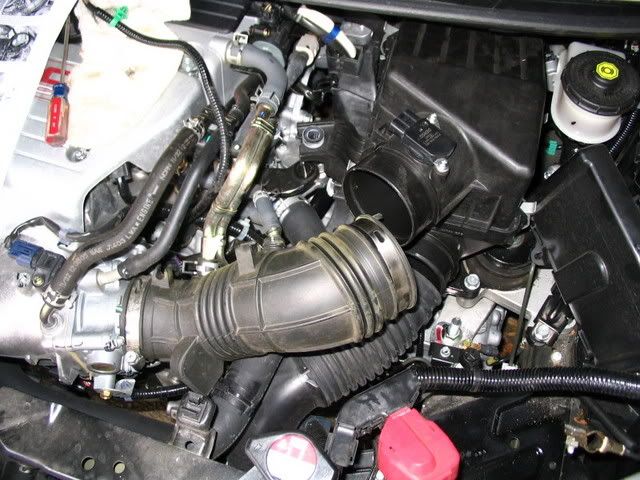
Remove the flexible air tube that goes to the manifold
Now remove the tube from your fender by pulling up and out. This is kind of tight
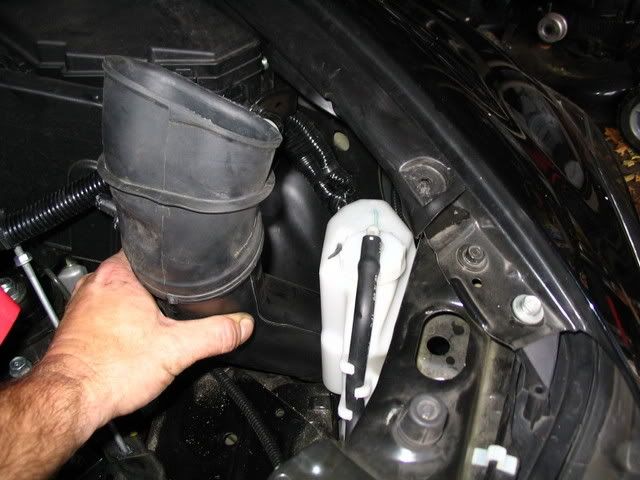
Next there are 2 screws holding the resonator on. Take those off and remove
Look at how far back the brake booster sits
Here is when I changed the sensor from the stock to the CAI
Now it's time for hoses.
Start with removing the PCV hose from the cover

Remove the manifold coolant line an replace with the supplied hose. Blue coolant will leak out a little
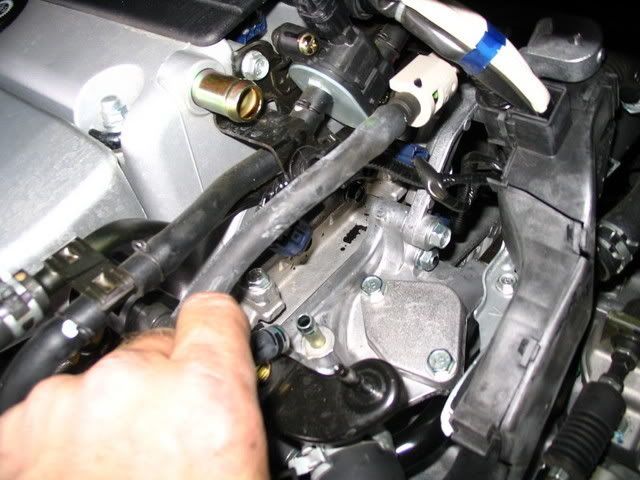
Remove this hose (not sure what it is) and replace with the new one.
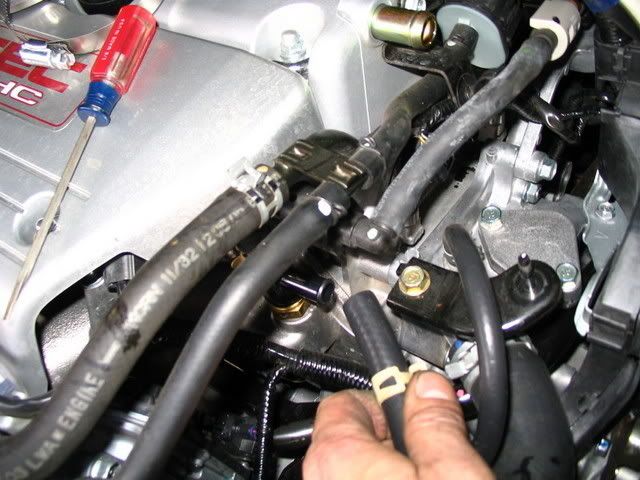
Replace your PCV hose with the new one, make sure to use the new clamps
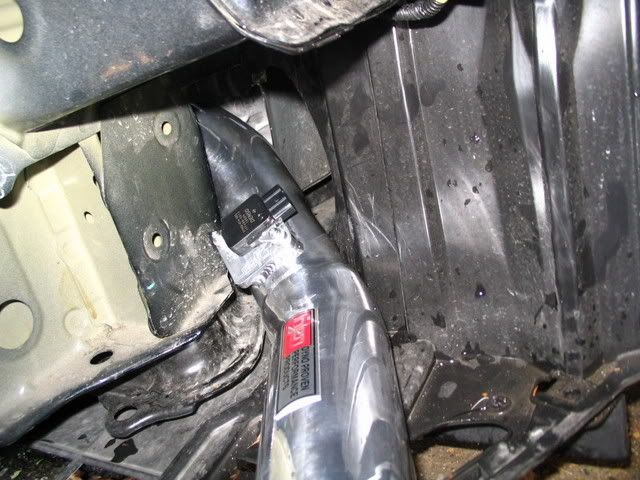
Using the supplied zip tie, attach the wire for the sensor to this hard line. We'll hook up the coolant line in a few minutes.

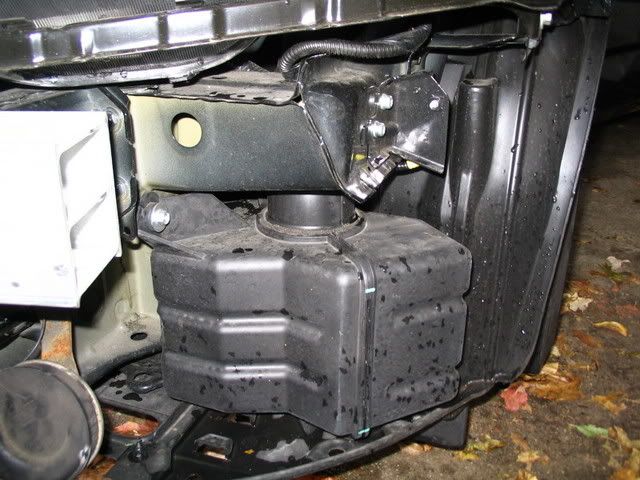
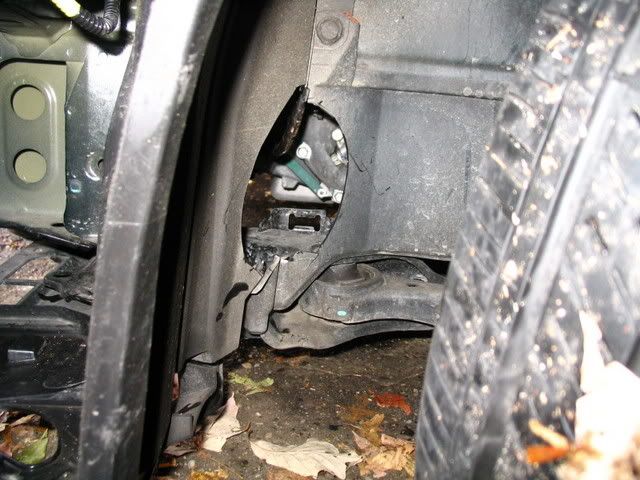
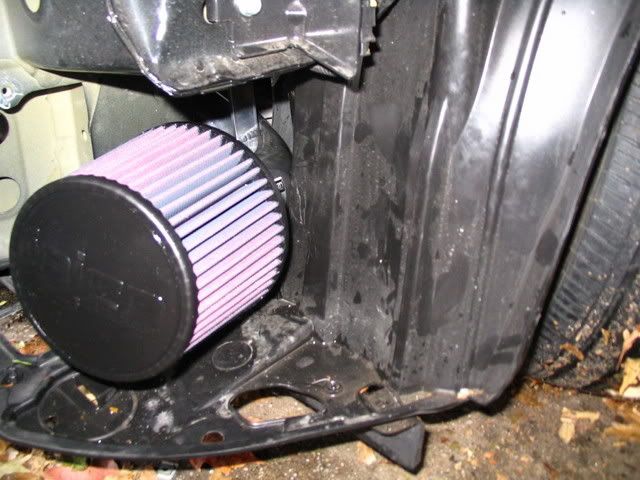
Some people have cut and some haven't. I decided to cut my inner fender so nothing rubs. Use the directions supplied for the size.

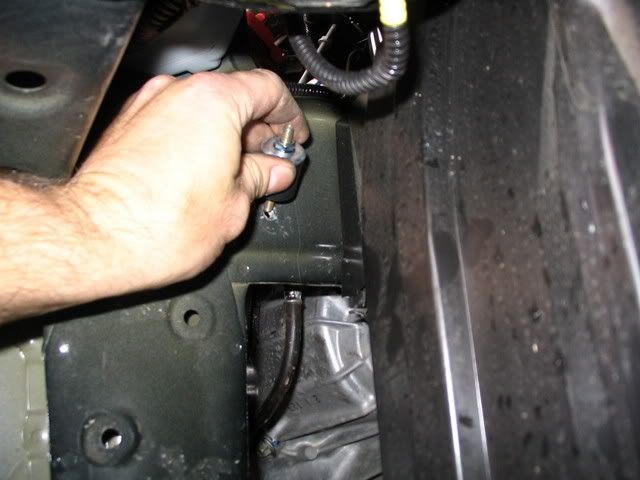
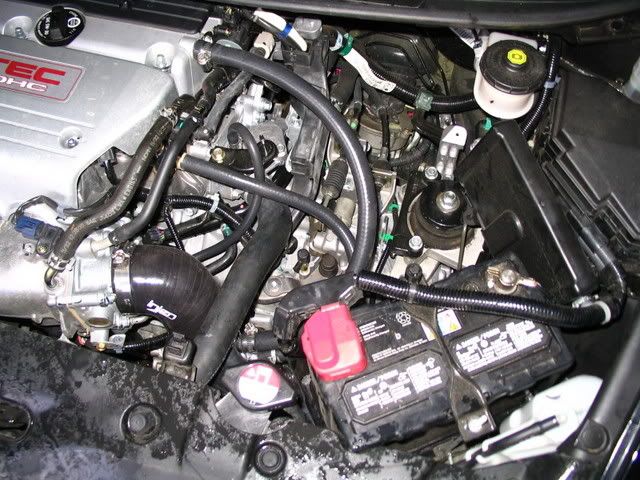
Install the new vibra-mount
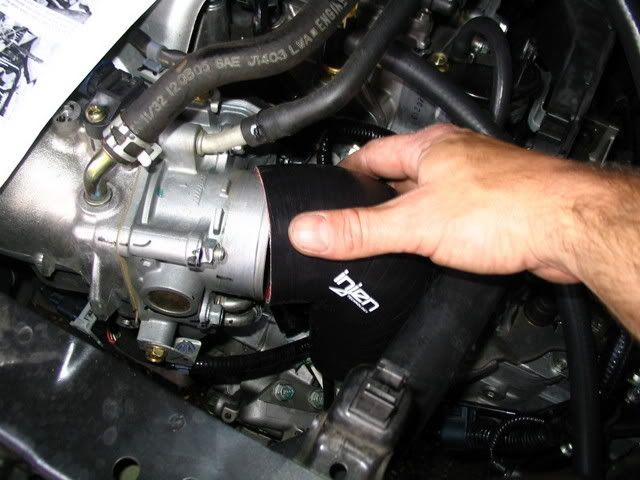
Install the elbow with the small end to the manifold
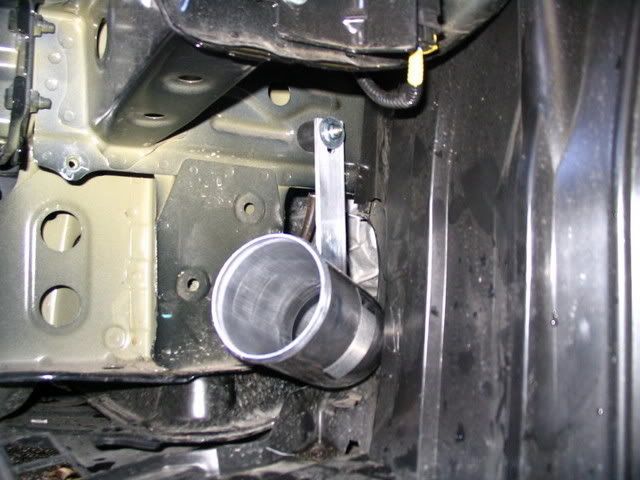
Install the intake from the bottom. You will need to move some of the inner fender to get it in. Once you get past half-way it slides right into place. Hook it to the other elbow end
Install the nut and attach the intake to the vibra-mount
Hook up the PCV and vacuum hoses to the CAI, also hook up your sensor wire to the sensor
Don't forget your filter
Install the bumper and start the car. Let it idle for 15 minutes, I had no CEL, so I was good to go!
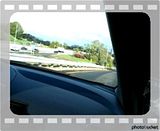
All that work and this is what you get to see
Even better, this is what you hear!!

Start to finish took me 2 hours but I was also taking pics. I notice a good increase in power above 3k with a very slight hesitation out of the hole at low rpm but after 3k it's a bear! I love it
| Hondasareneat |
| (Poster) |
| 10/29/06 08:52 PM |

|
|
|
Nicely done, Zachys. Is the scooter in the background of the first picture yours, too?

| zachys |
| (Post Master Jr) |
| 10/30/06 04:34 PM |
|
|
here's another real short clip before the wind got hold of the mic....i didn't even hit vtec either